POST DEPLOYMENT STEPS FOR AWX V19.3 (deployed using solution hub)
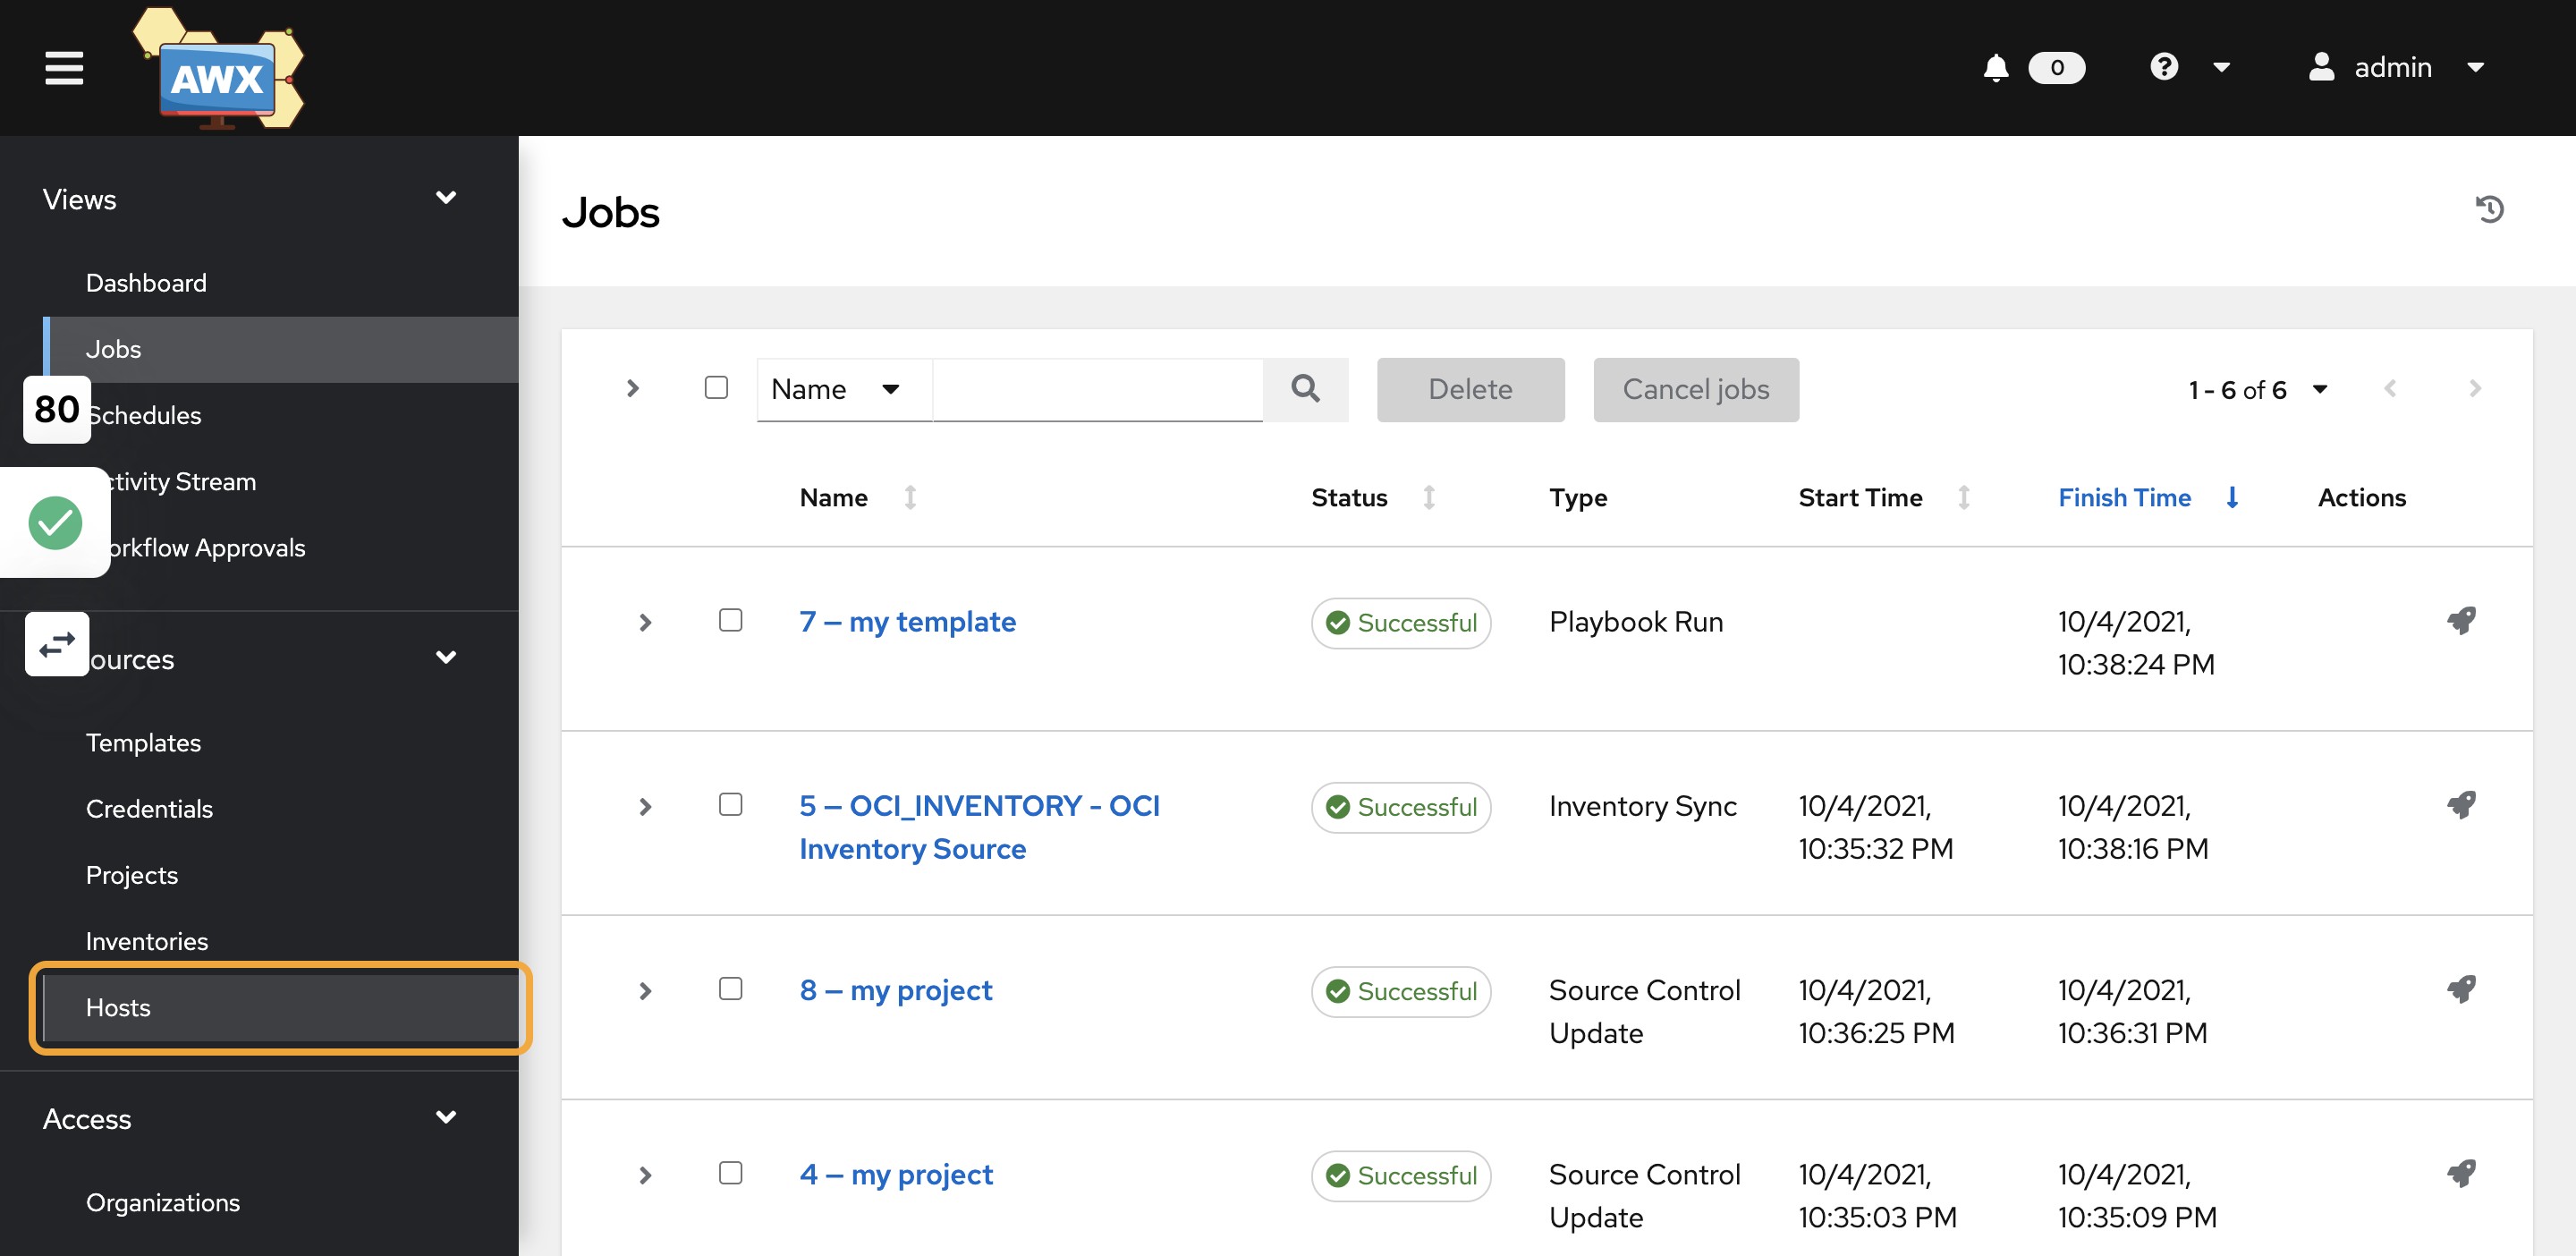
1)Once the AWX deployment is complete. Go to RMS Jobs
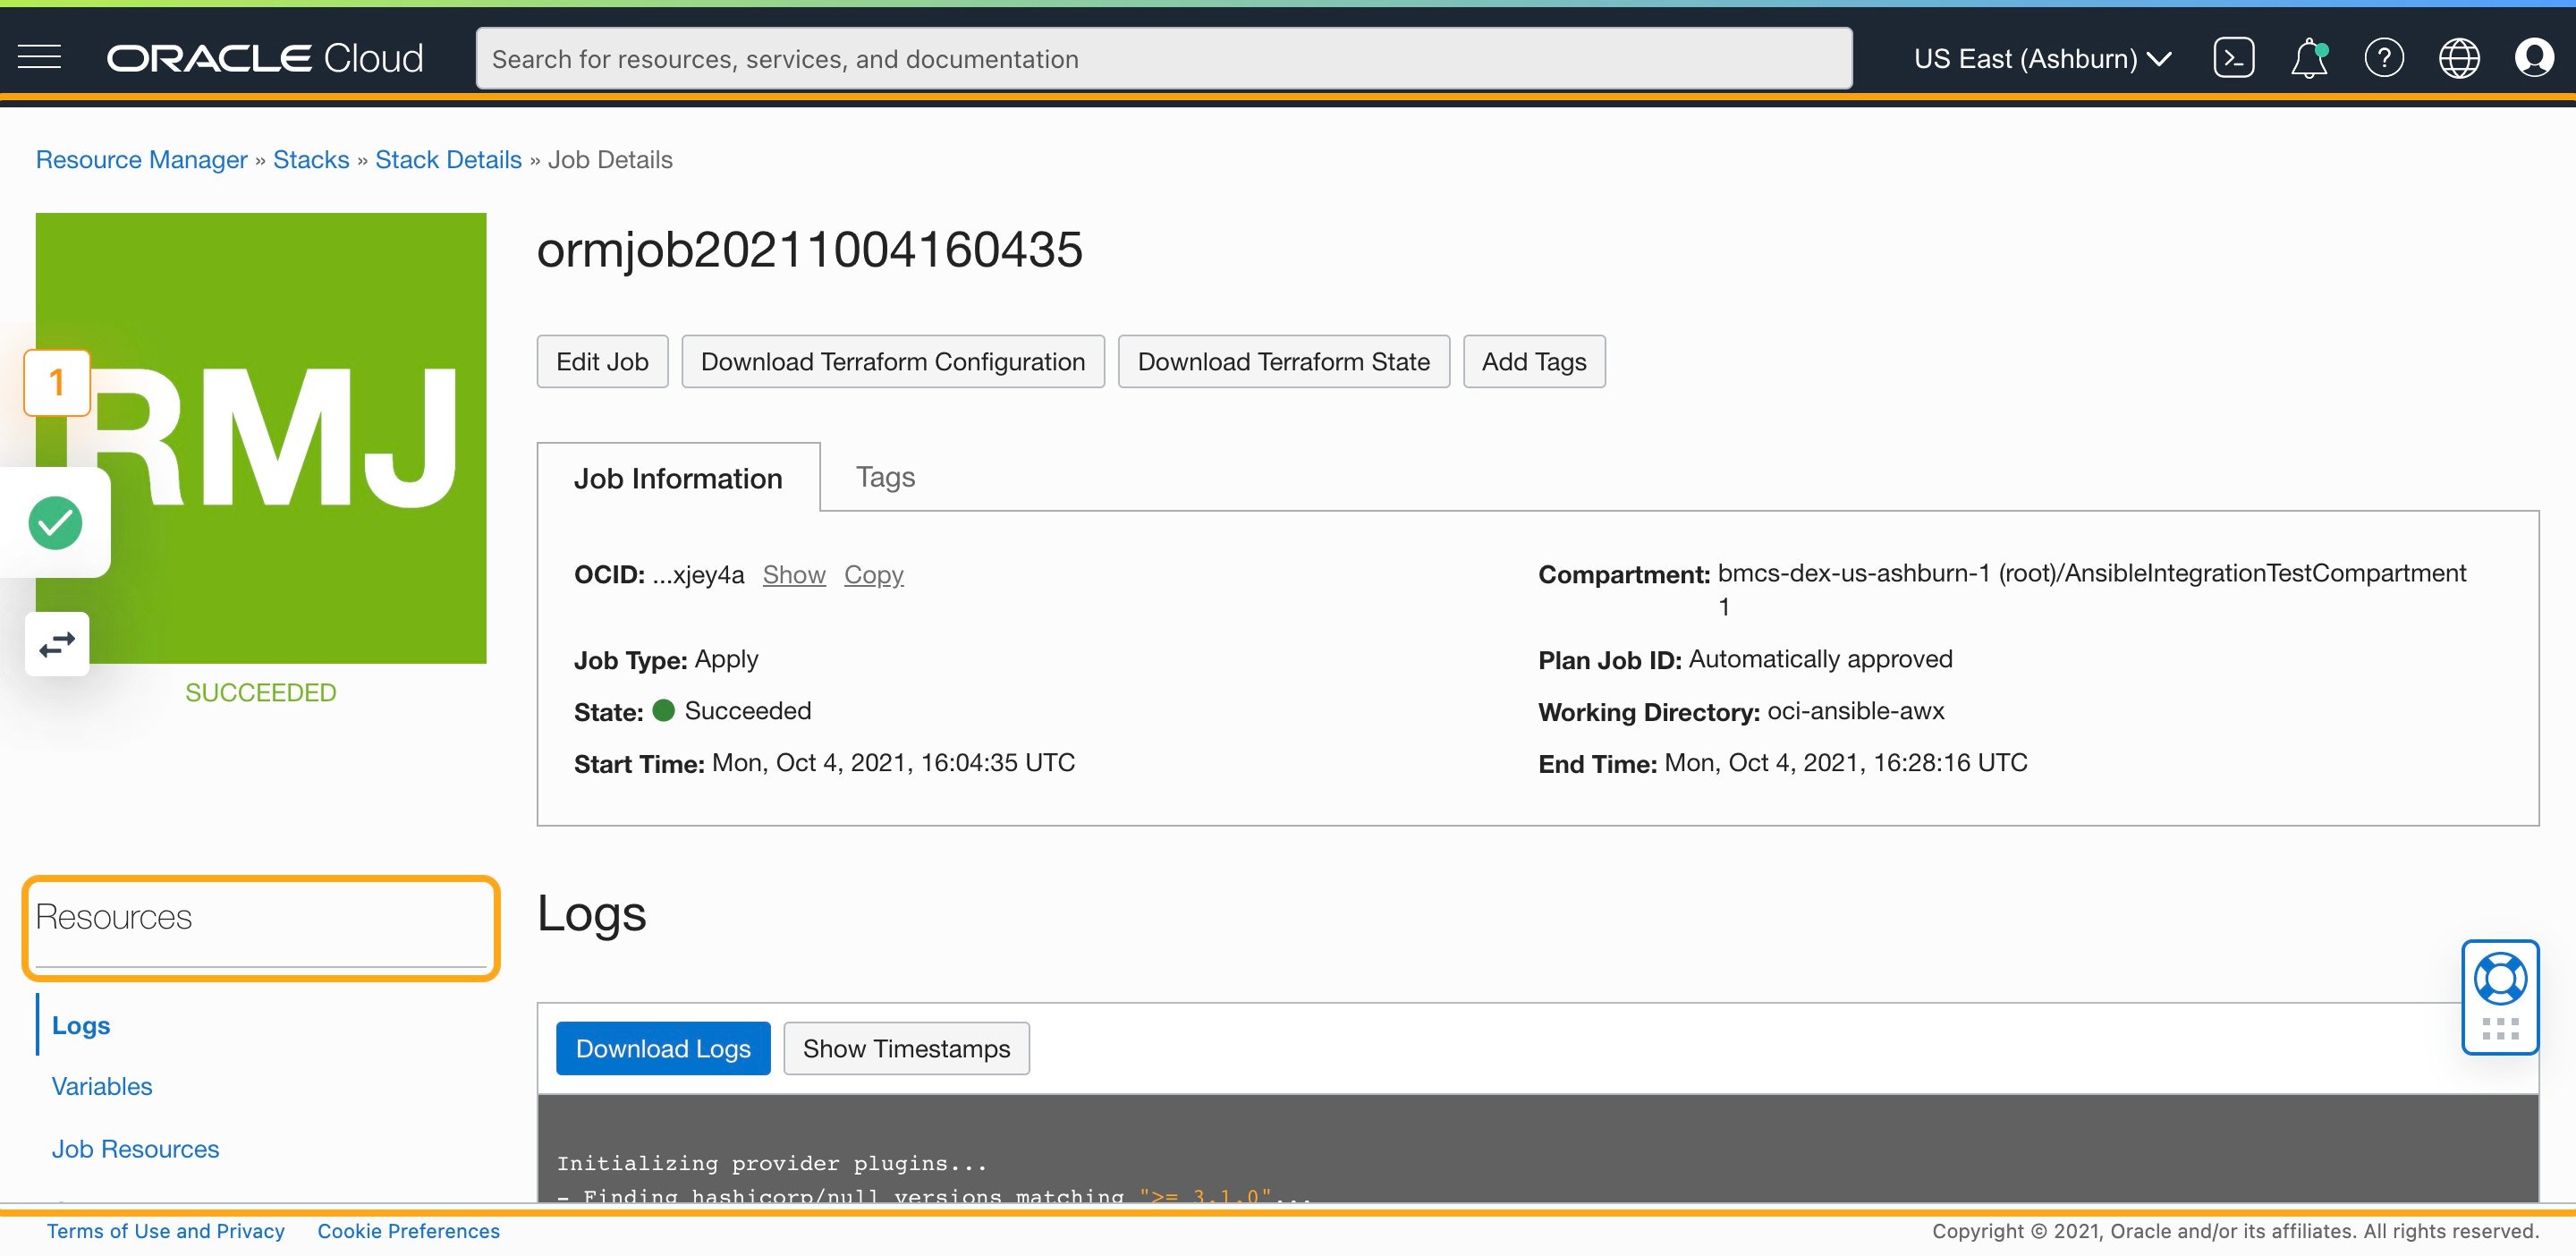
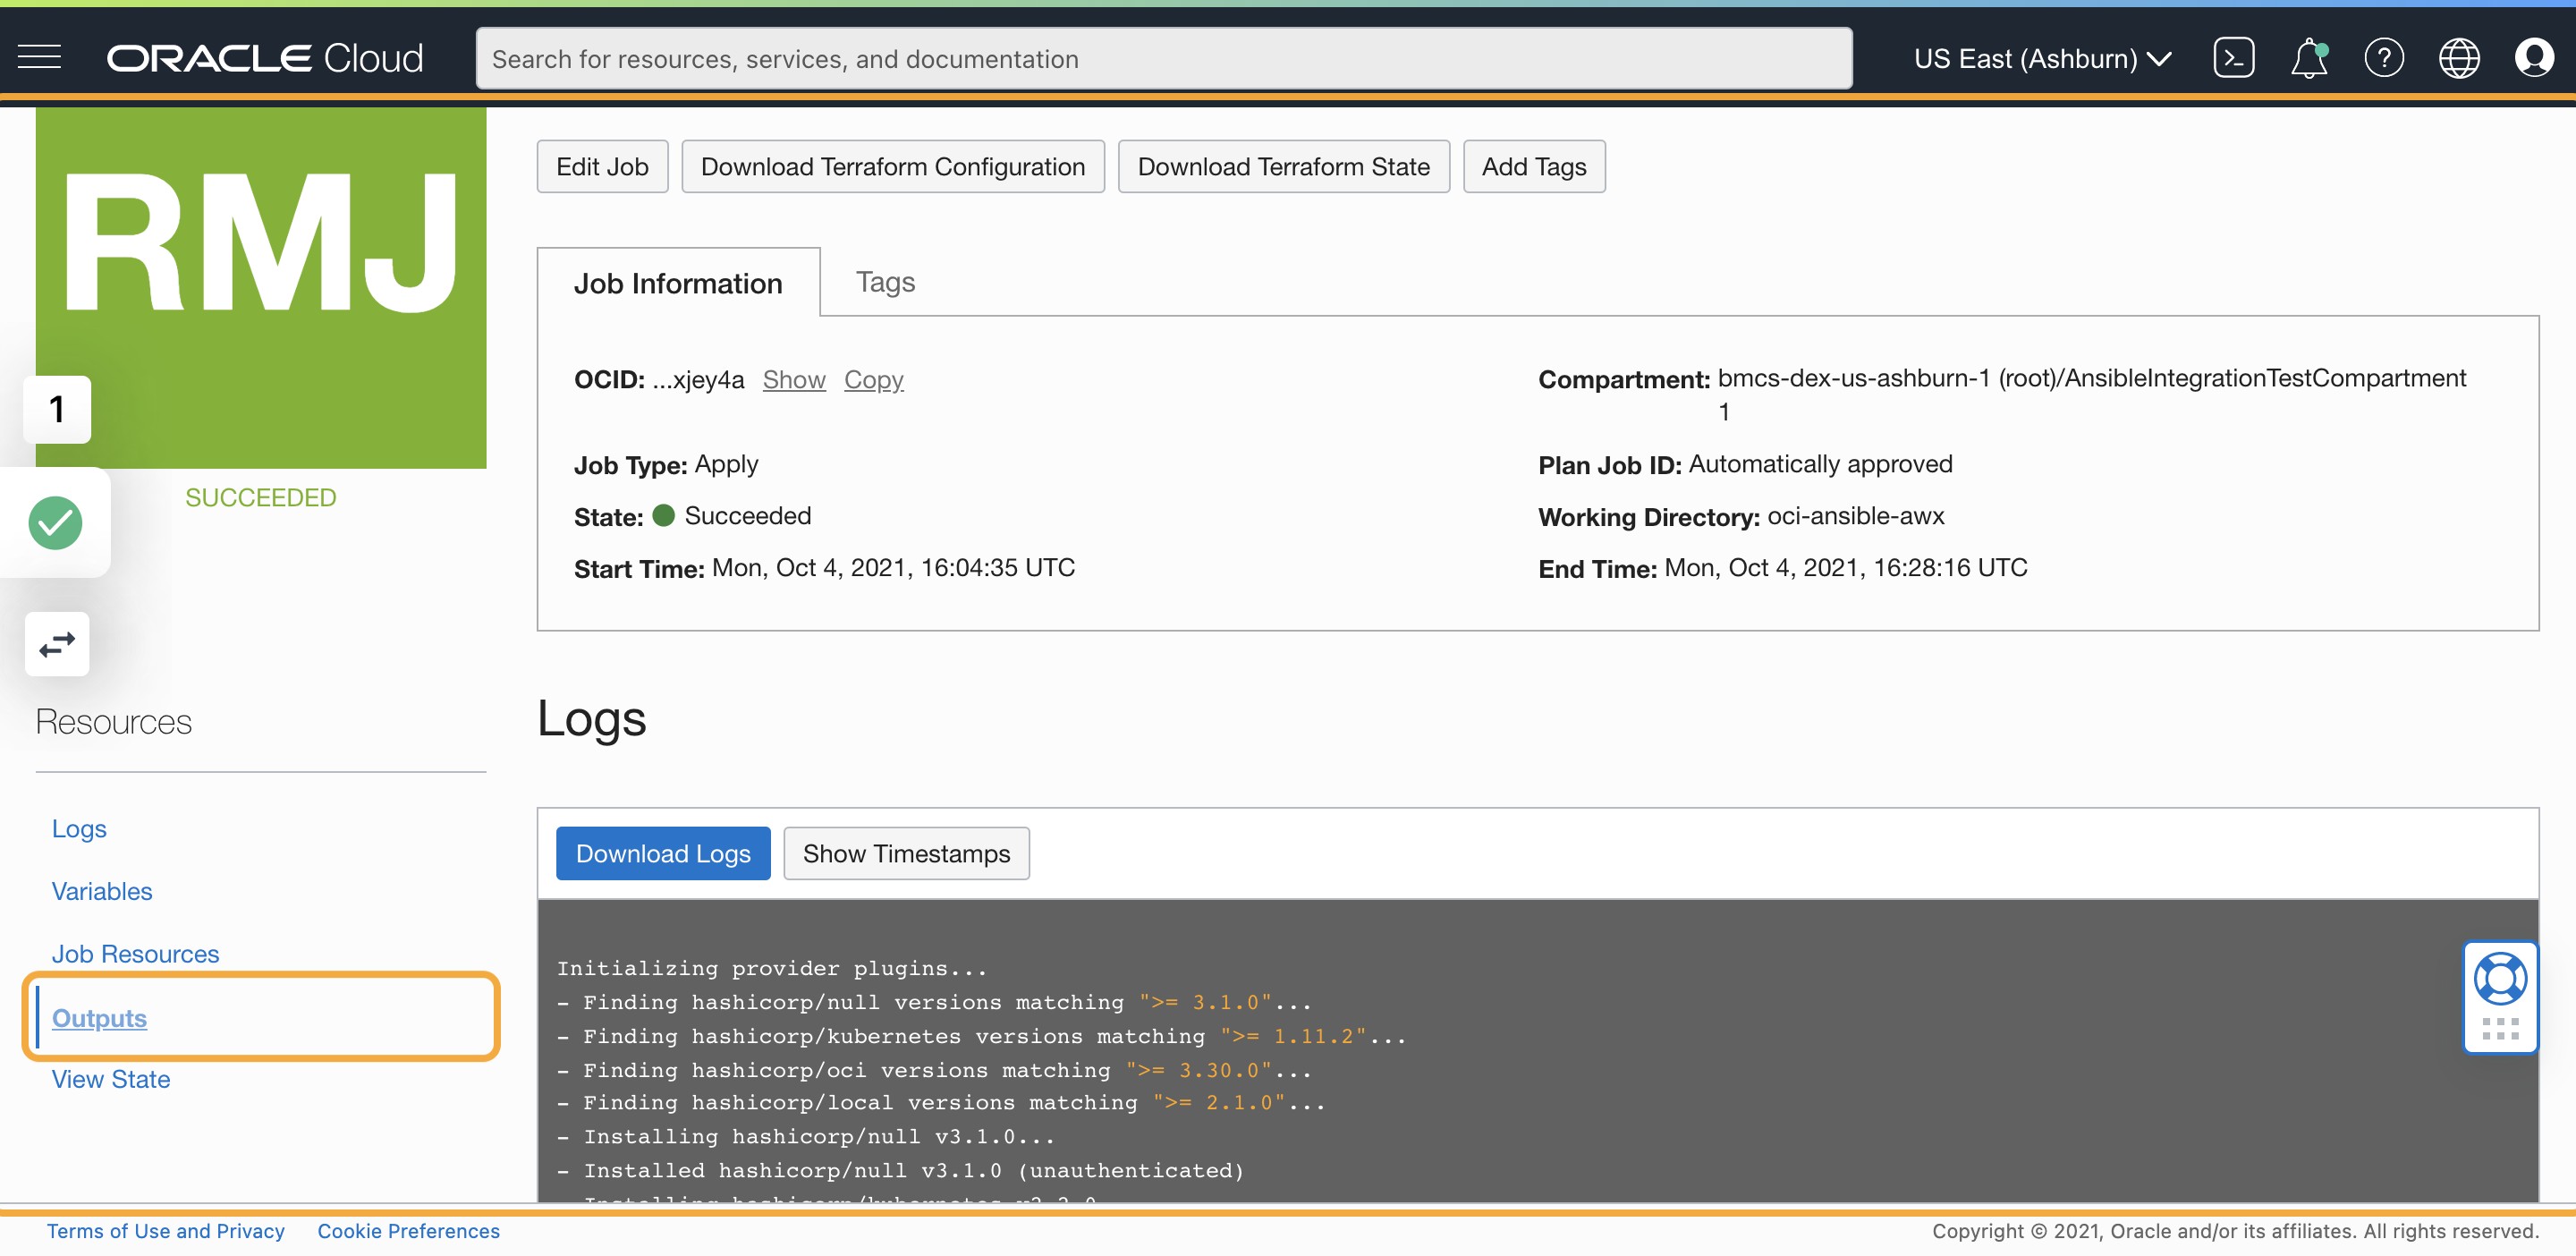
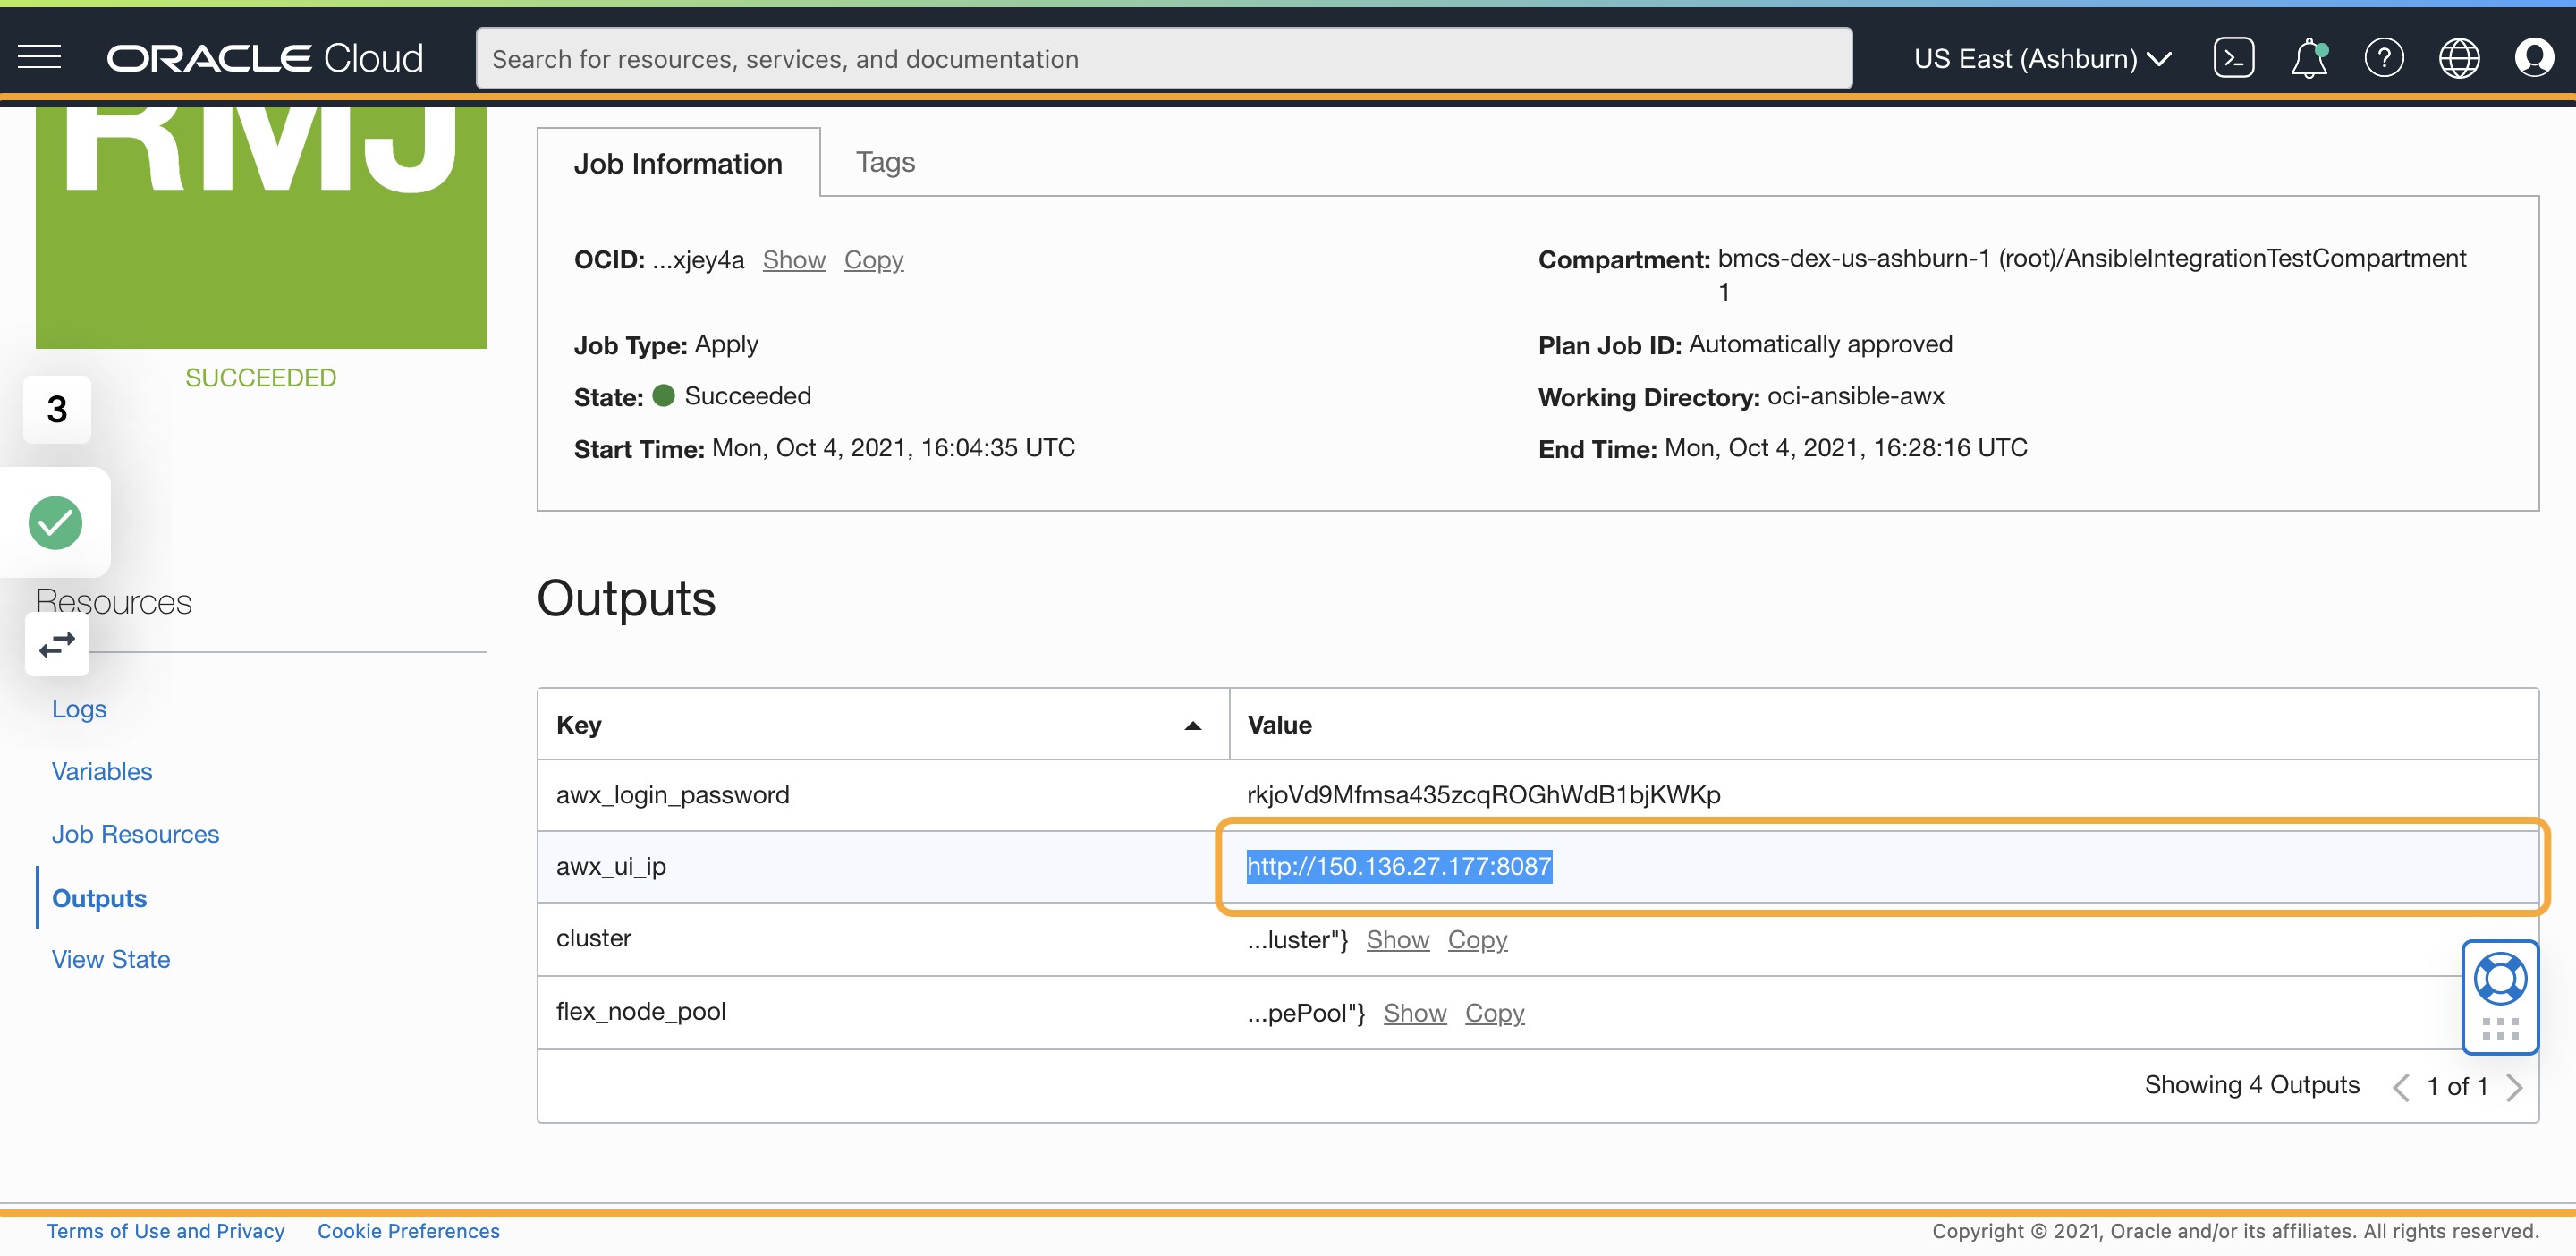
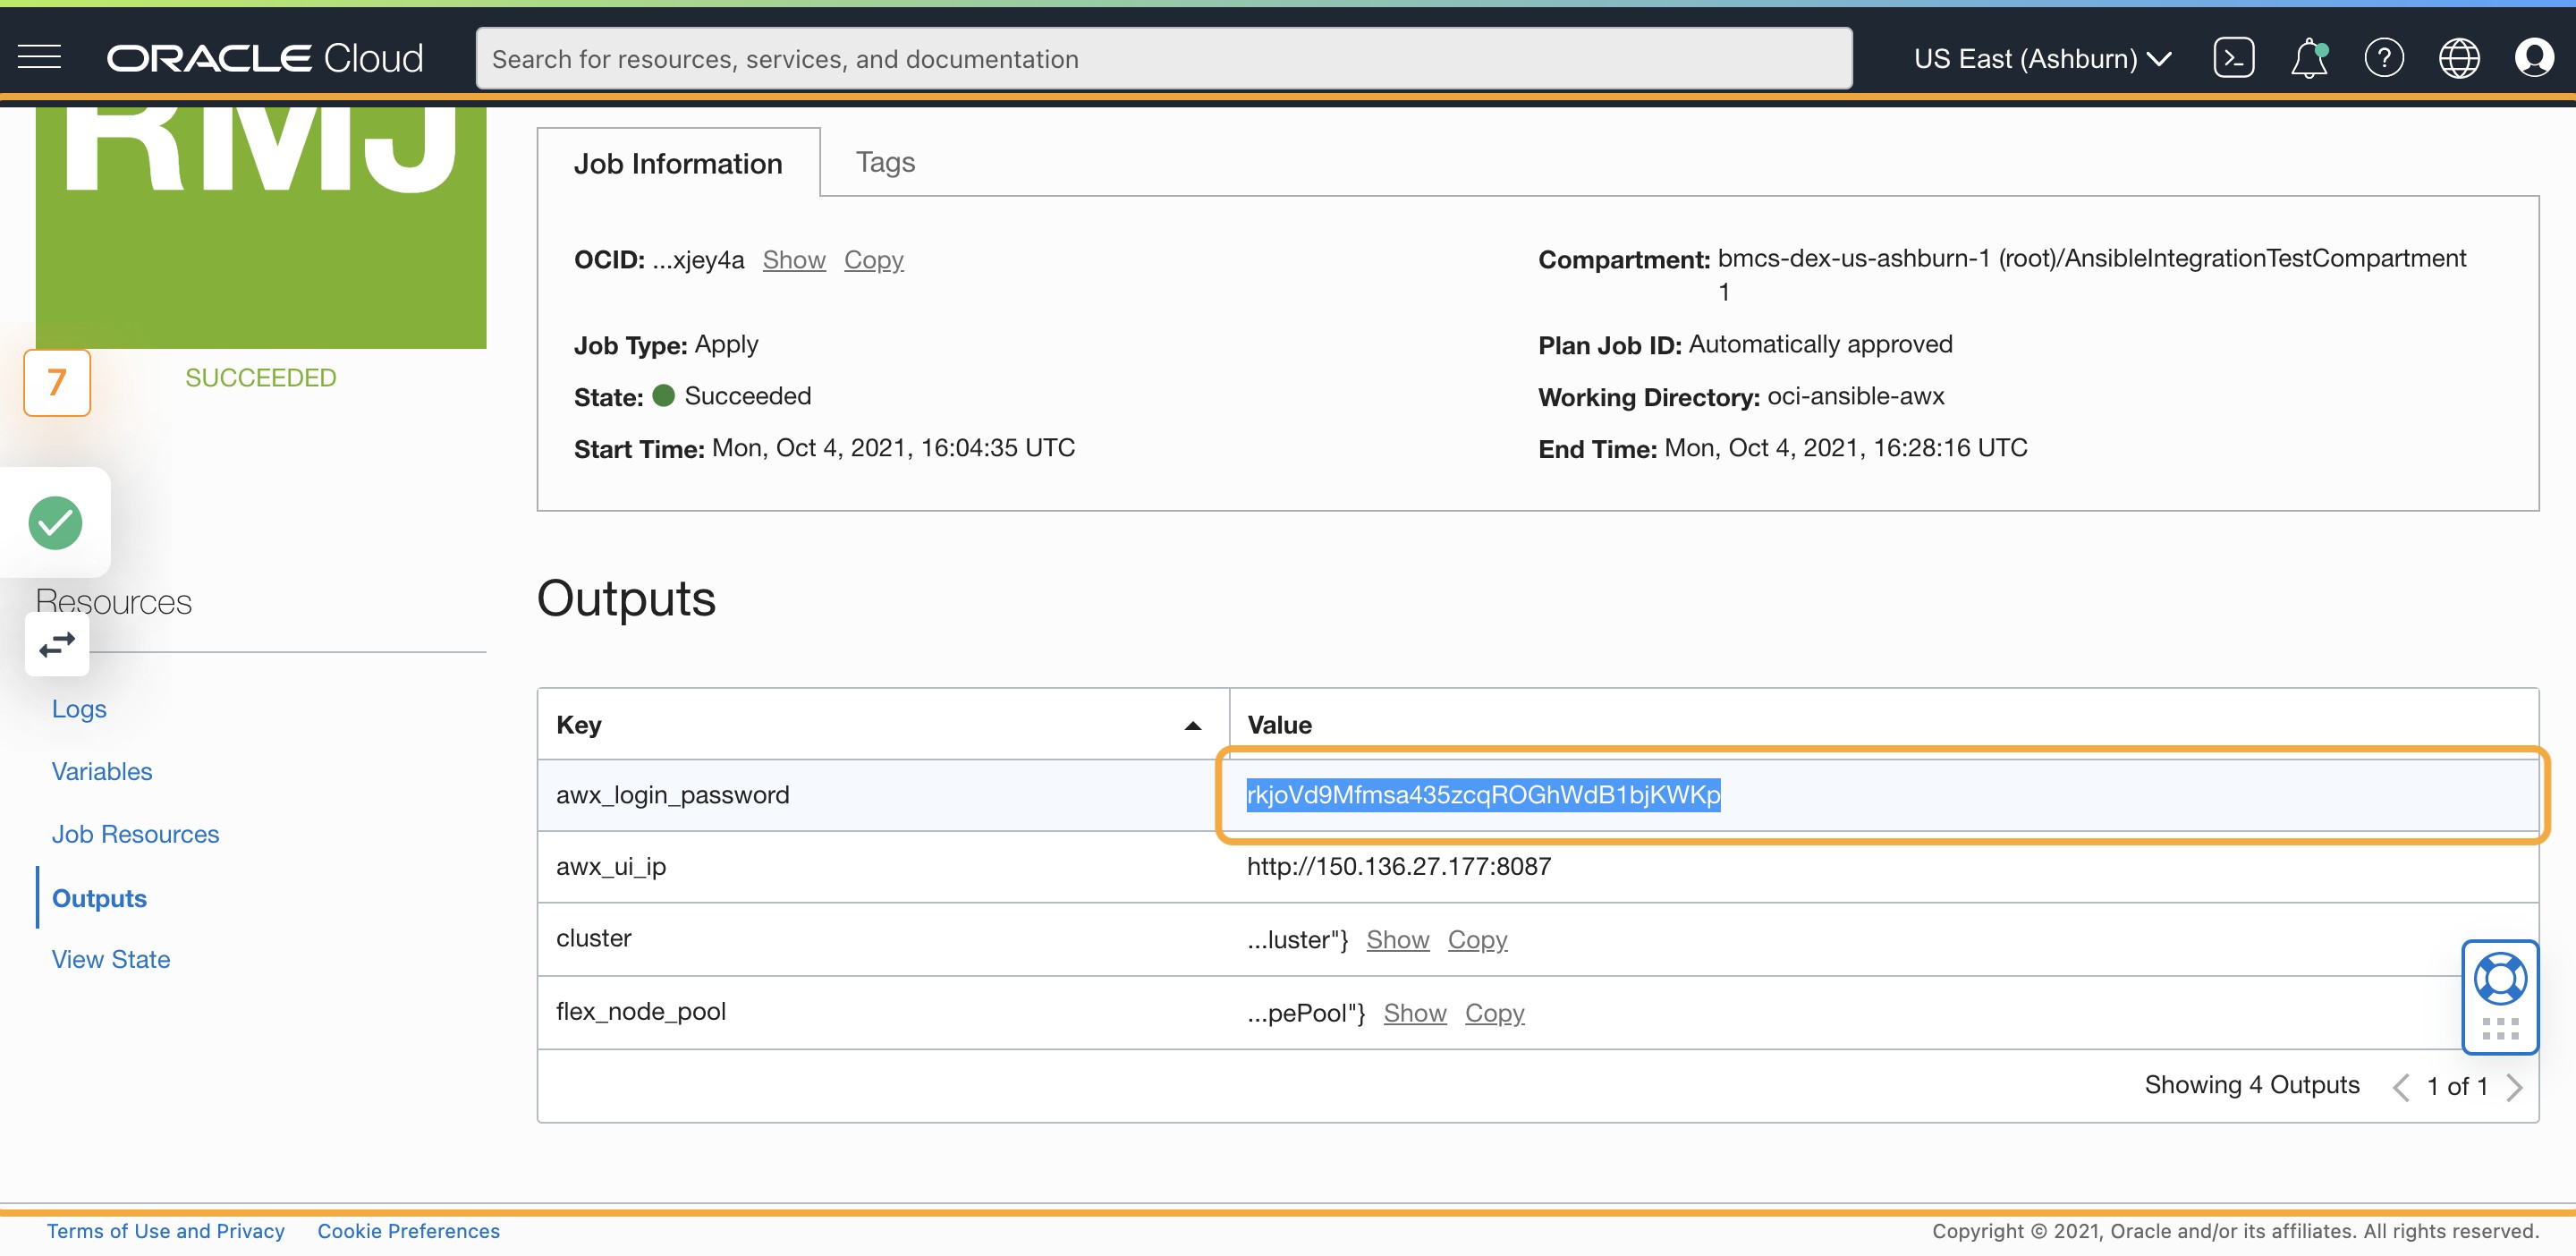
2)Click on Outputs
3)Copy “awx_ui_ip” value and paste in the browser
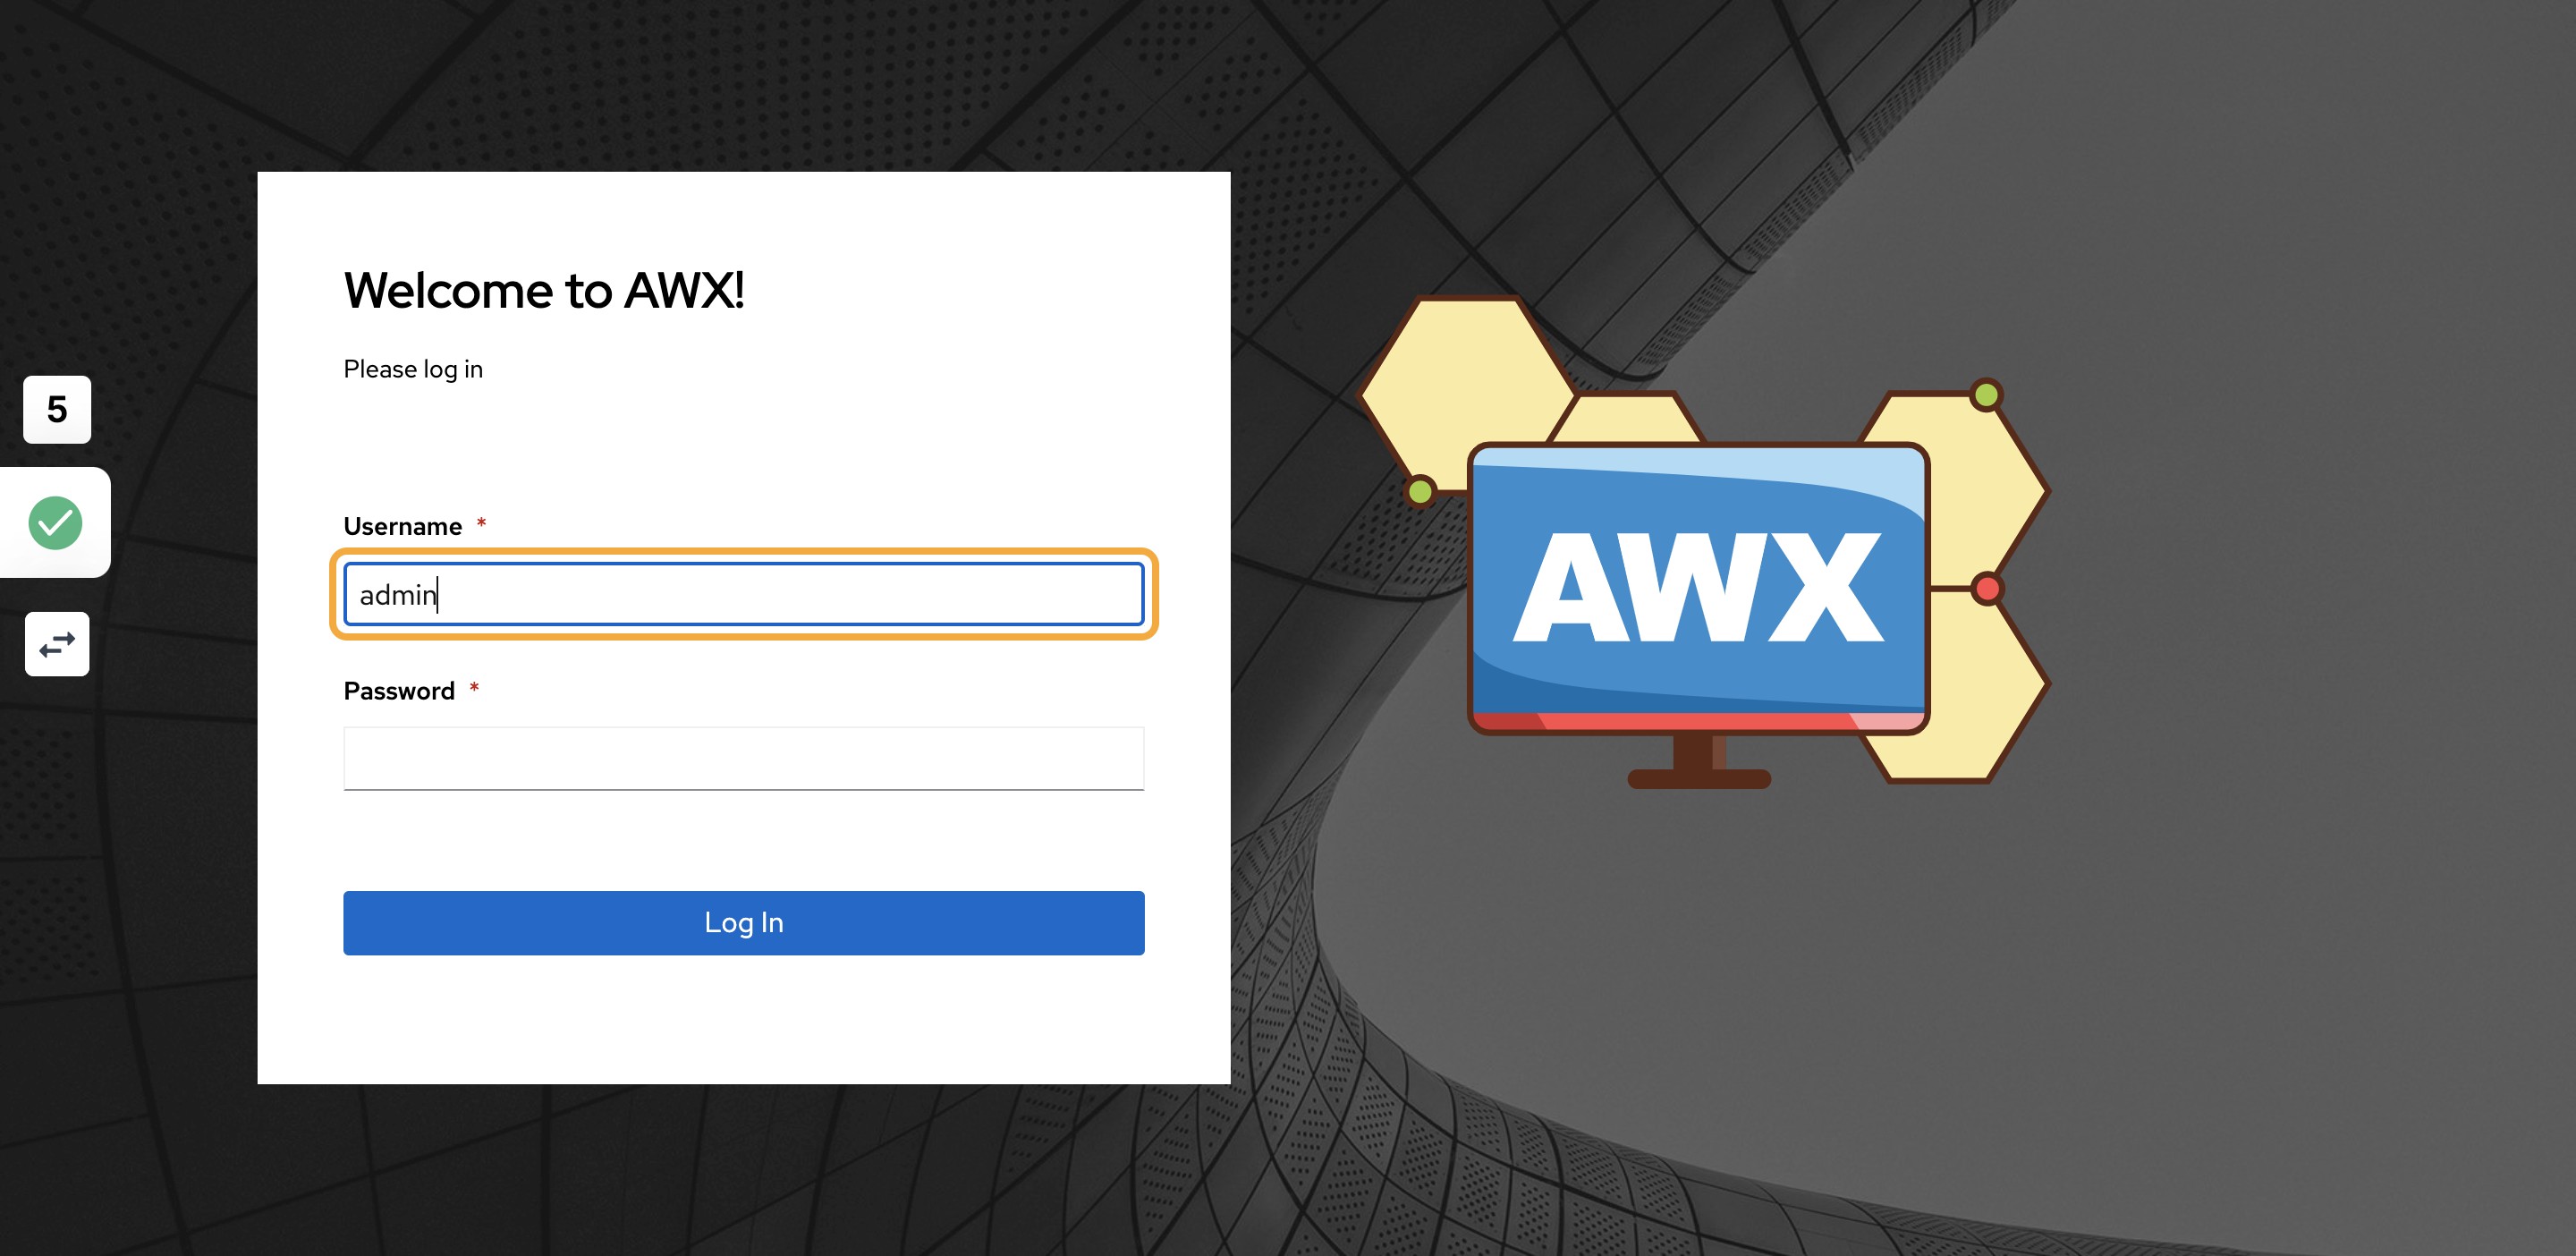
4)AWX Login page

5)Type “admin”
6)Go back to RMS Job output and copy “awx_login_password” value
7)Go to AWX
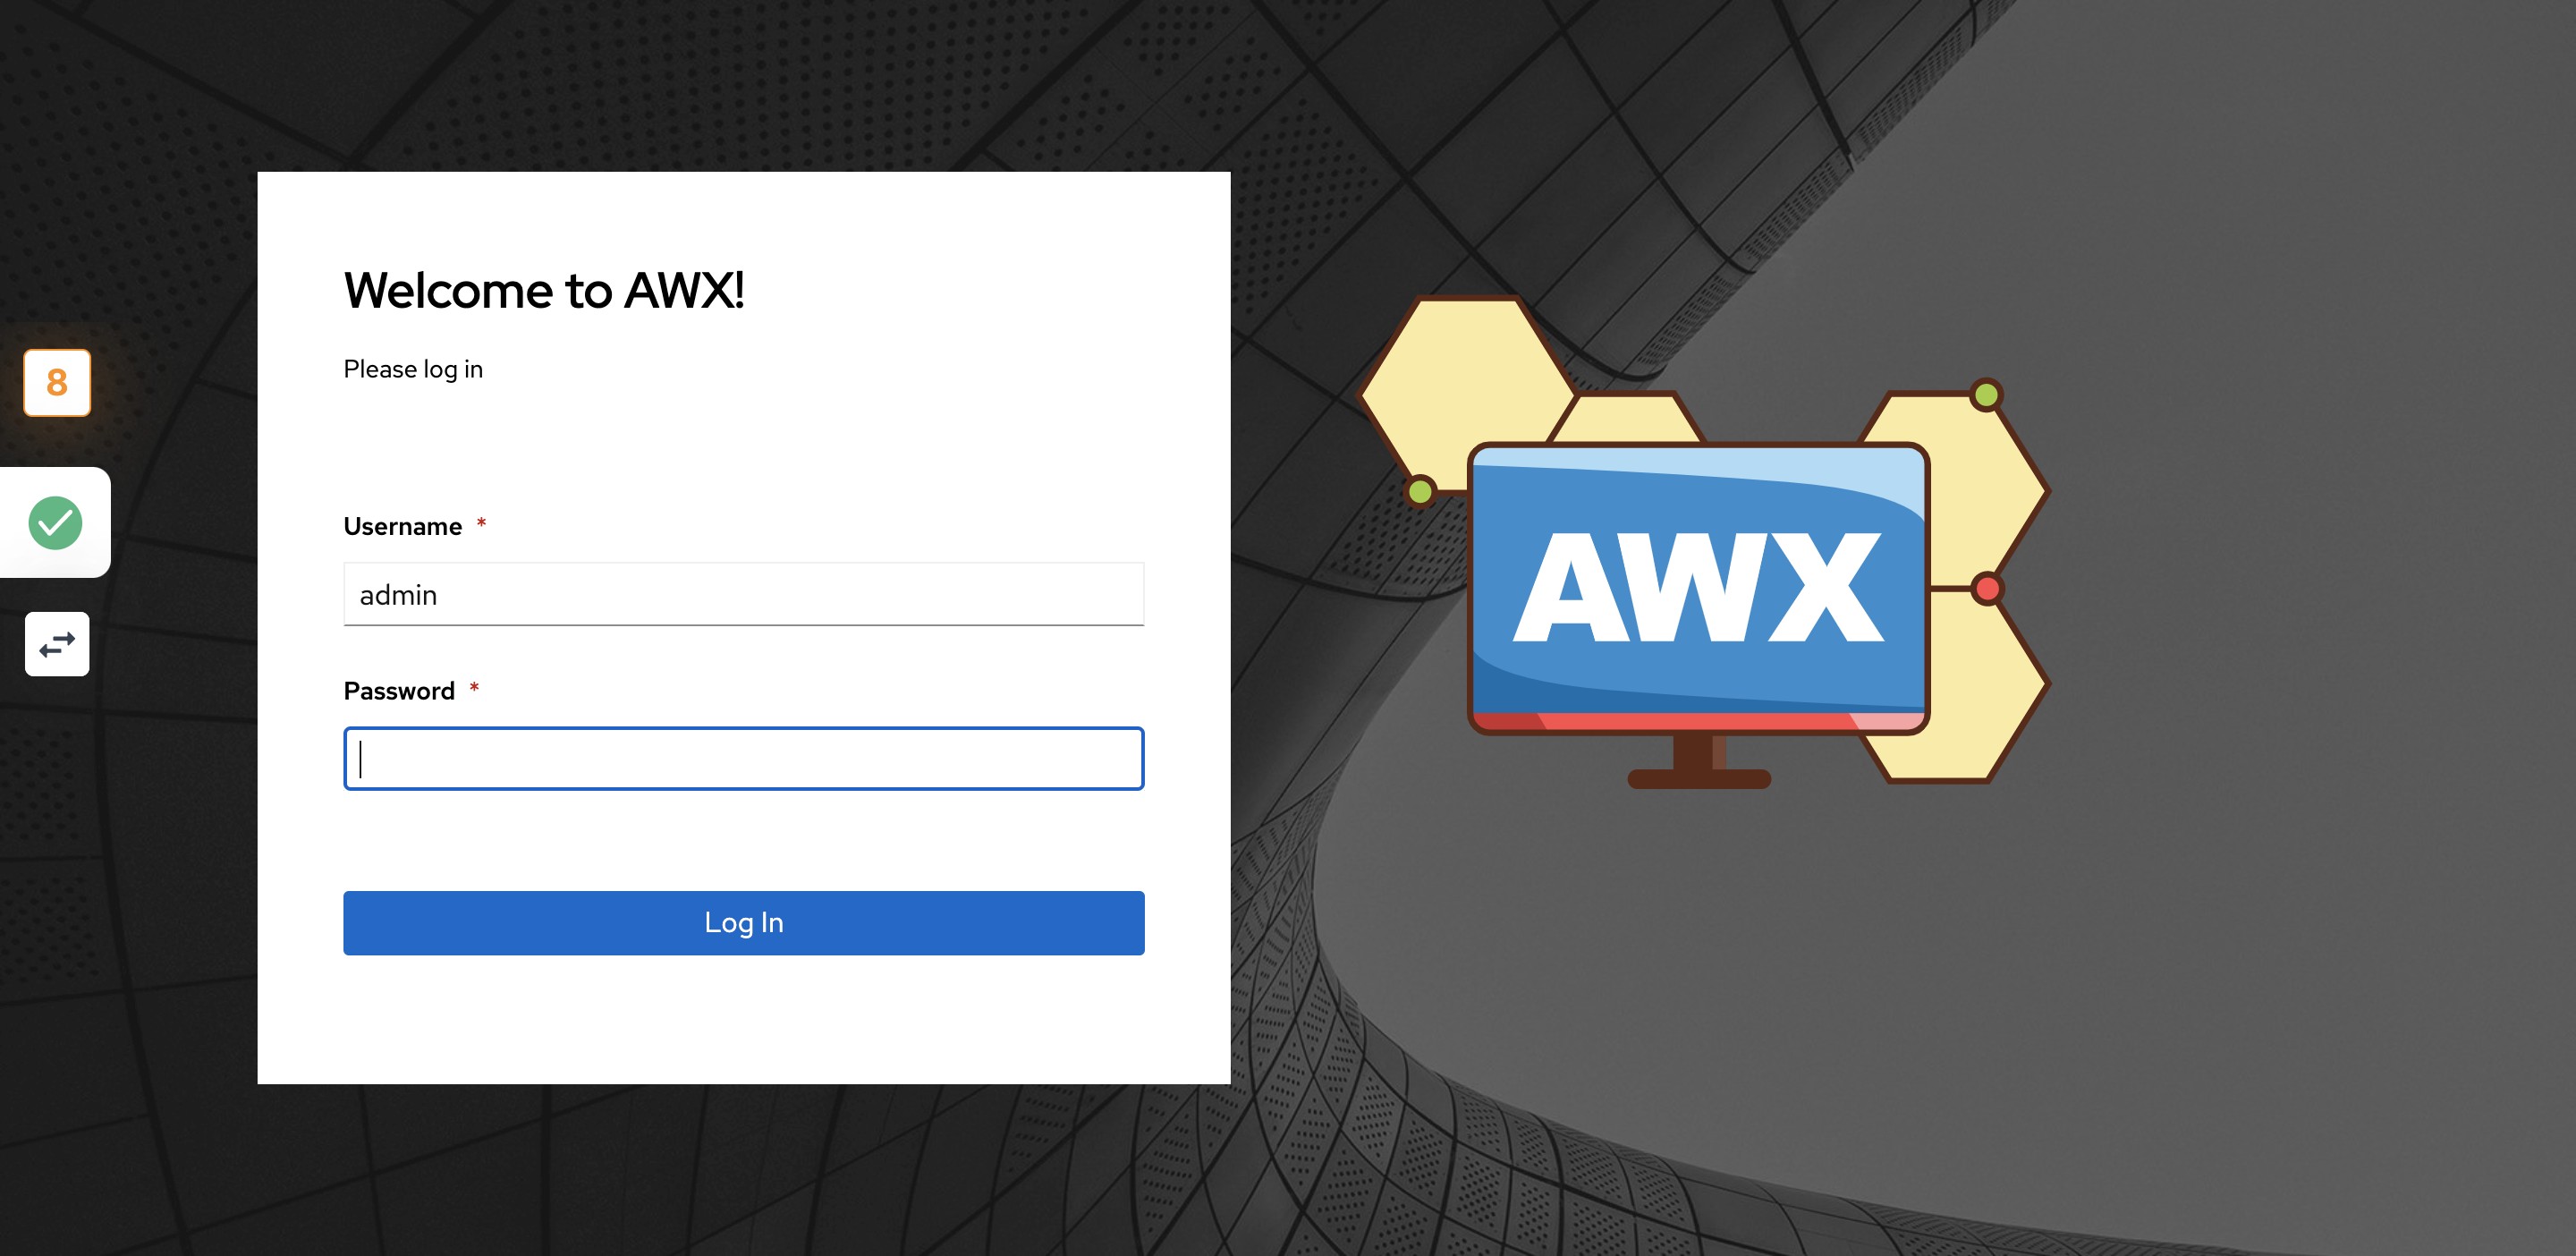
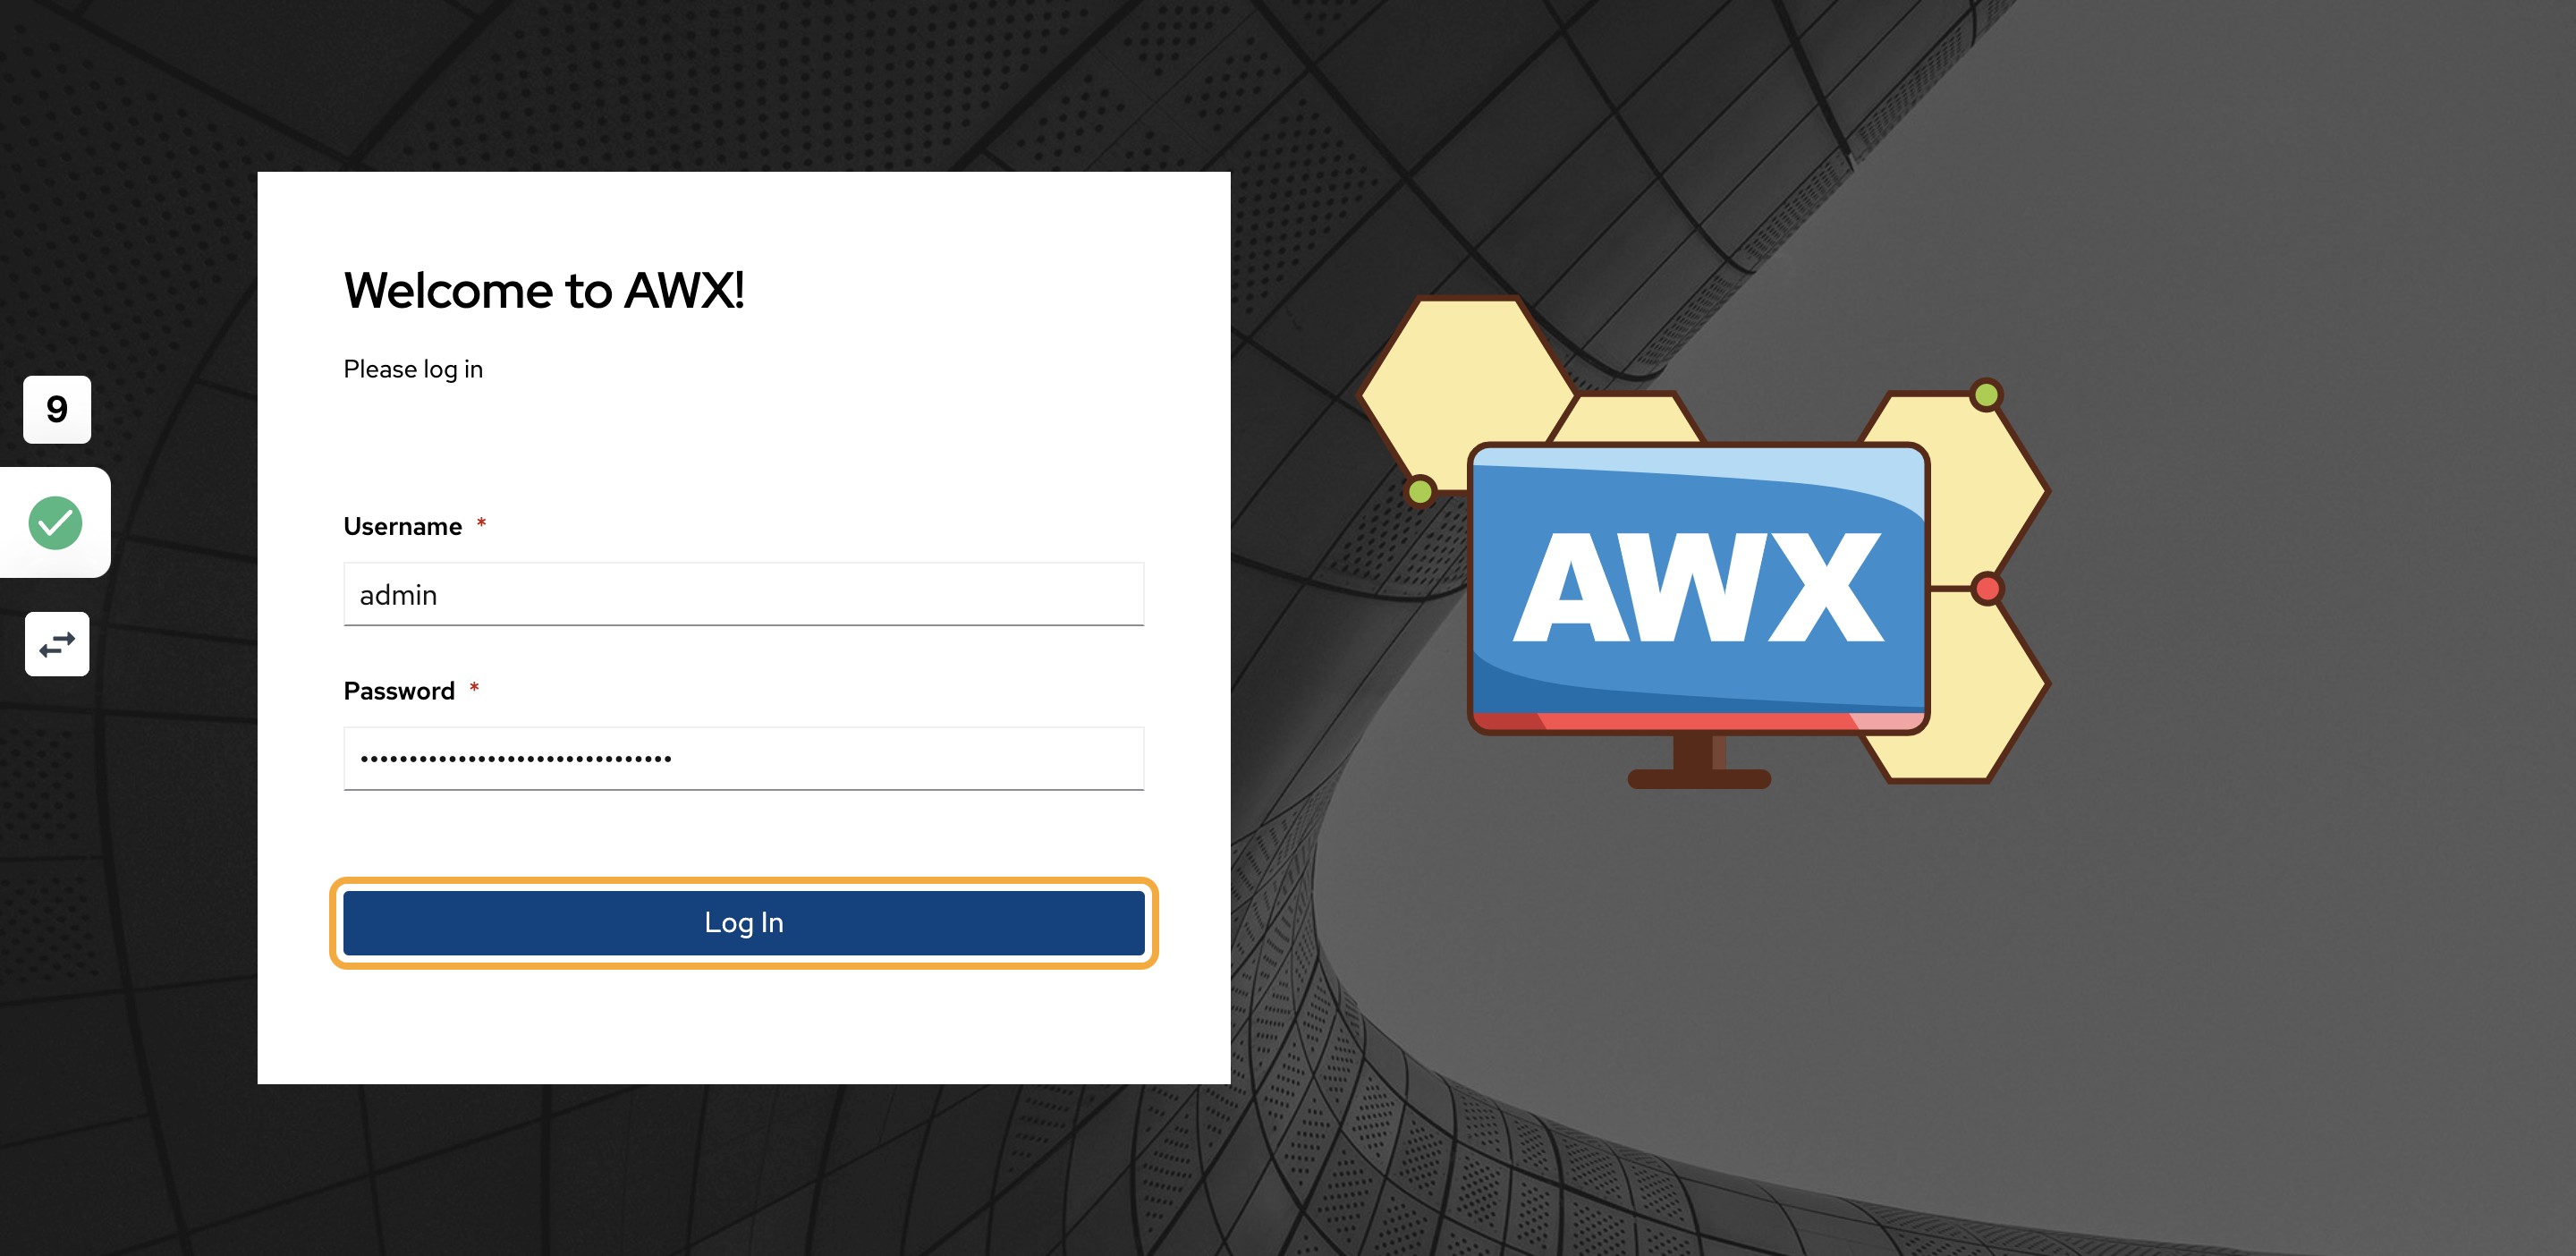
8)Paste the password and click on Log In
9)Create a docker image for execution environment and publish the docker image in your tenancy docker registery
This docker image should install OCI Python SDK which is pre-requisite for OCI Ansible Collection.
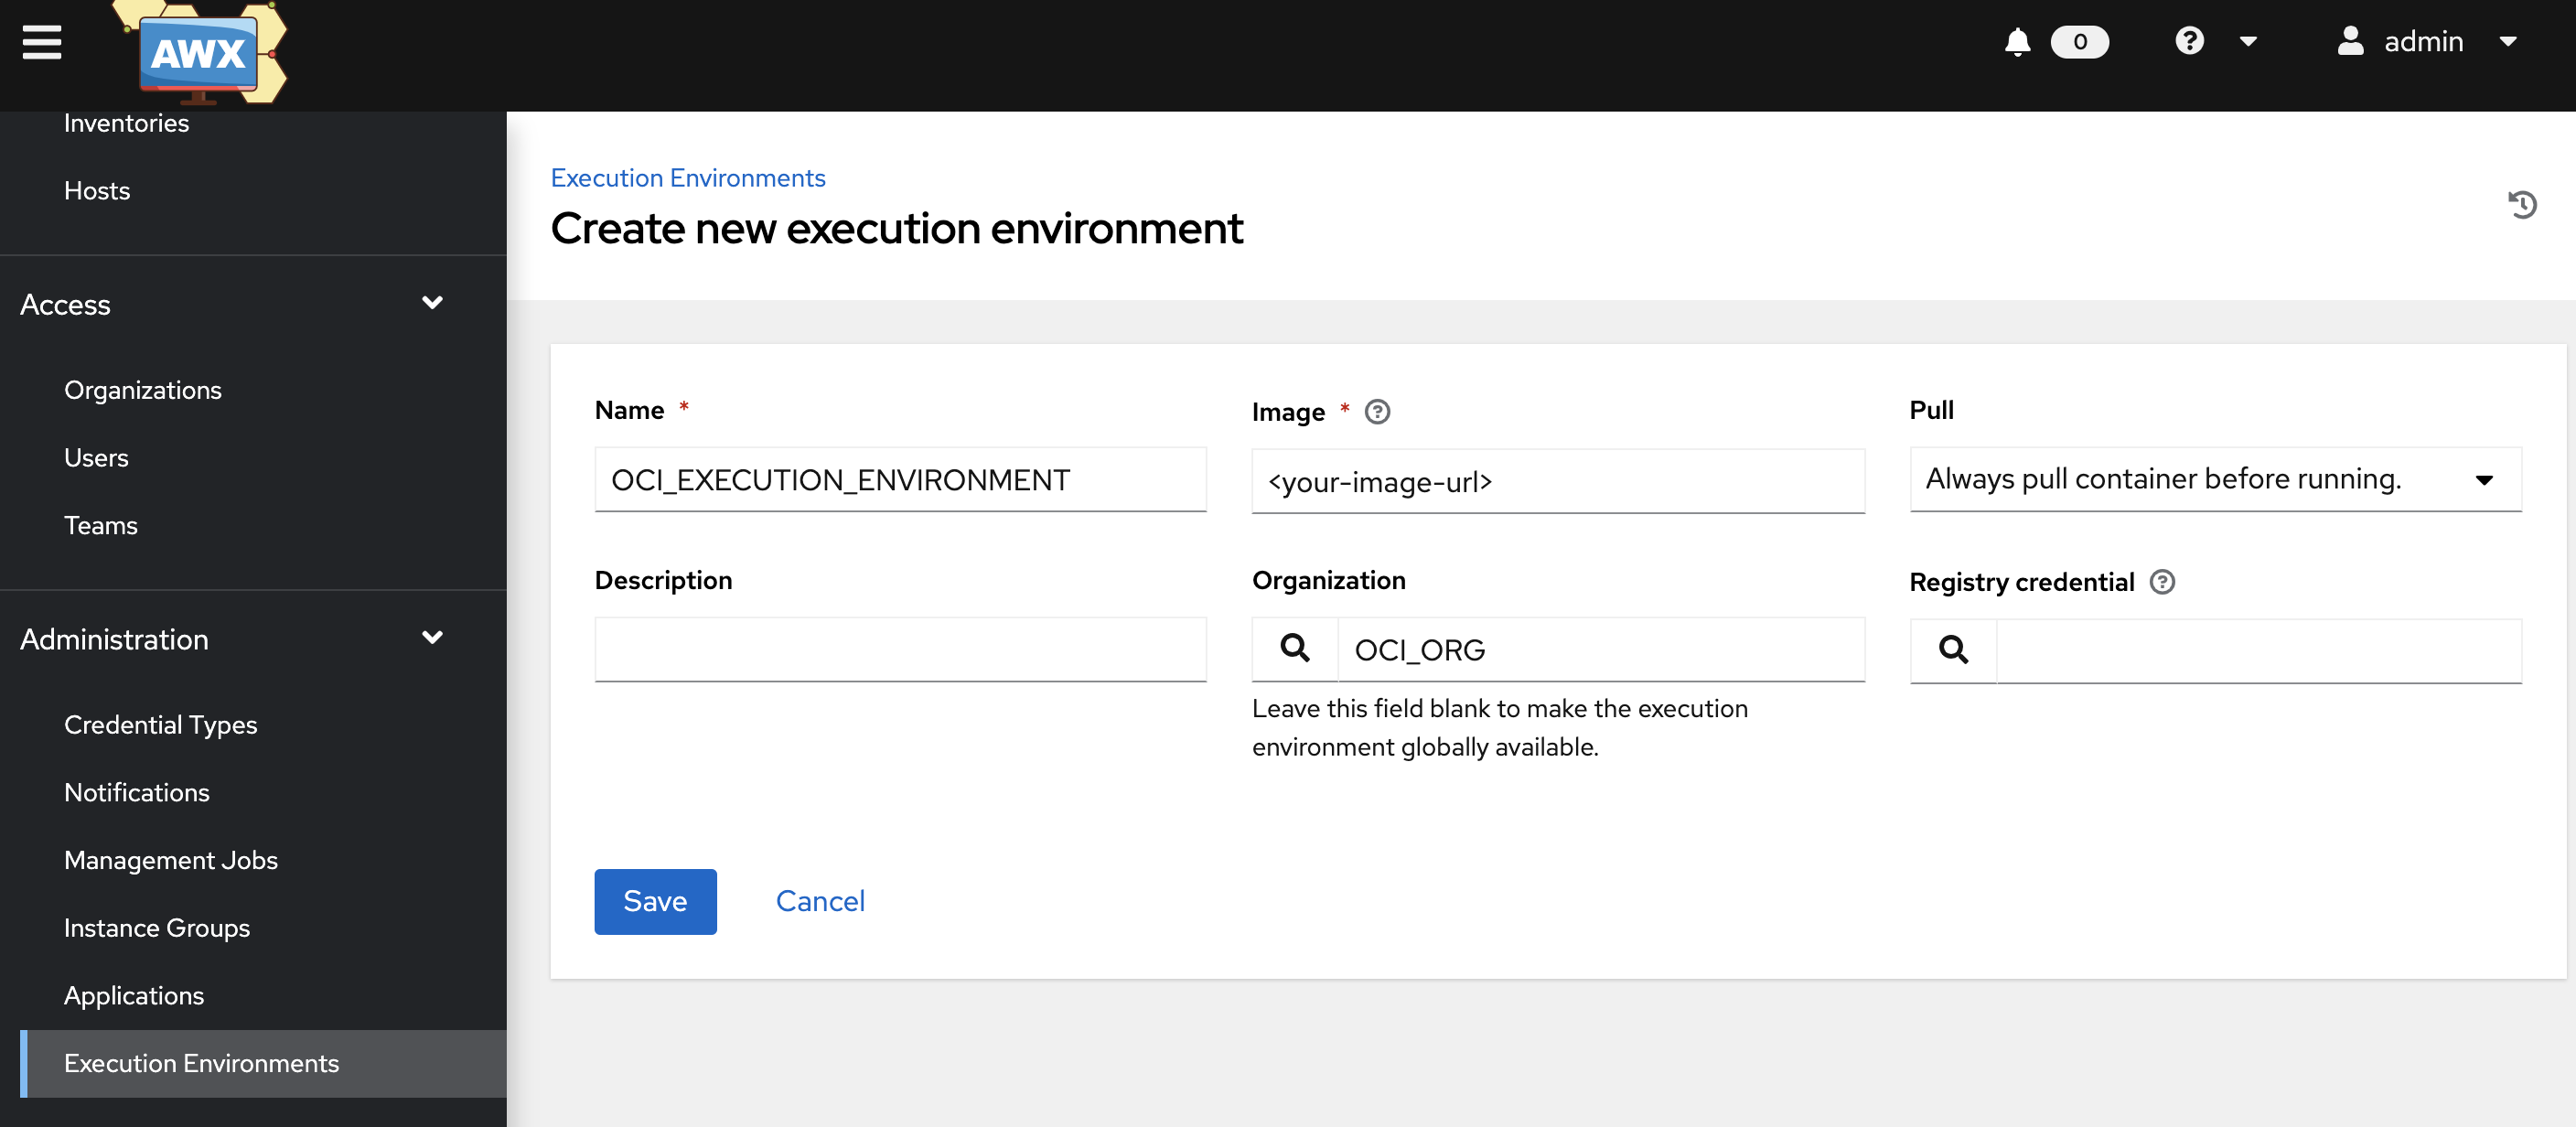
10)Go to Execution environments, click on OCI_EXECUTION_ENVIRONMENT, click edit, provide the newly created docker image name and save it
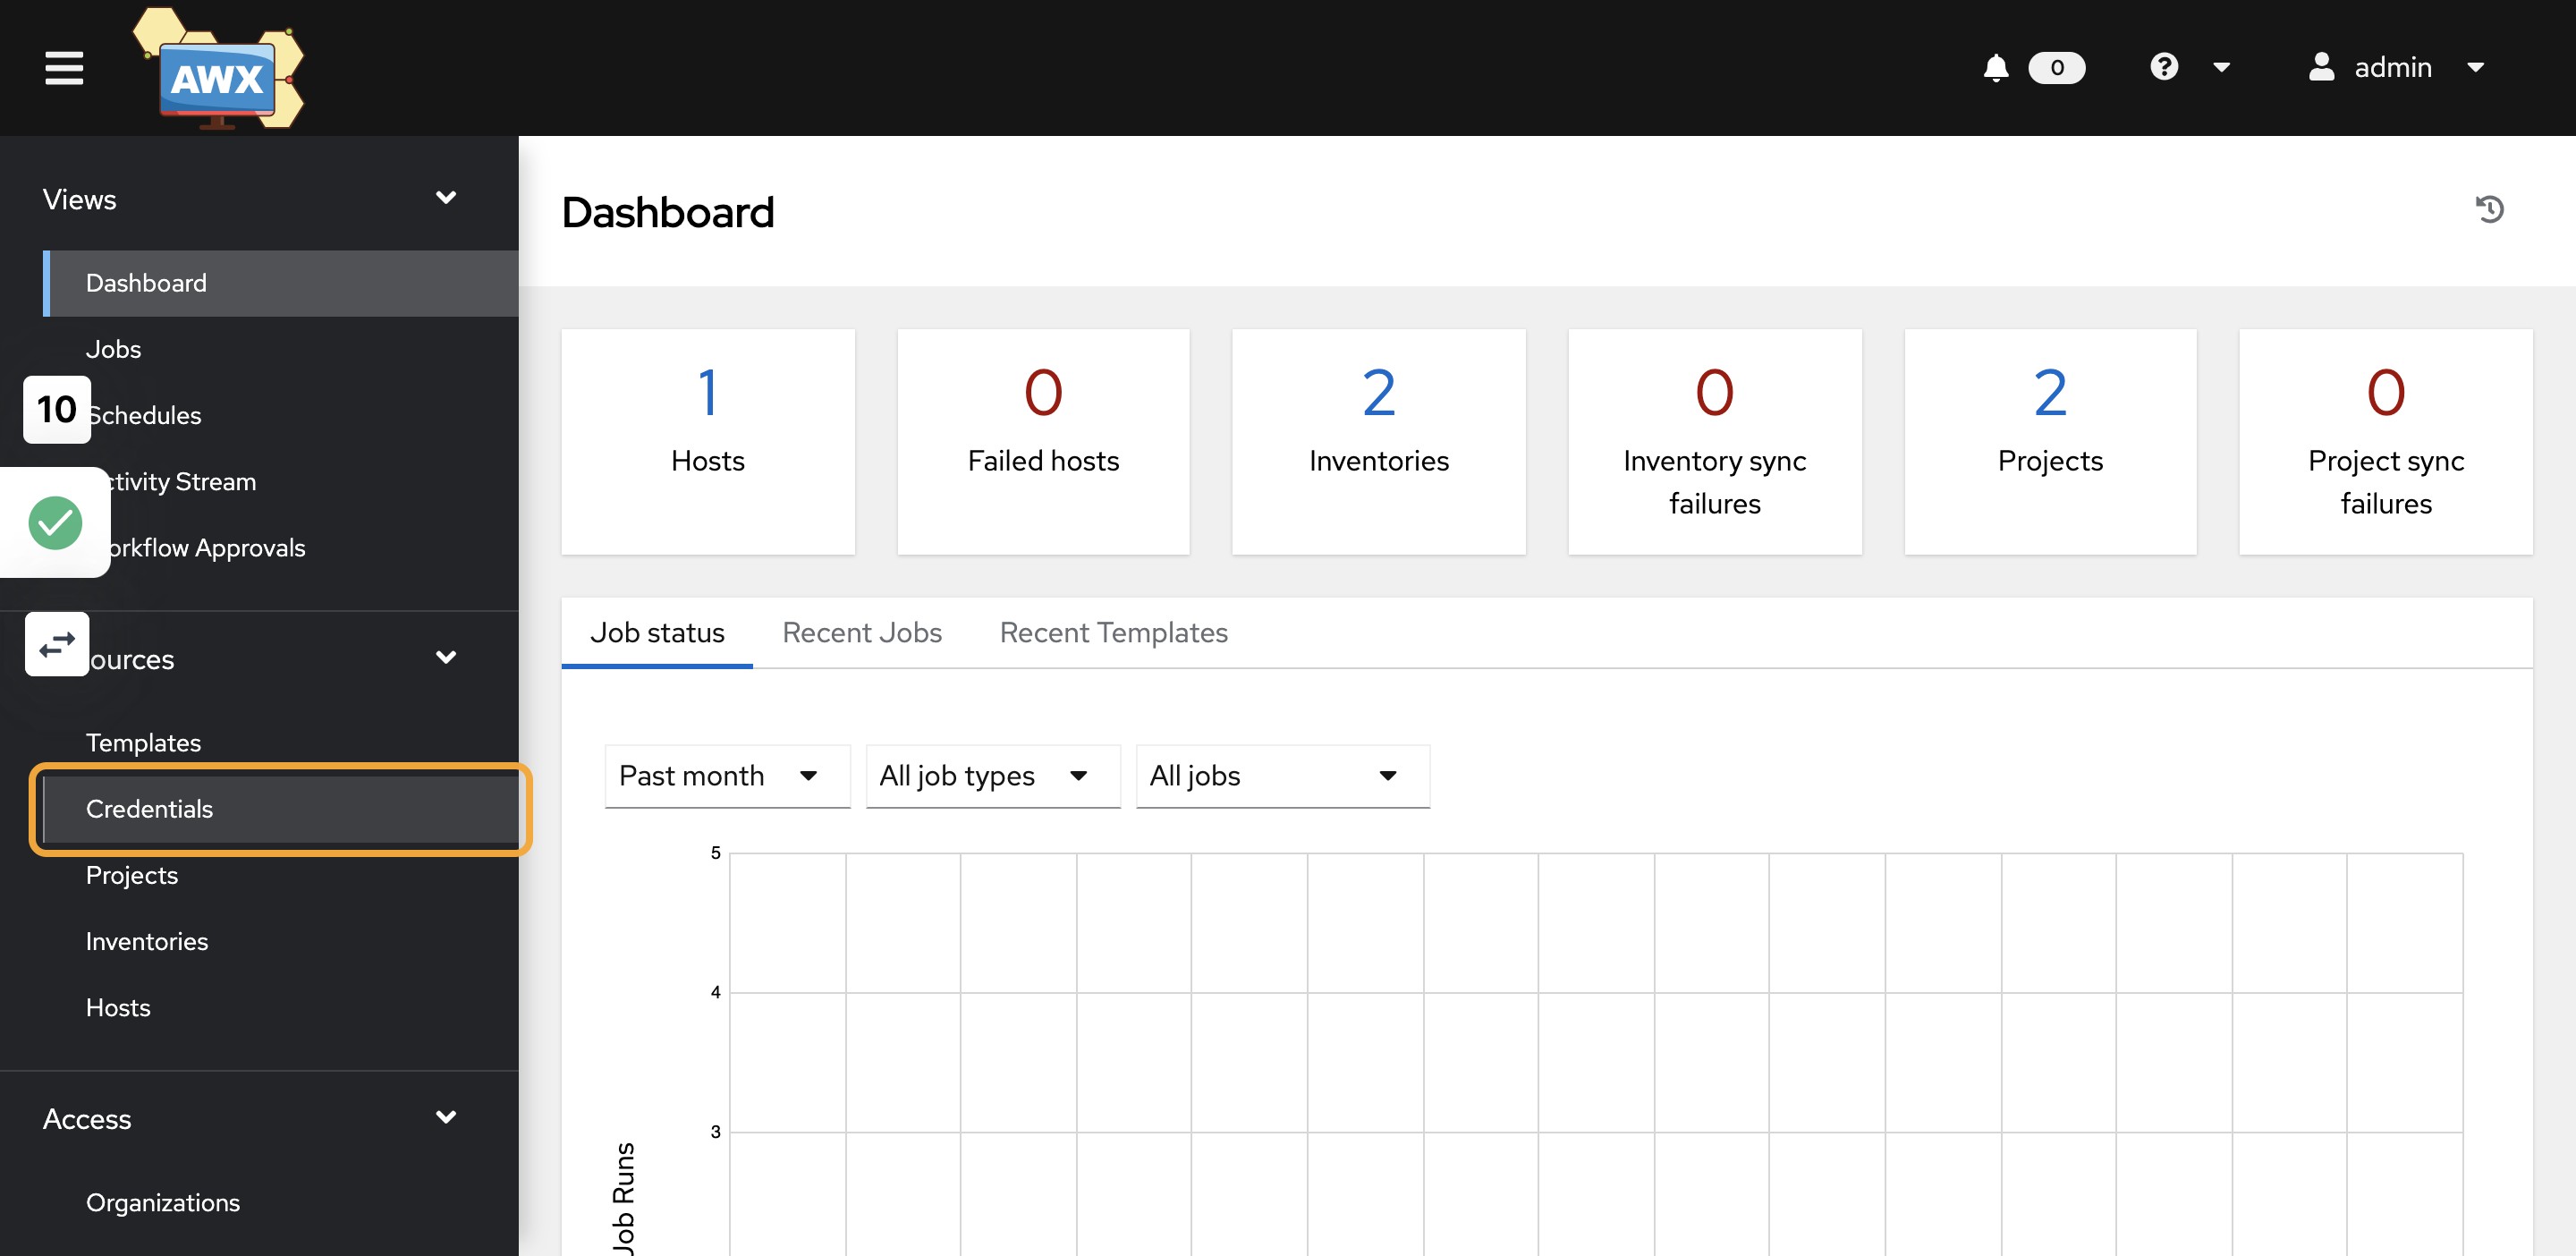
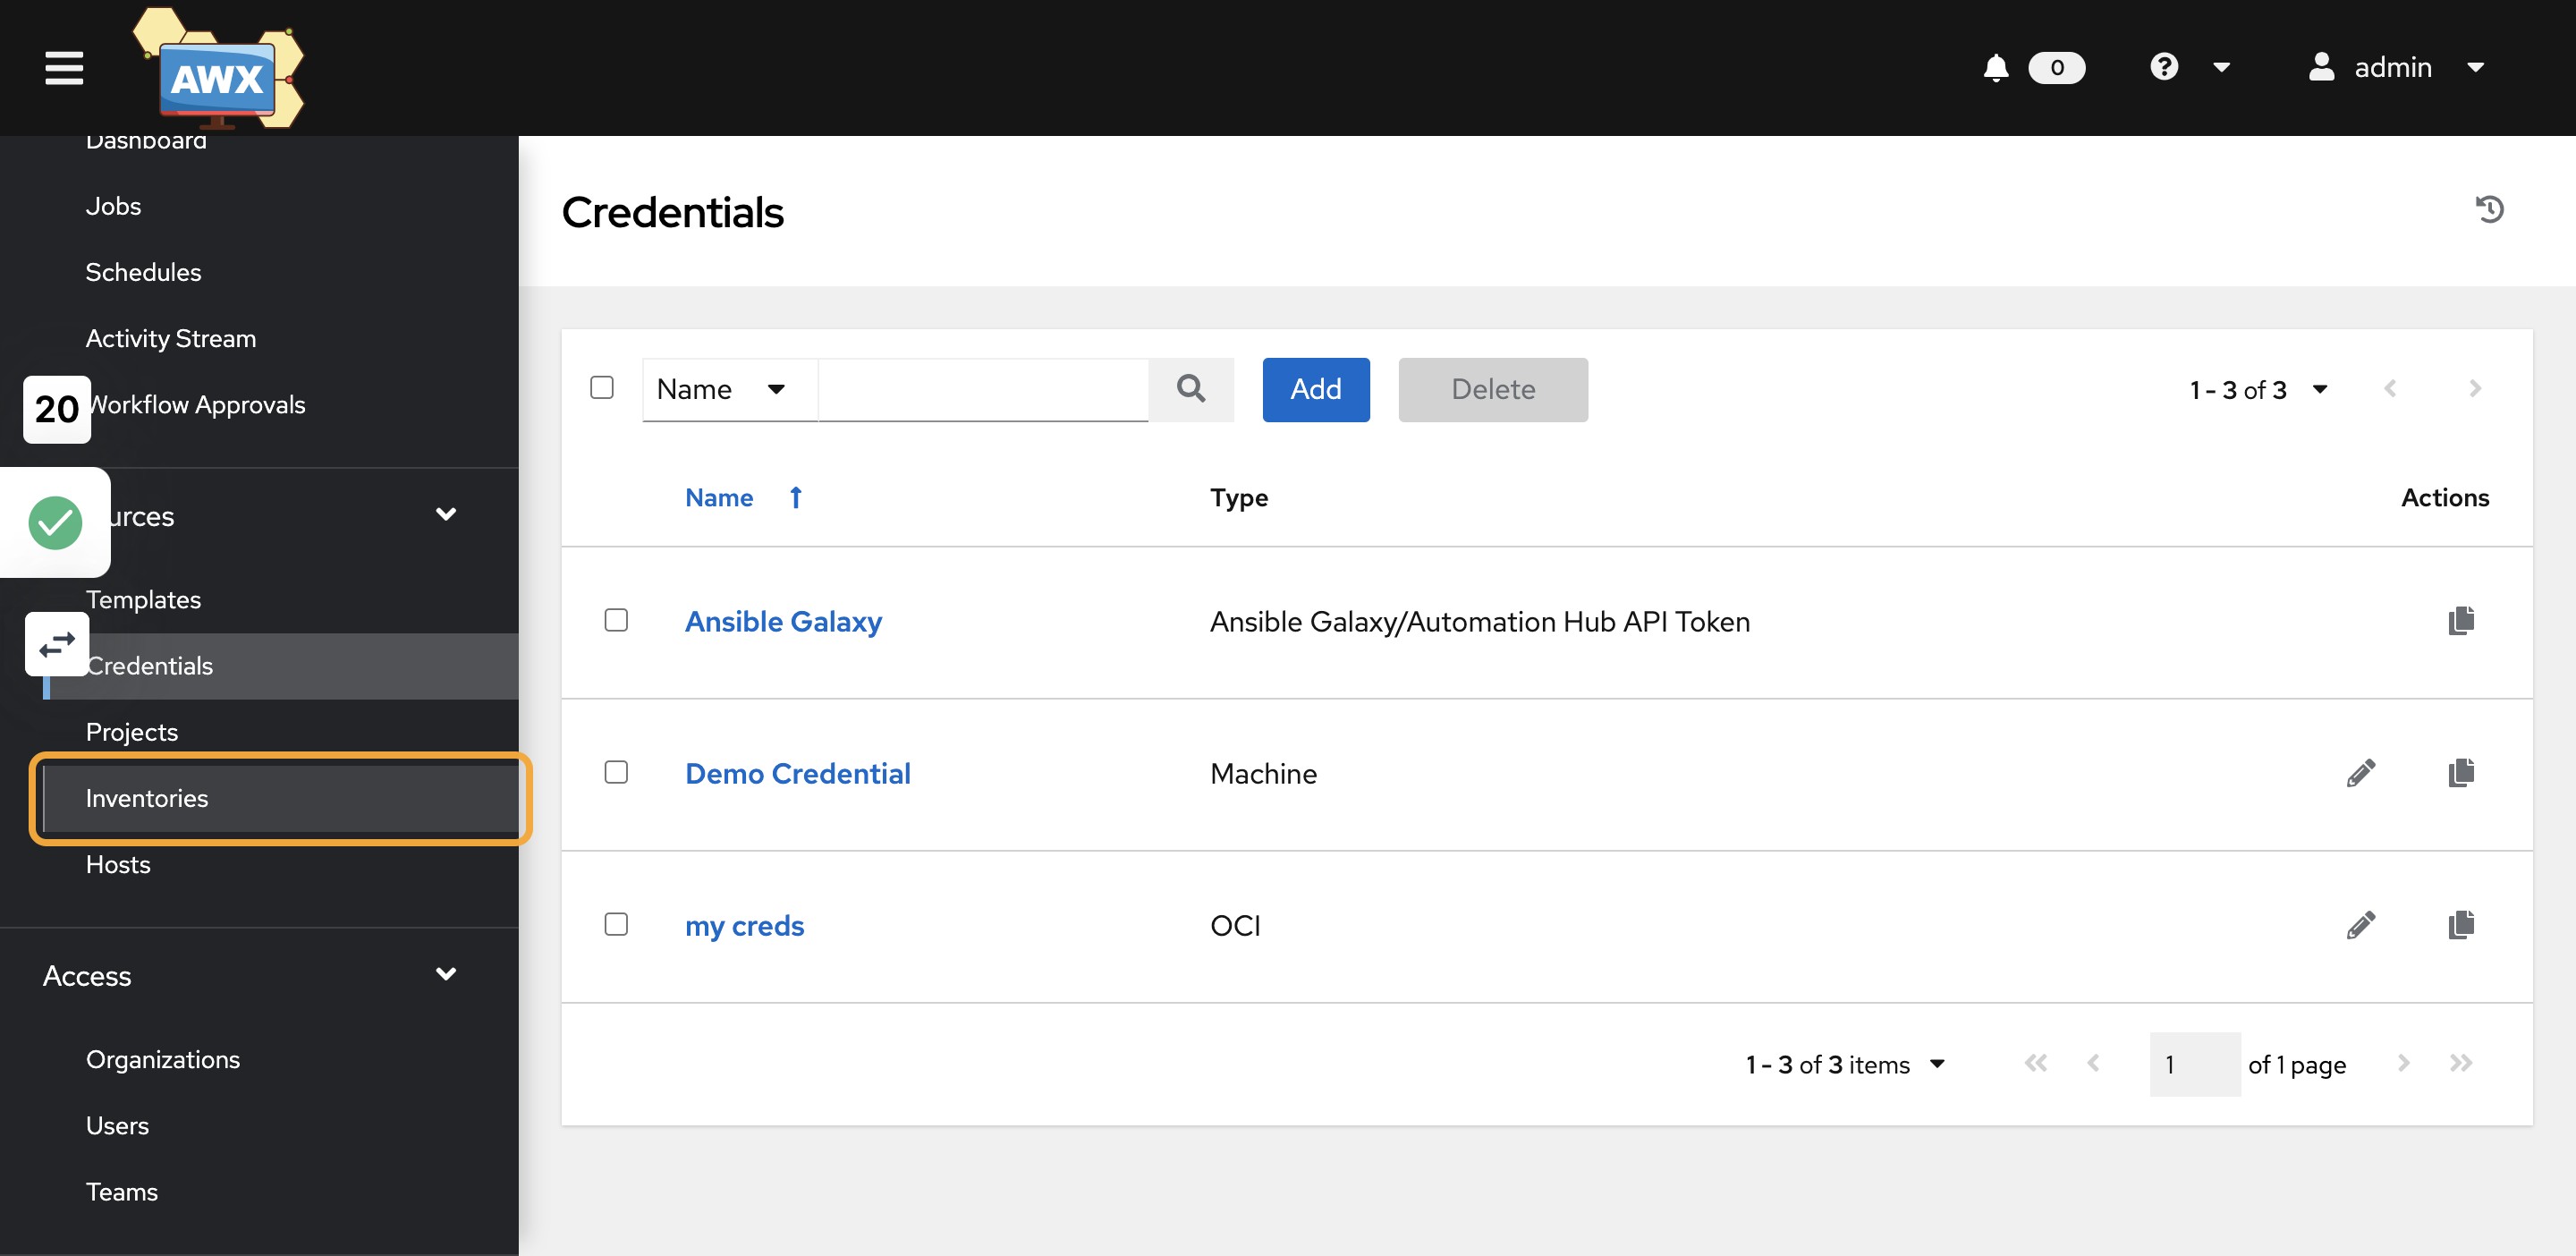
11)Click on Credentials
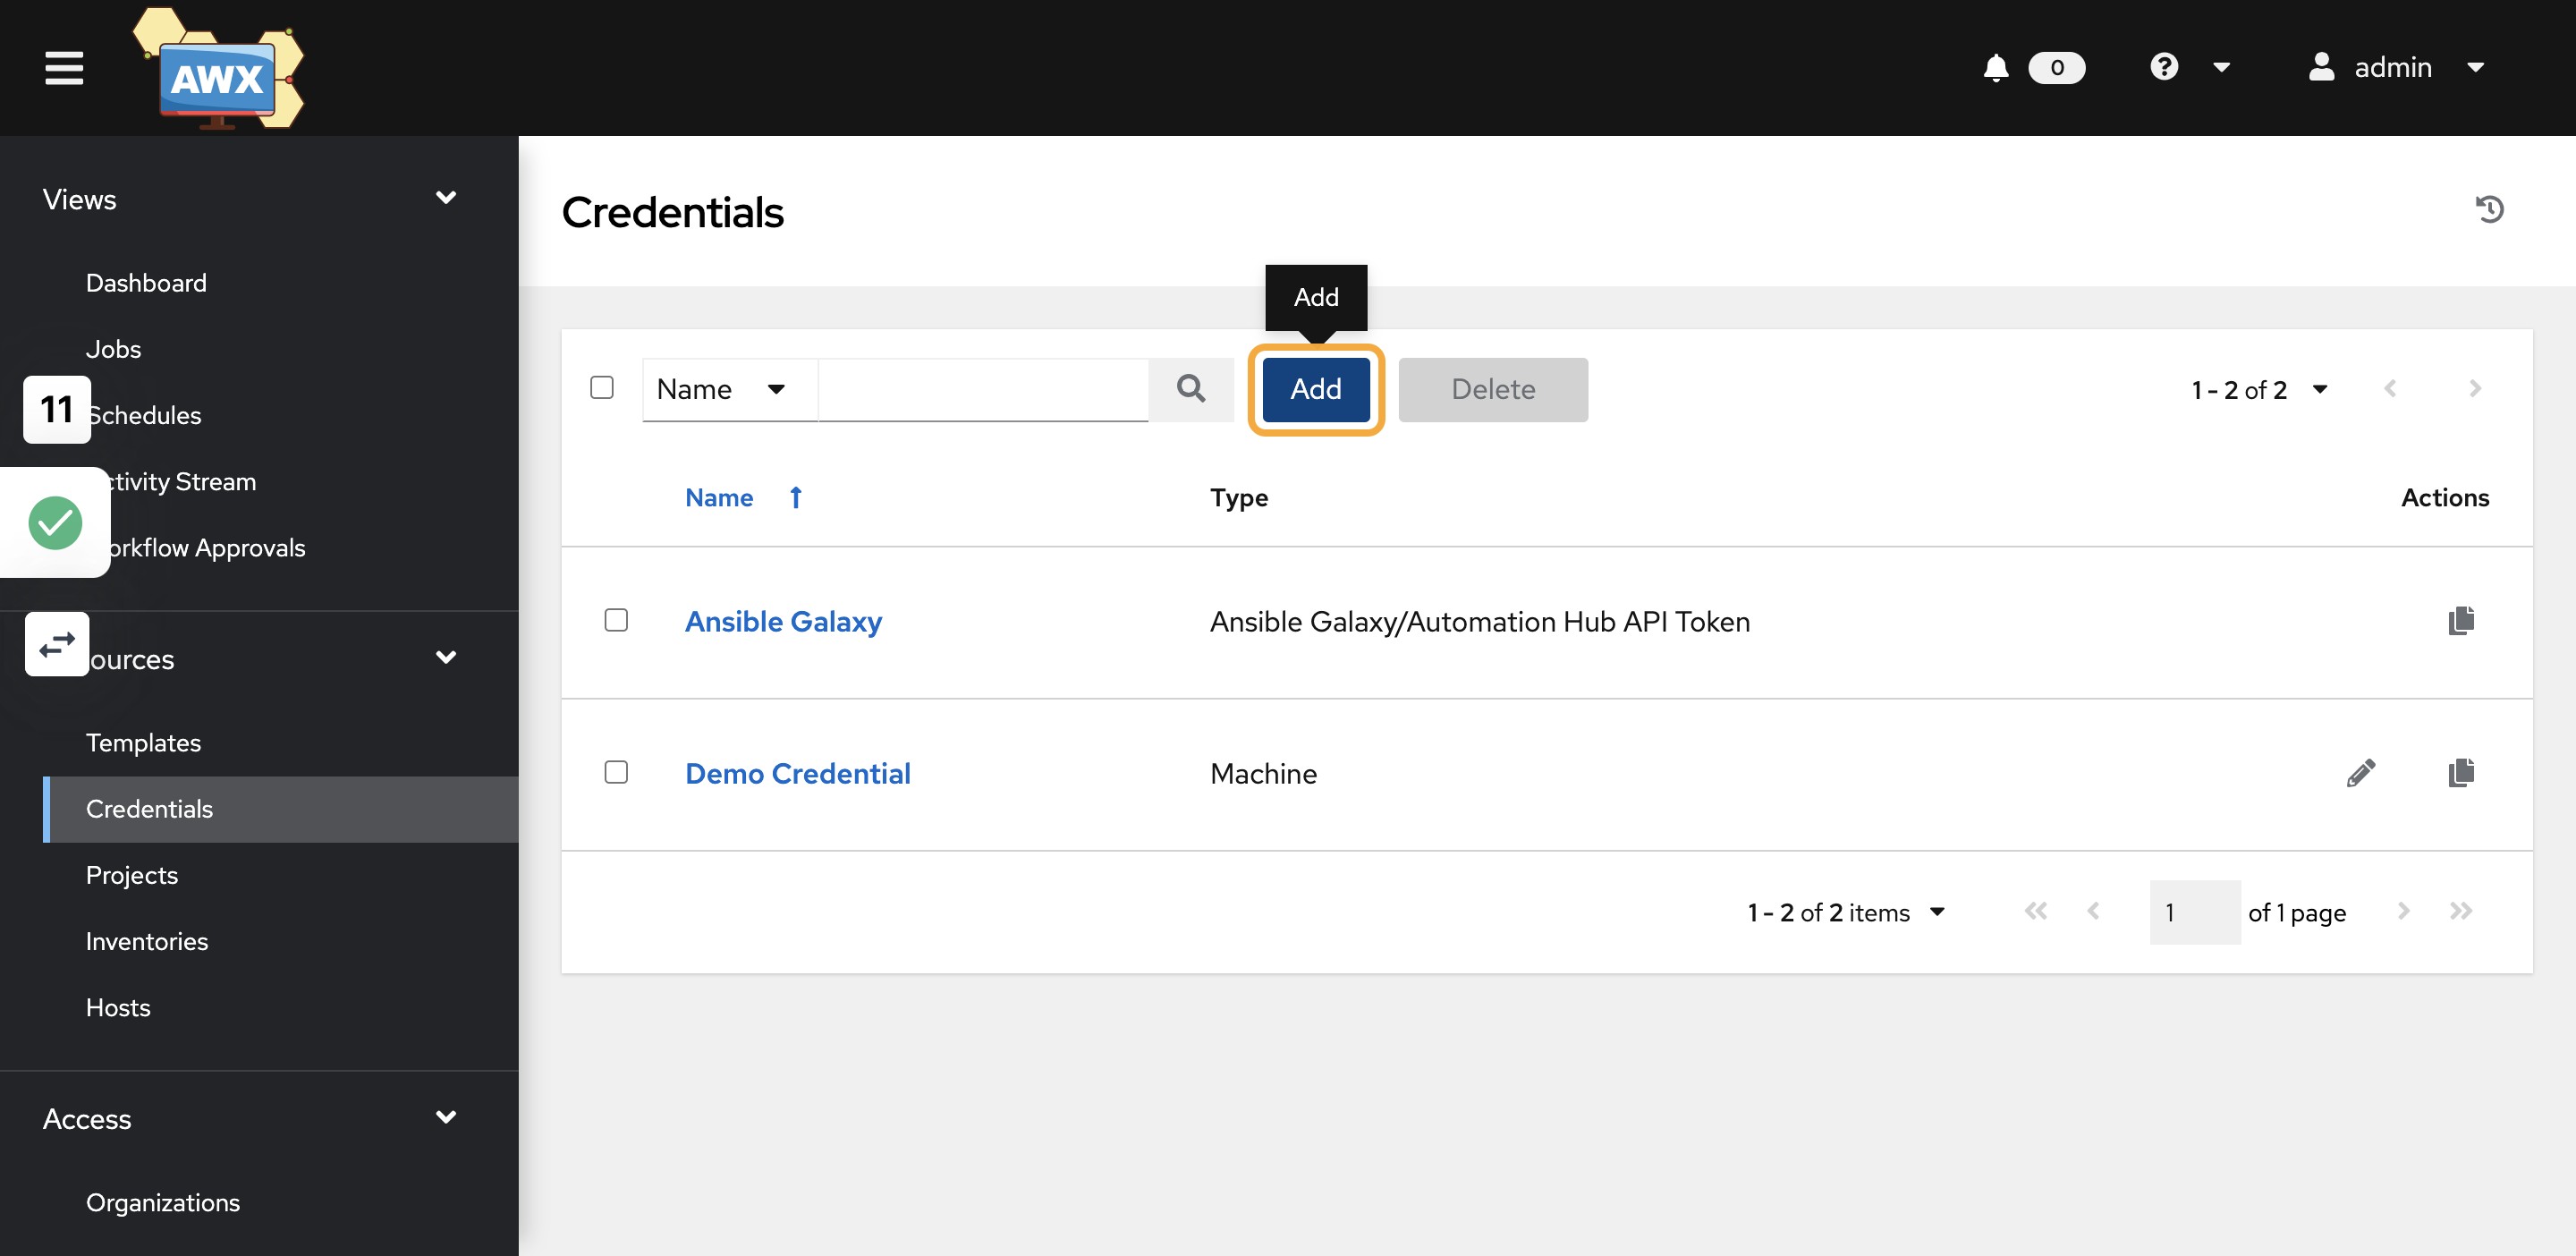
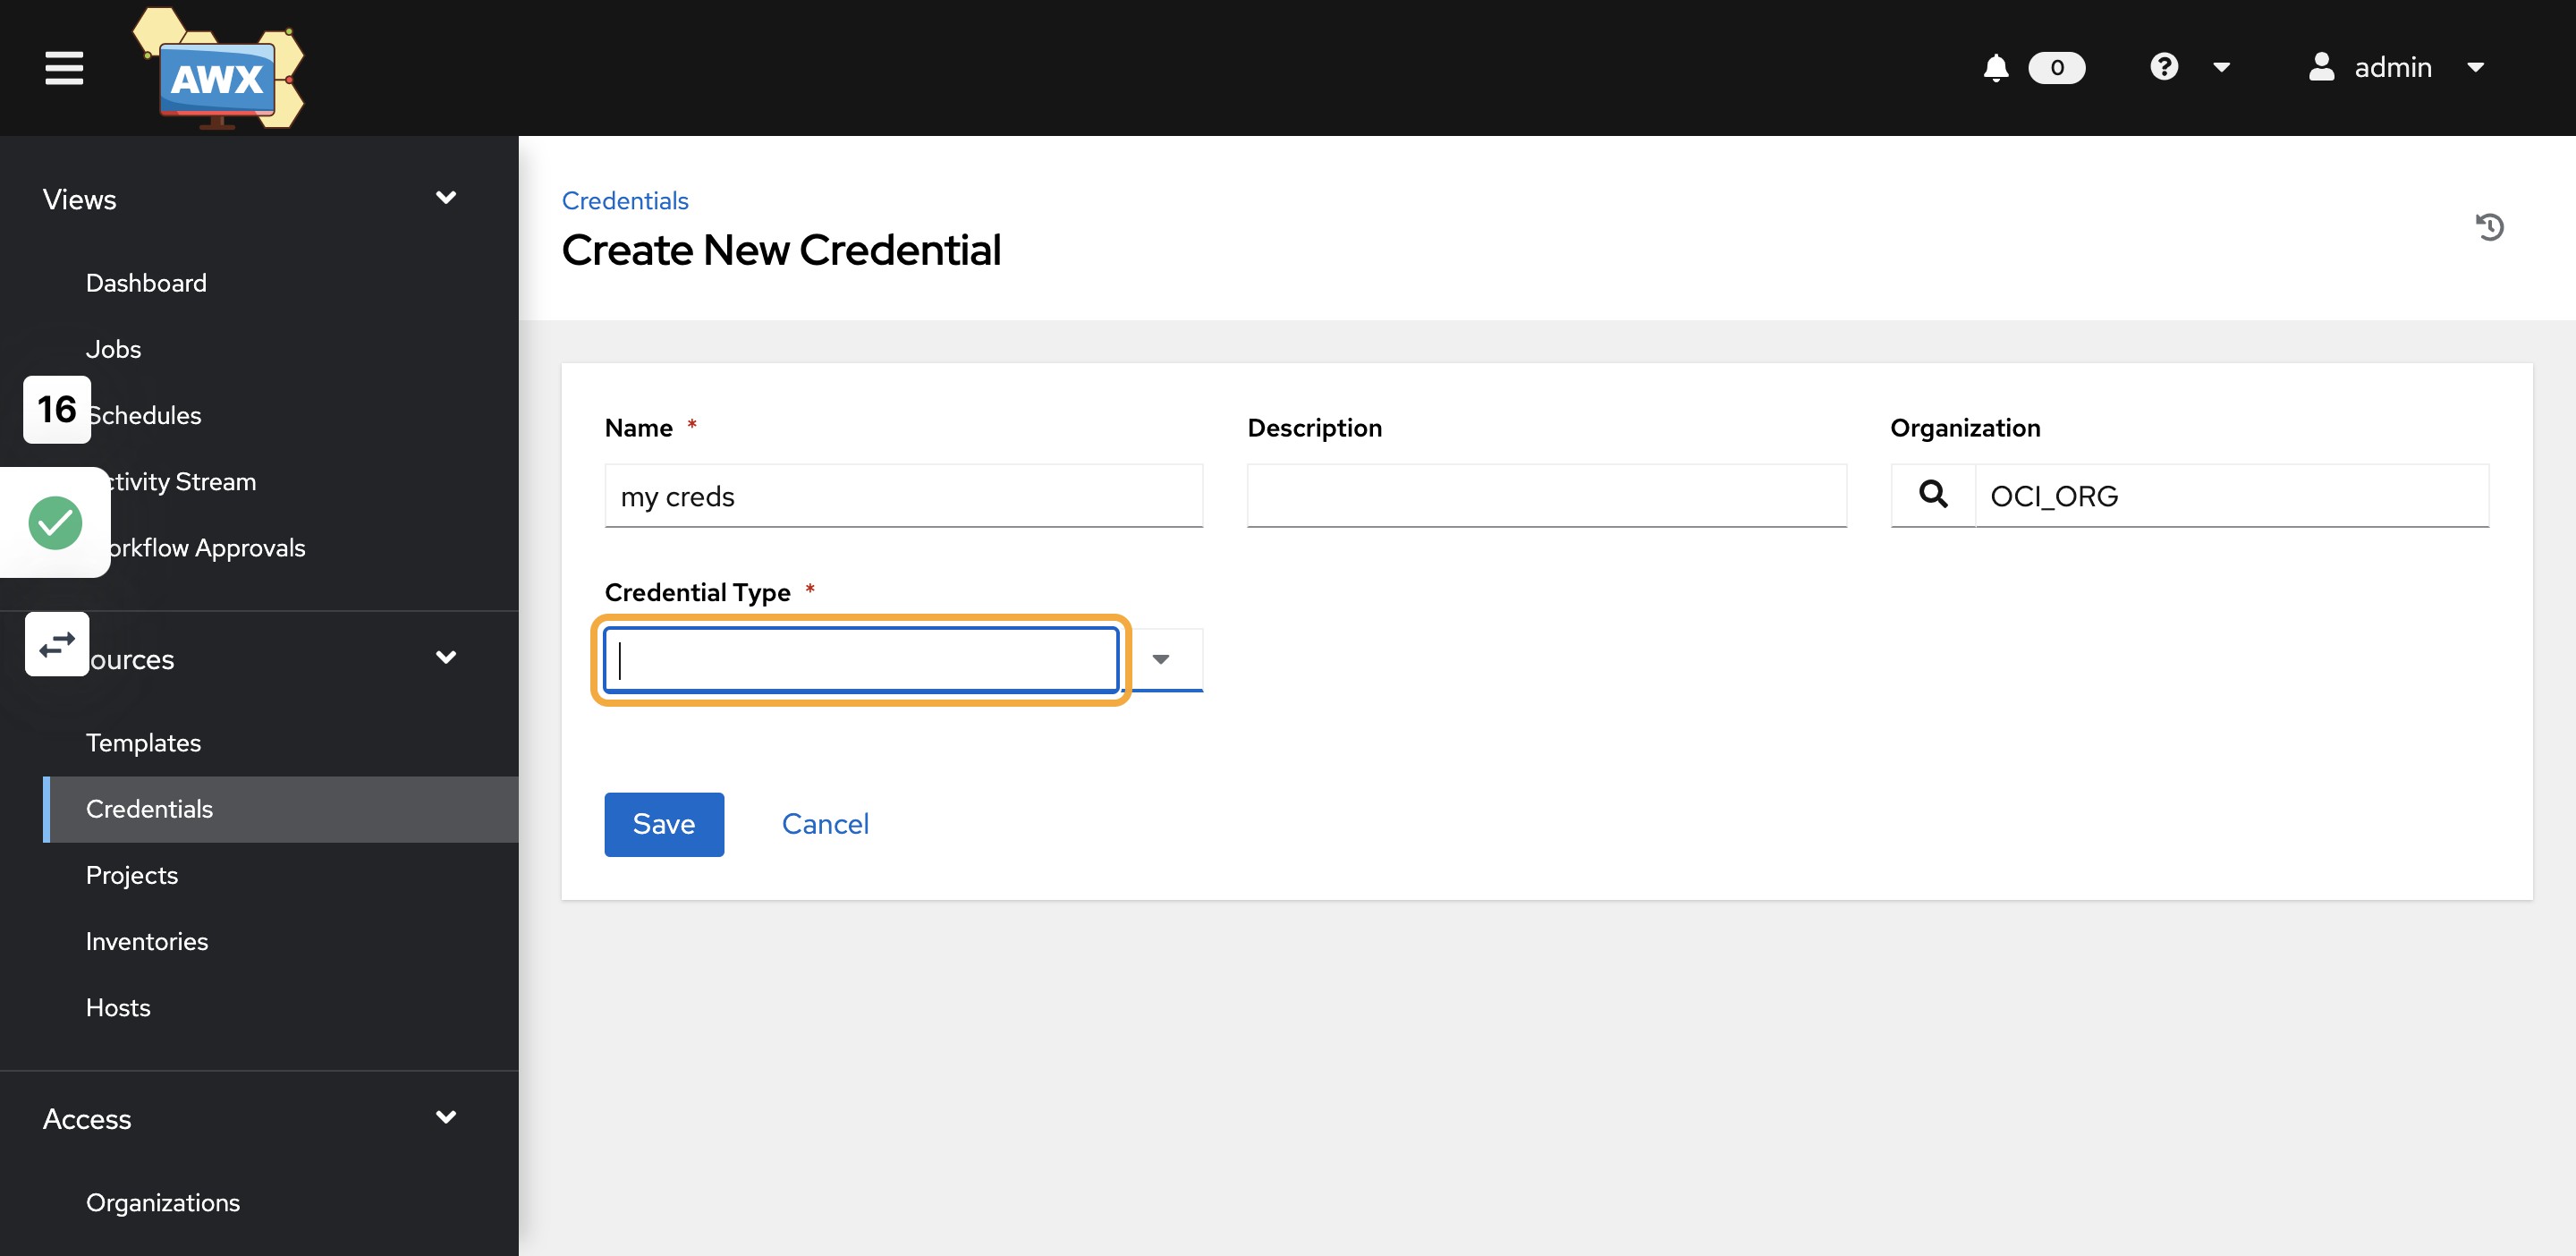
12)Click on Add
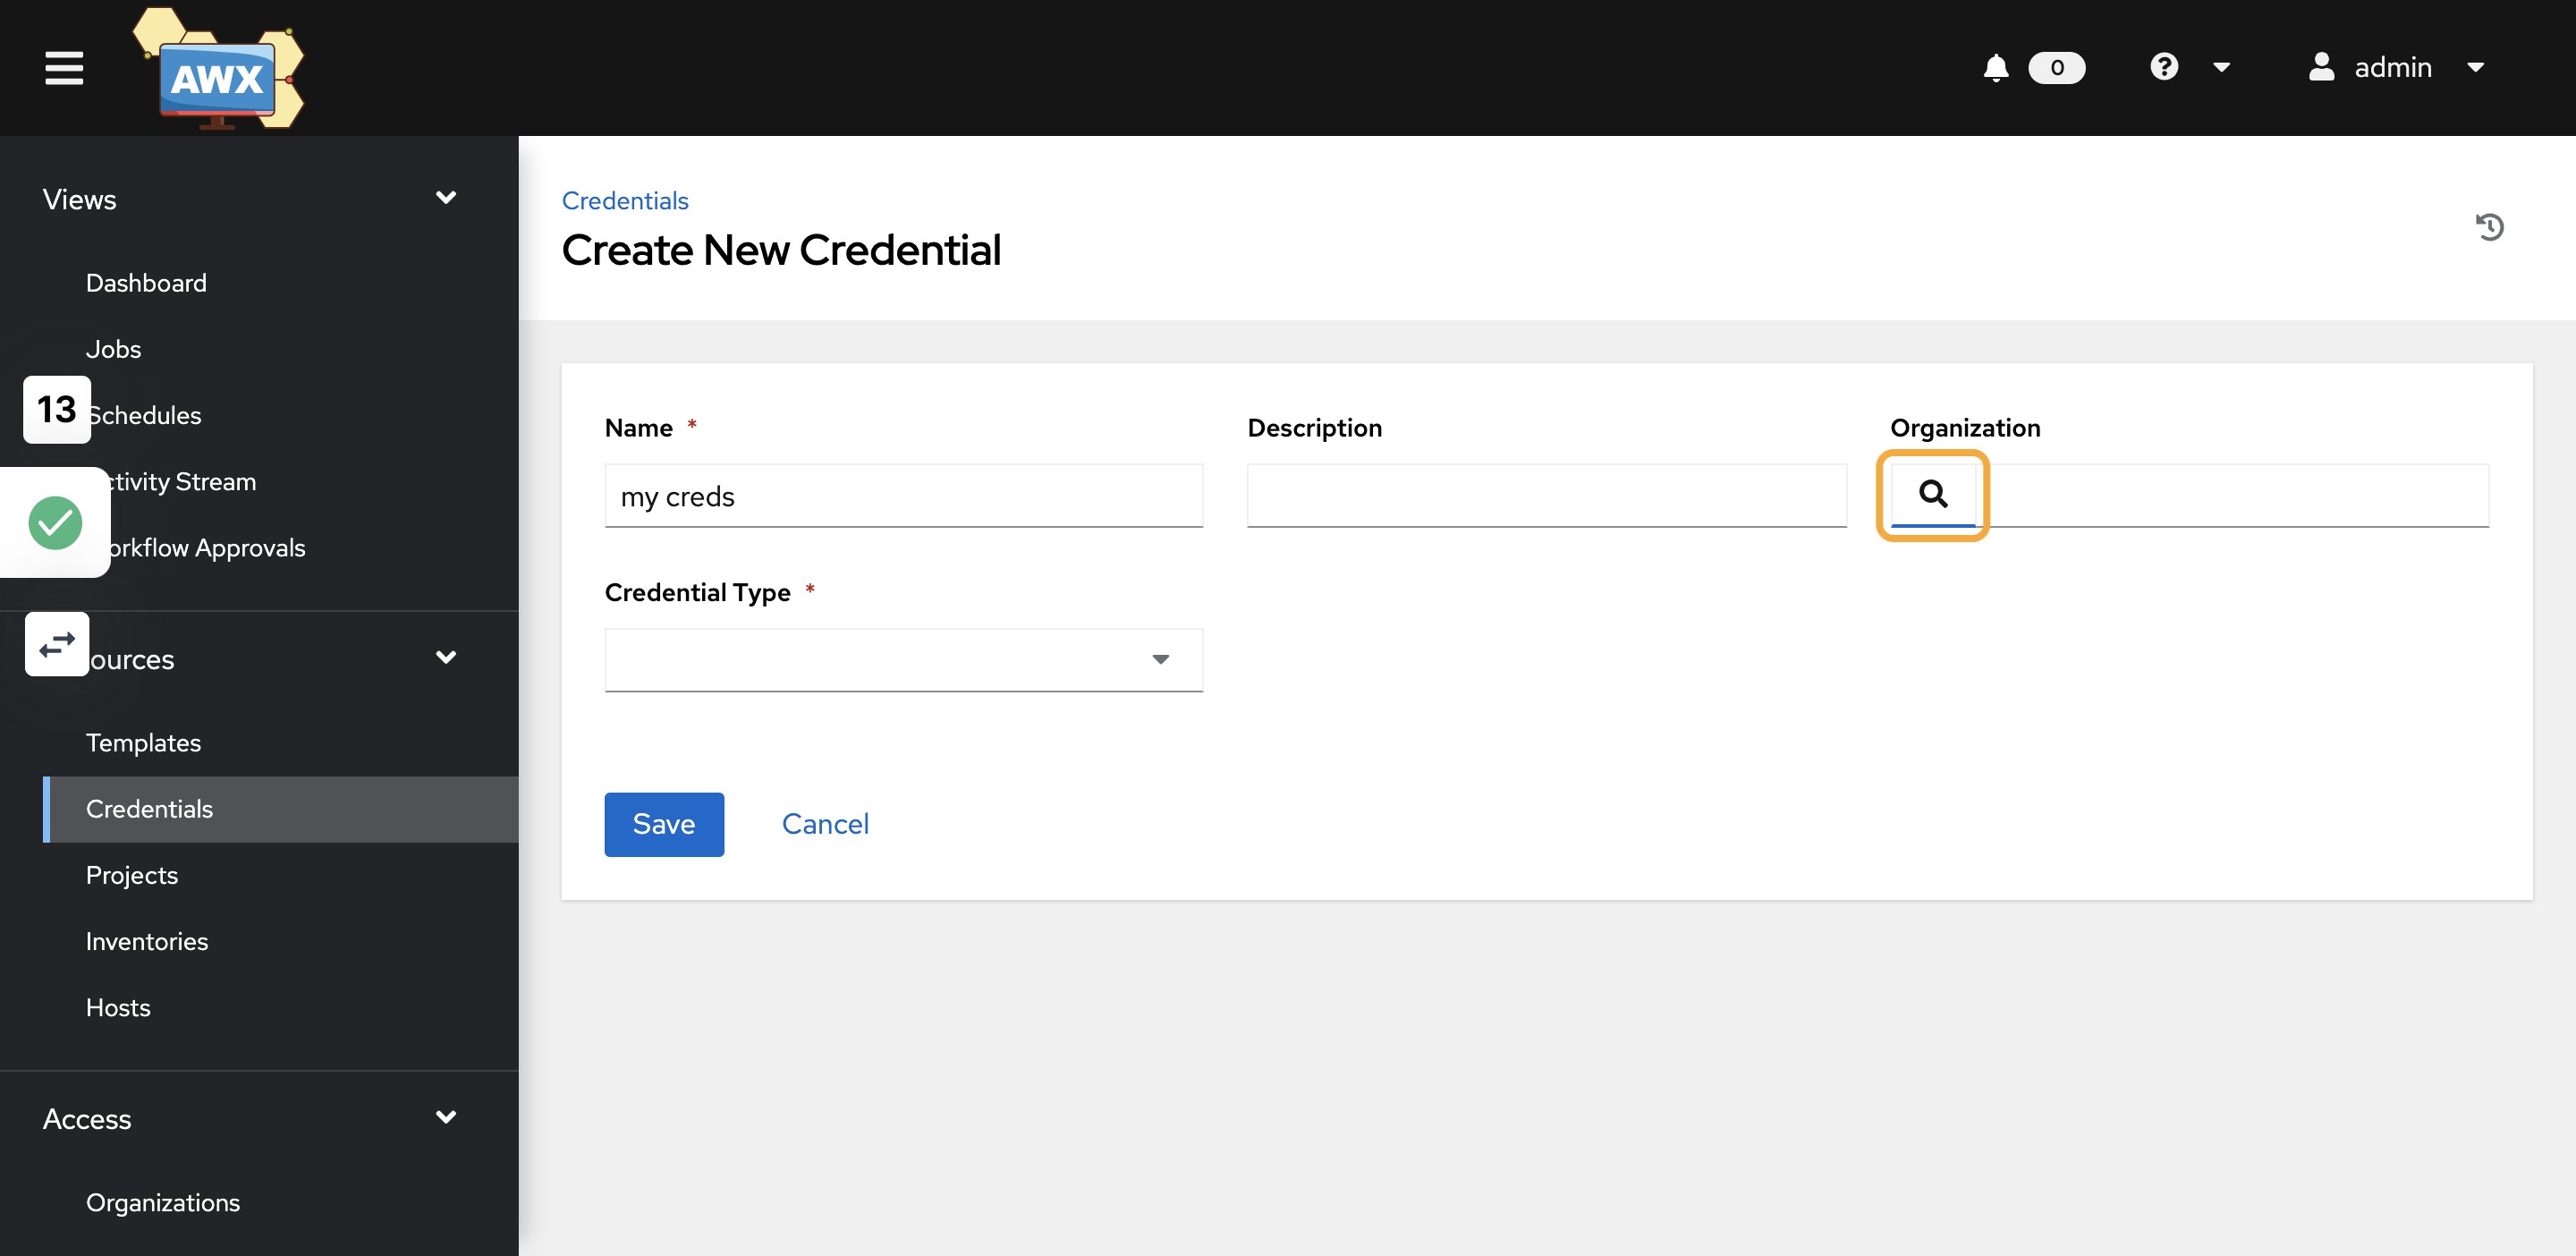
13)Provide any name for credentials

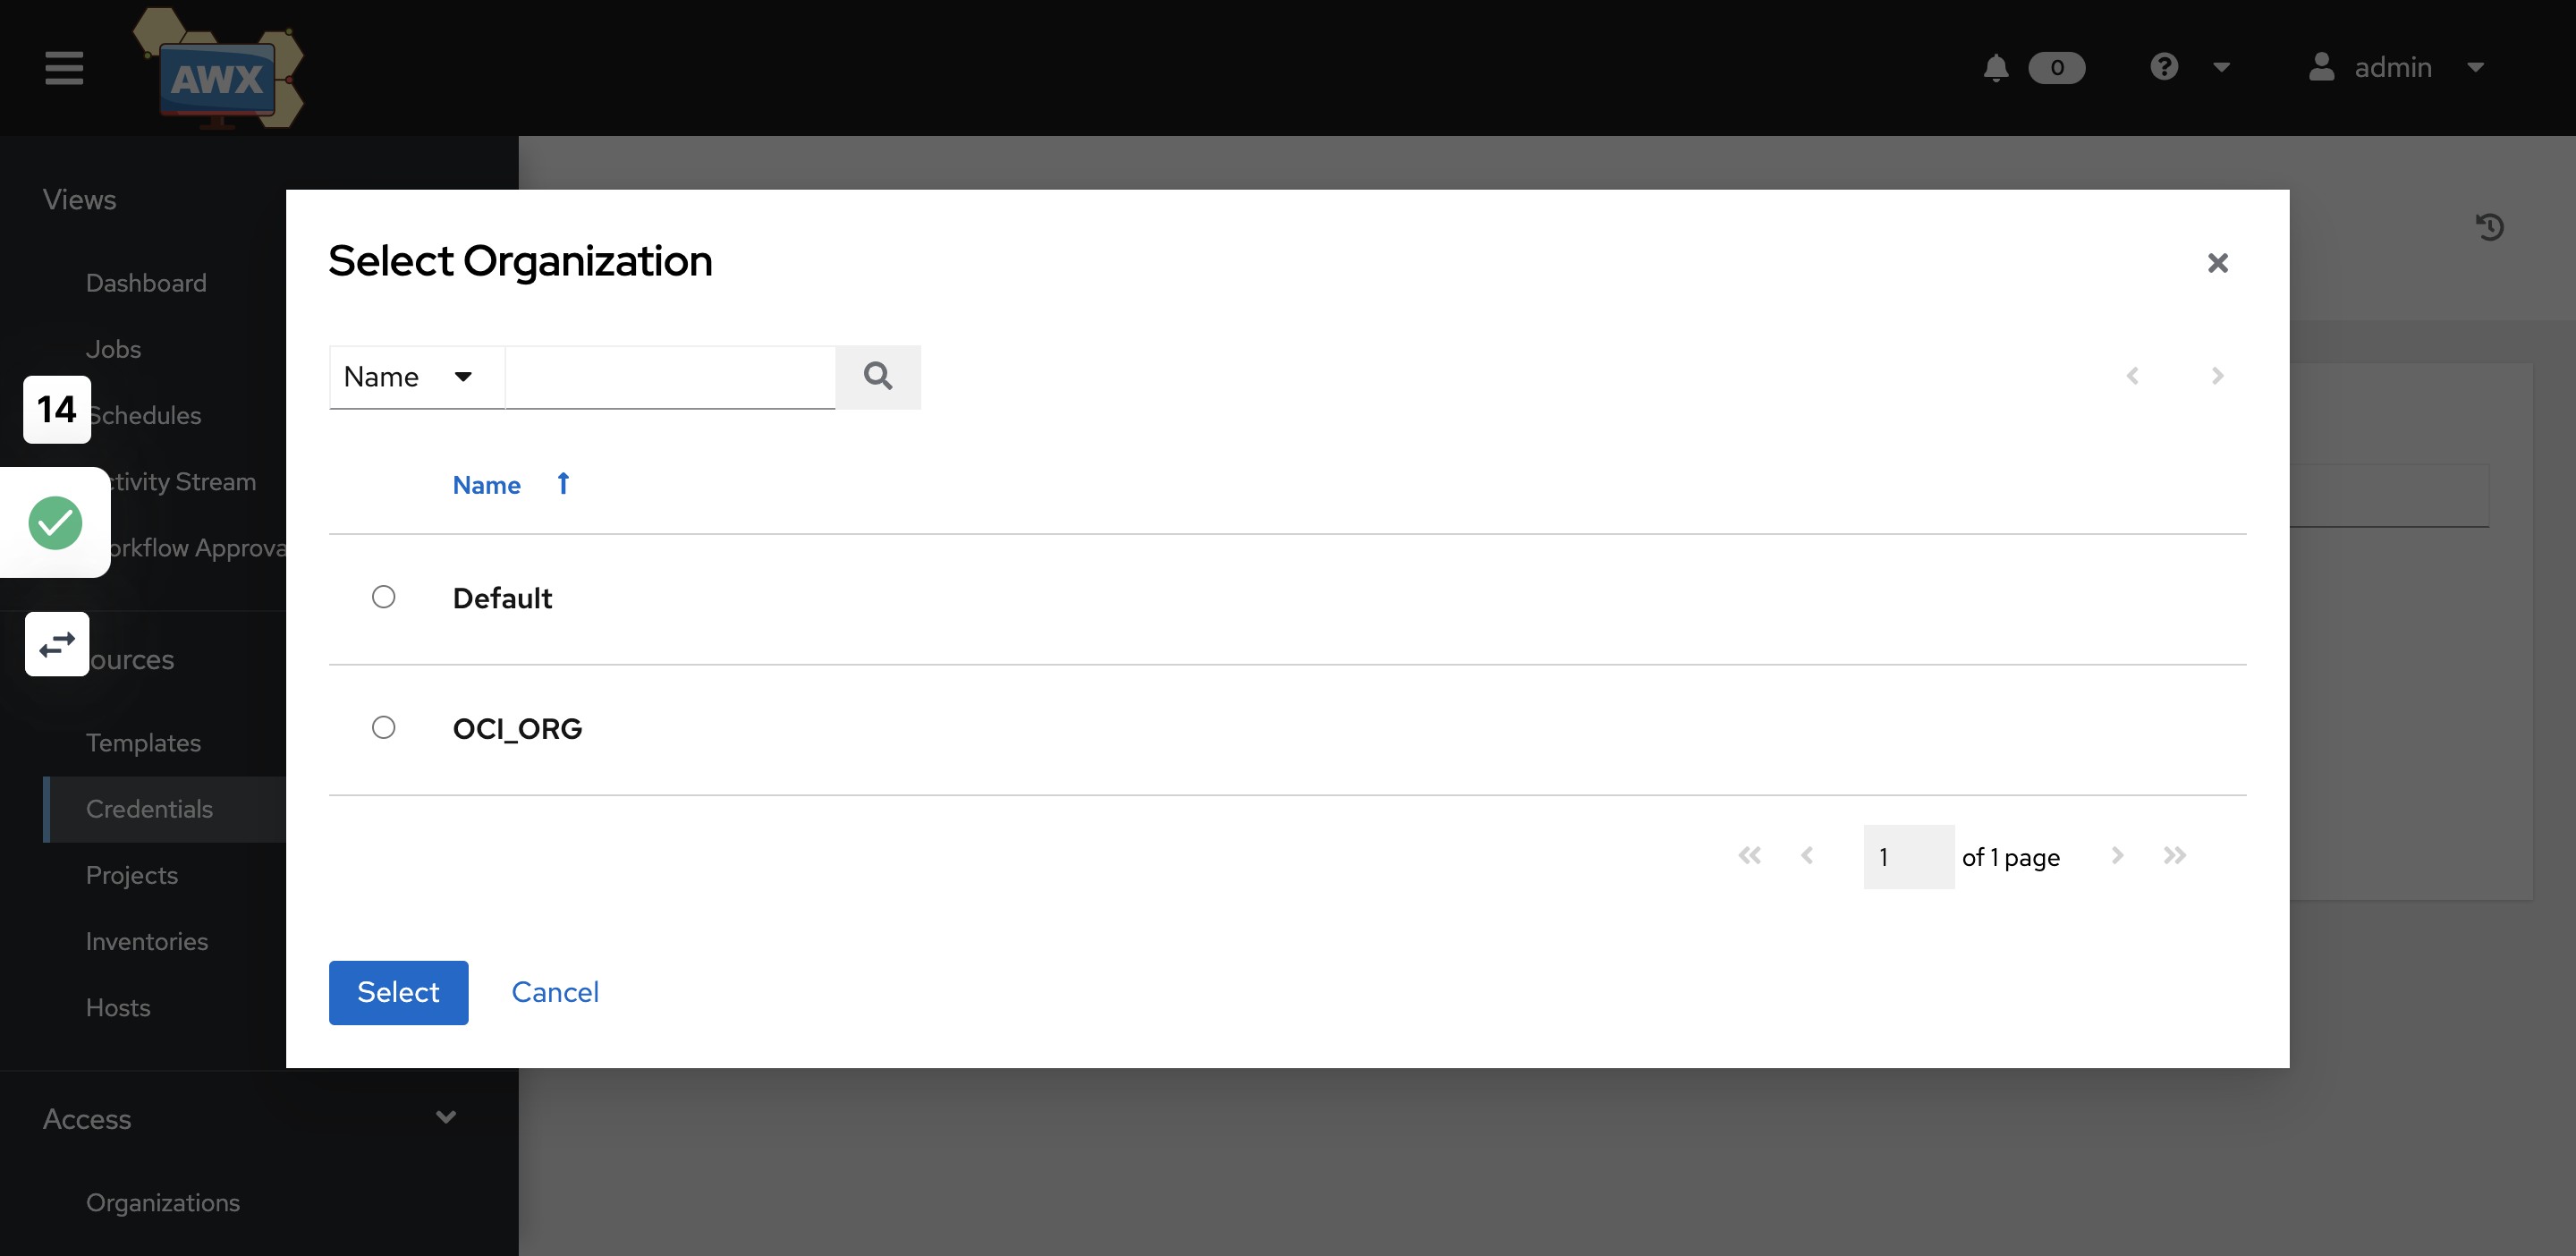
14)Search Organization
15)Select OCI_ORG
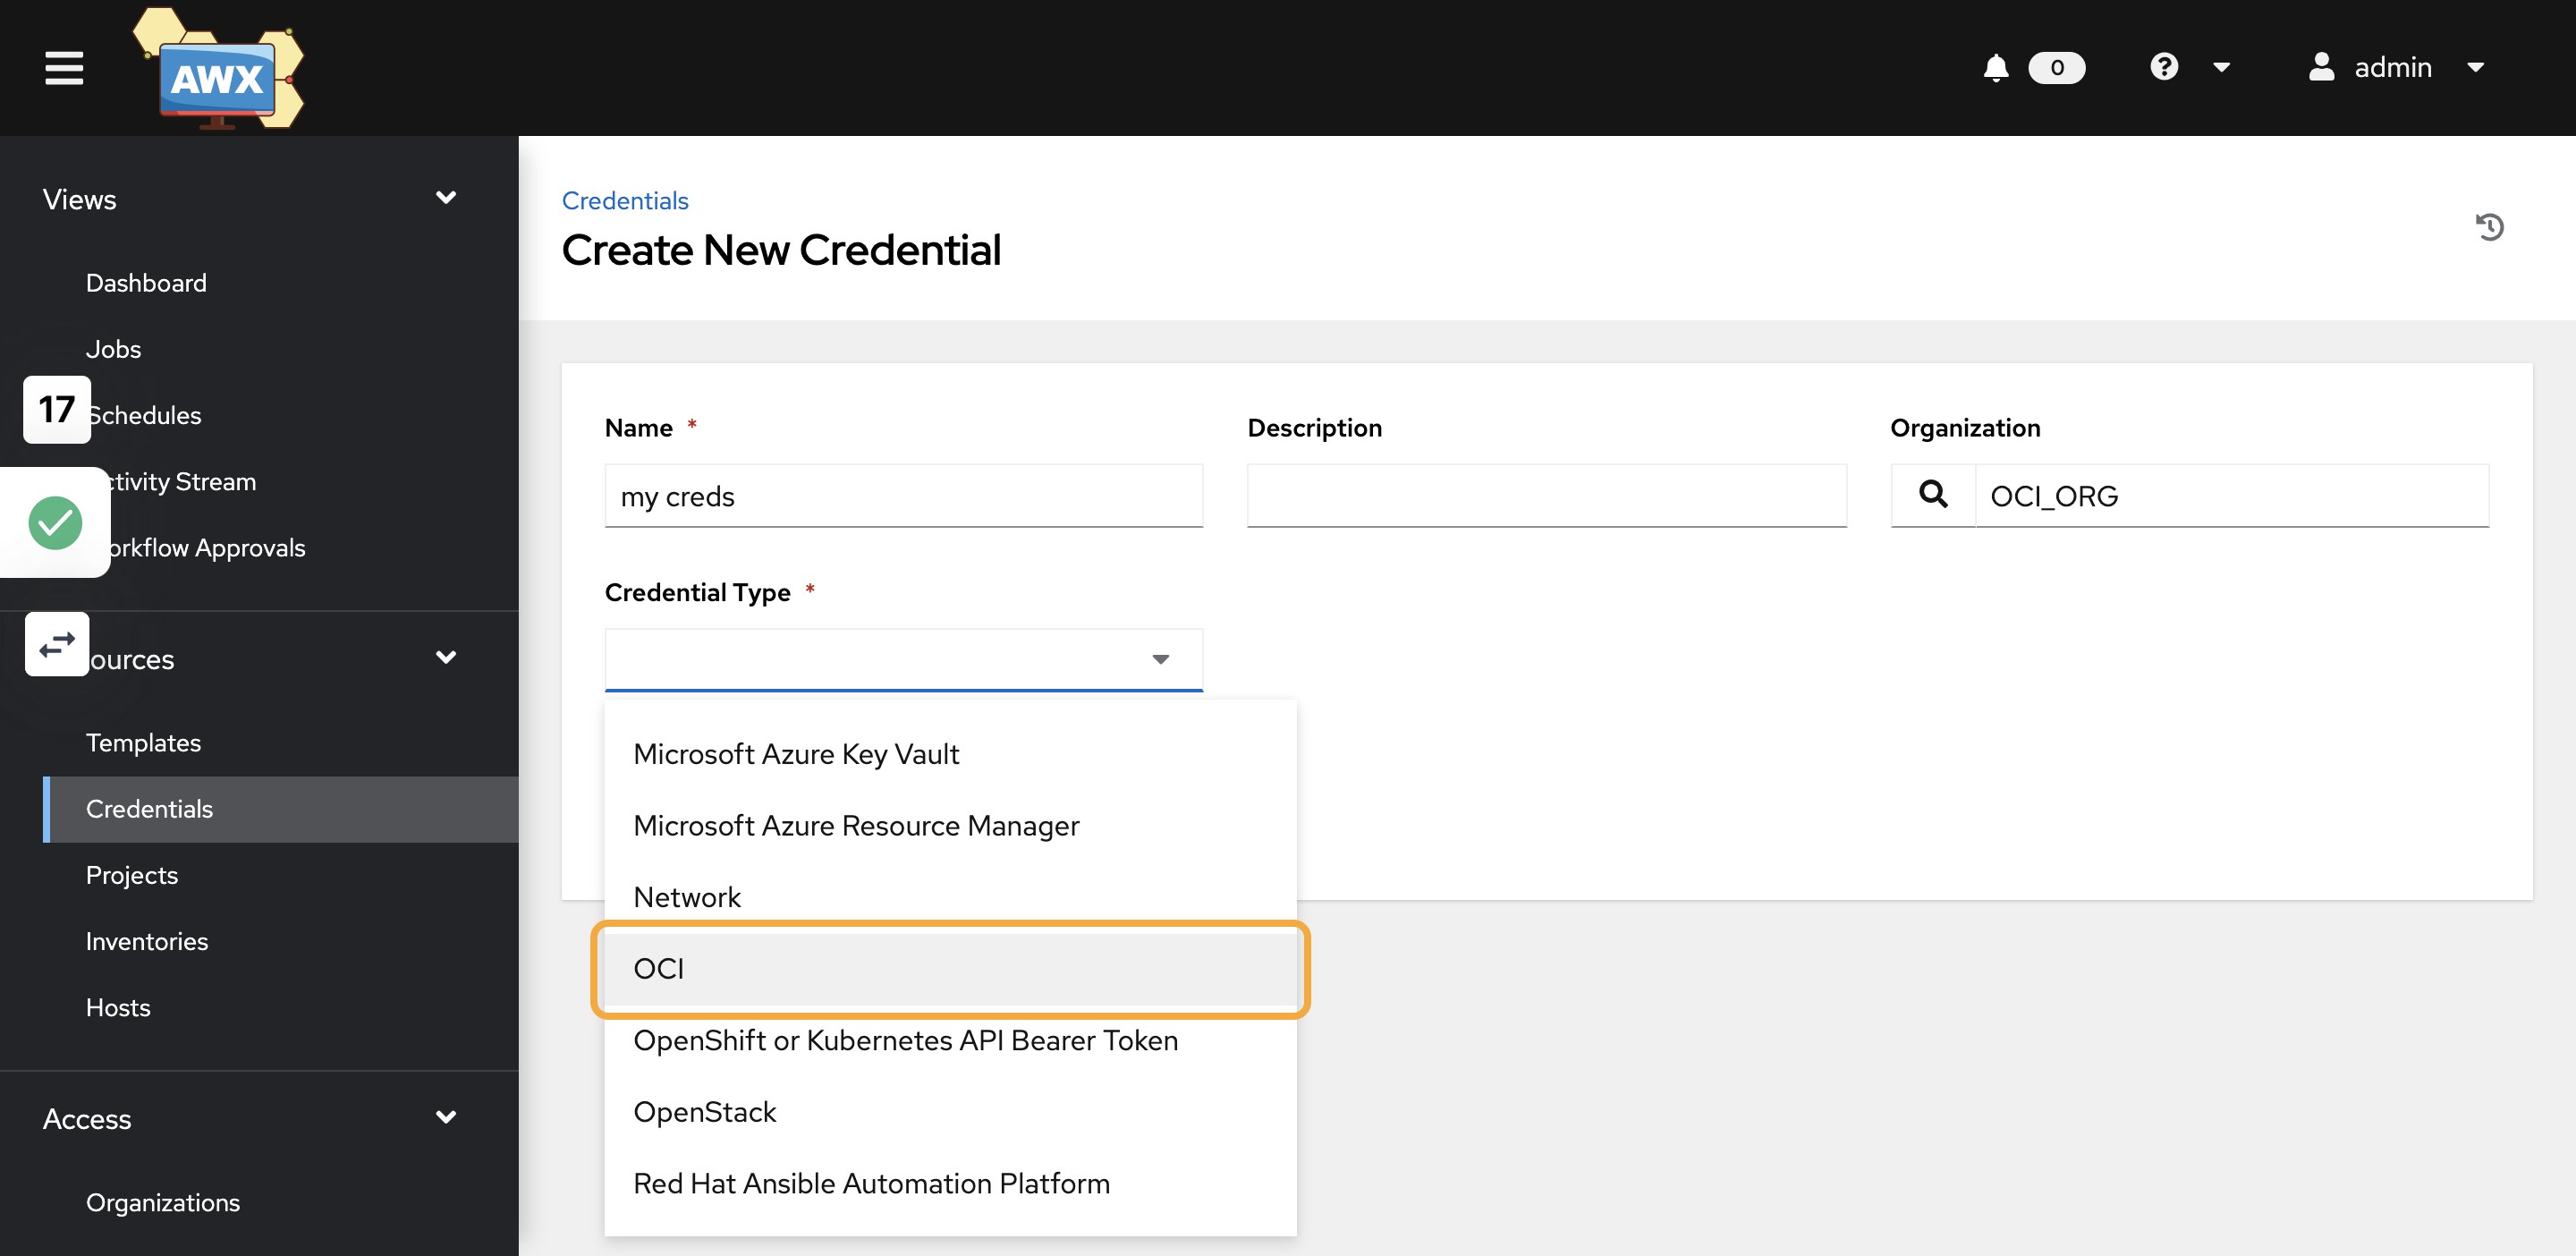
16)Click on Select Credential Type
17)Select OCI
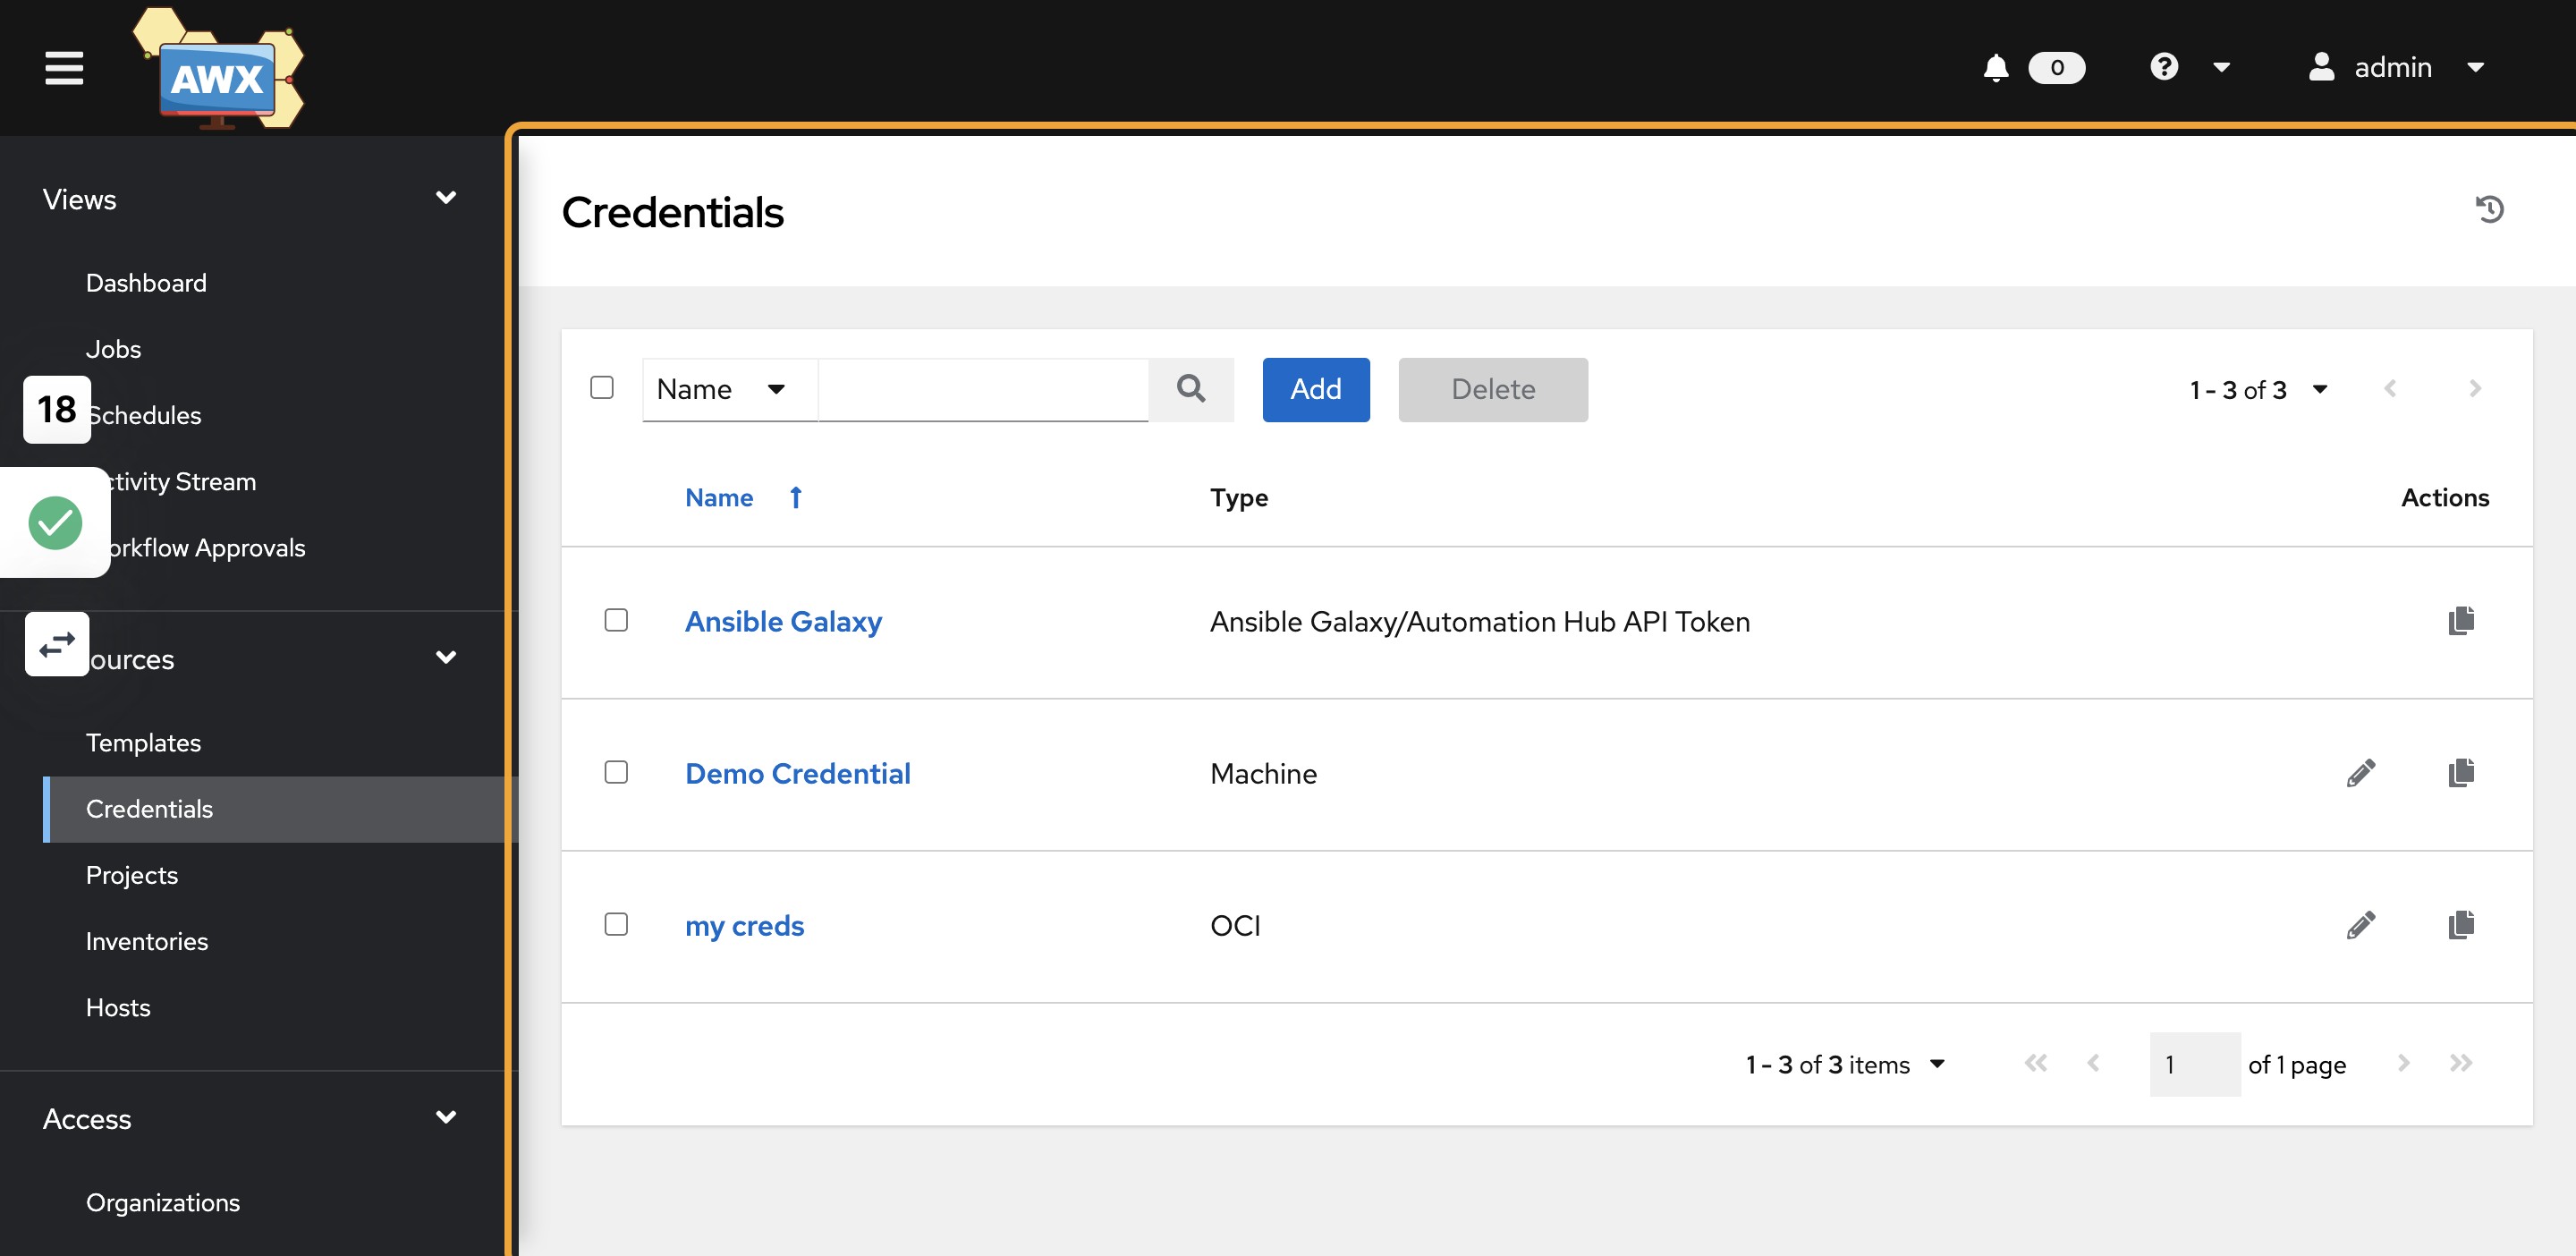
18)You should see the newly created credential
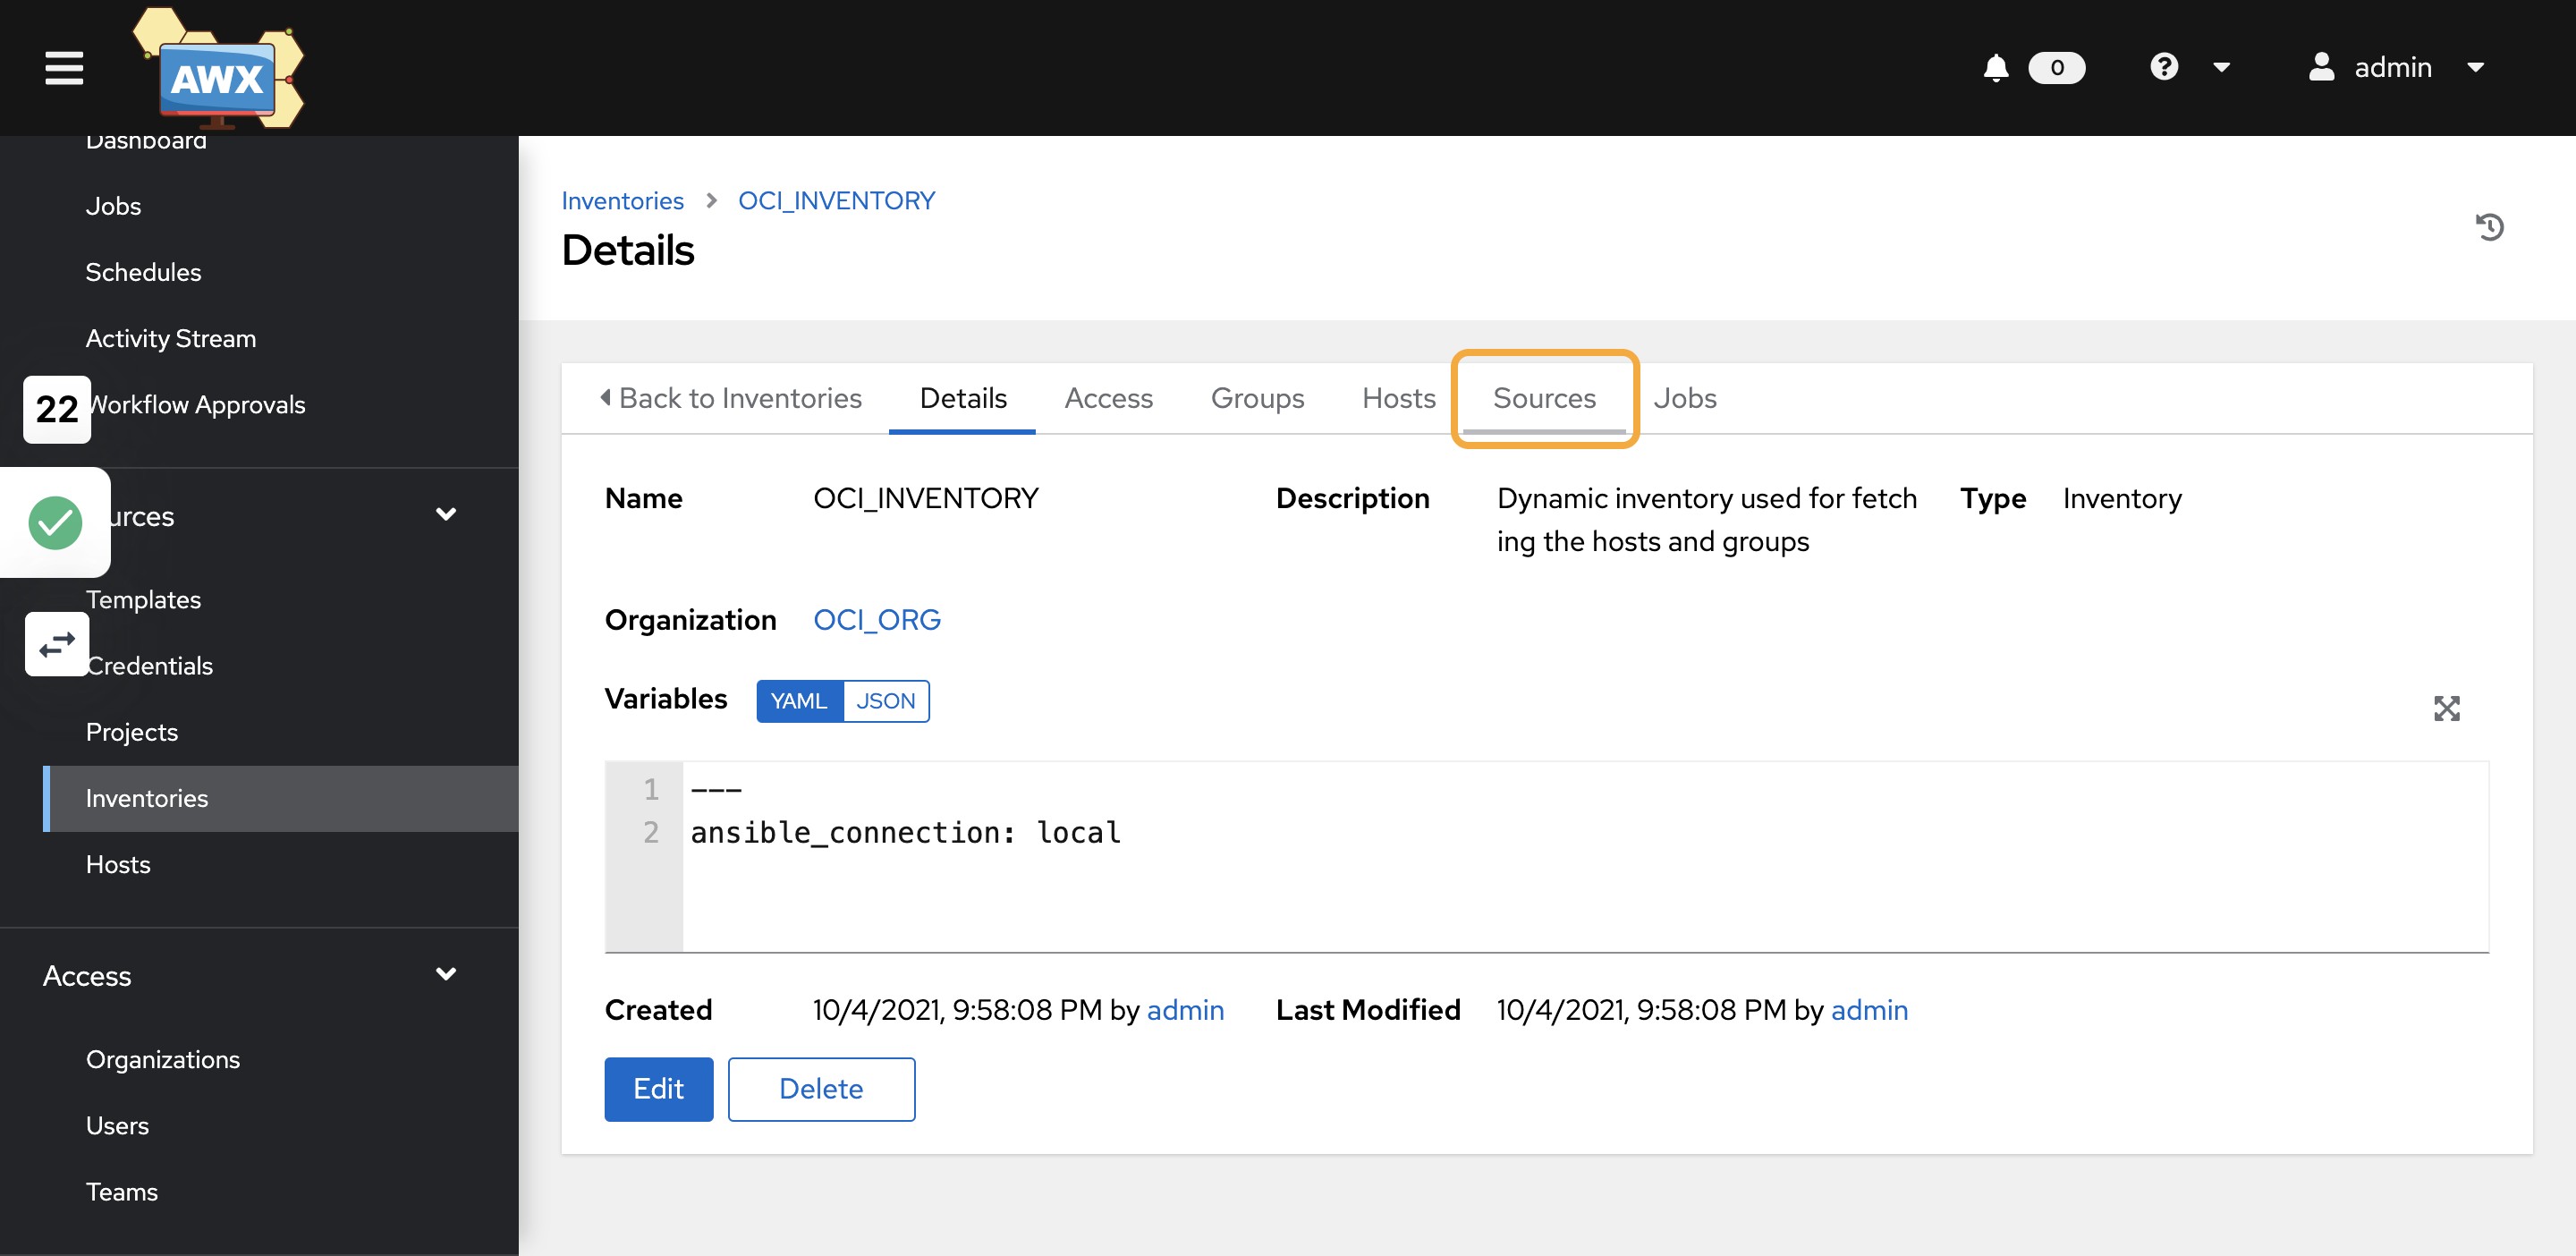
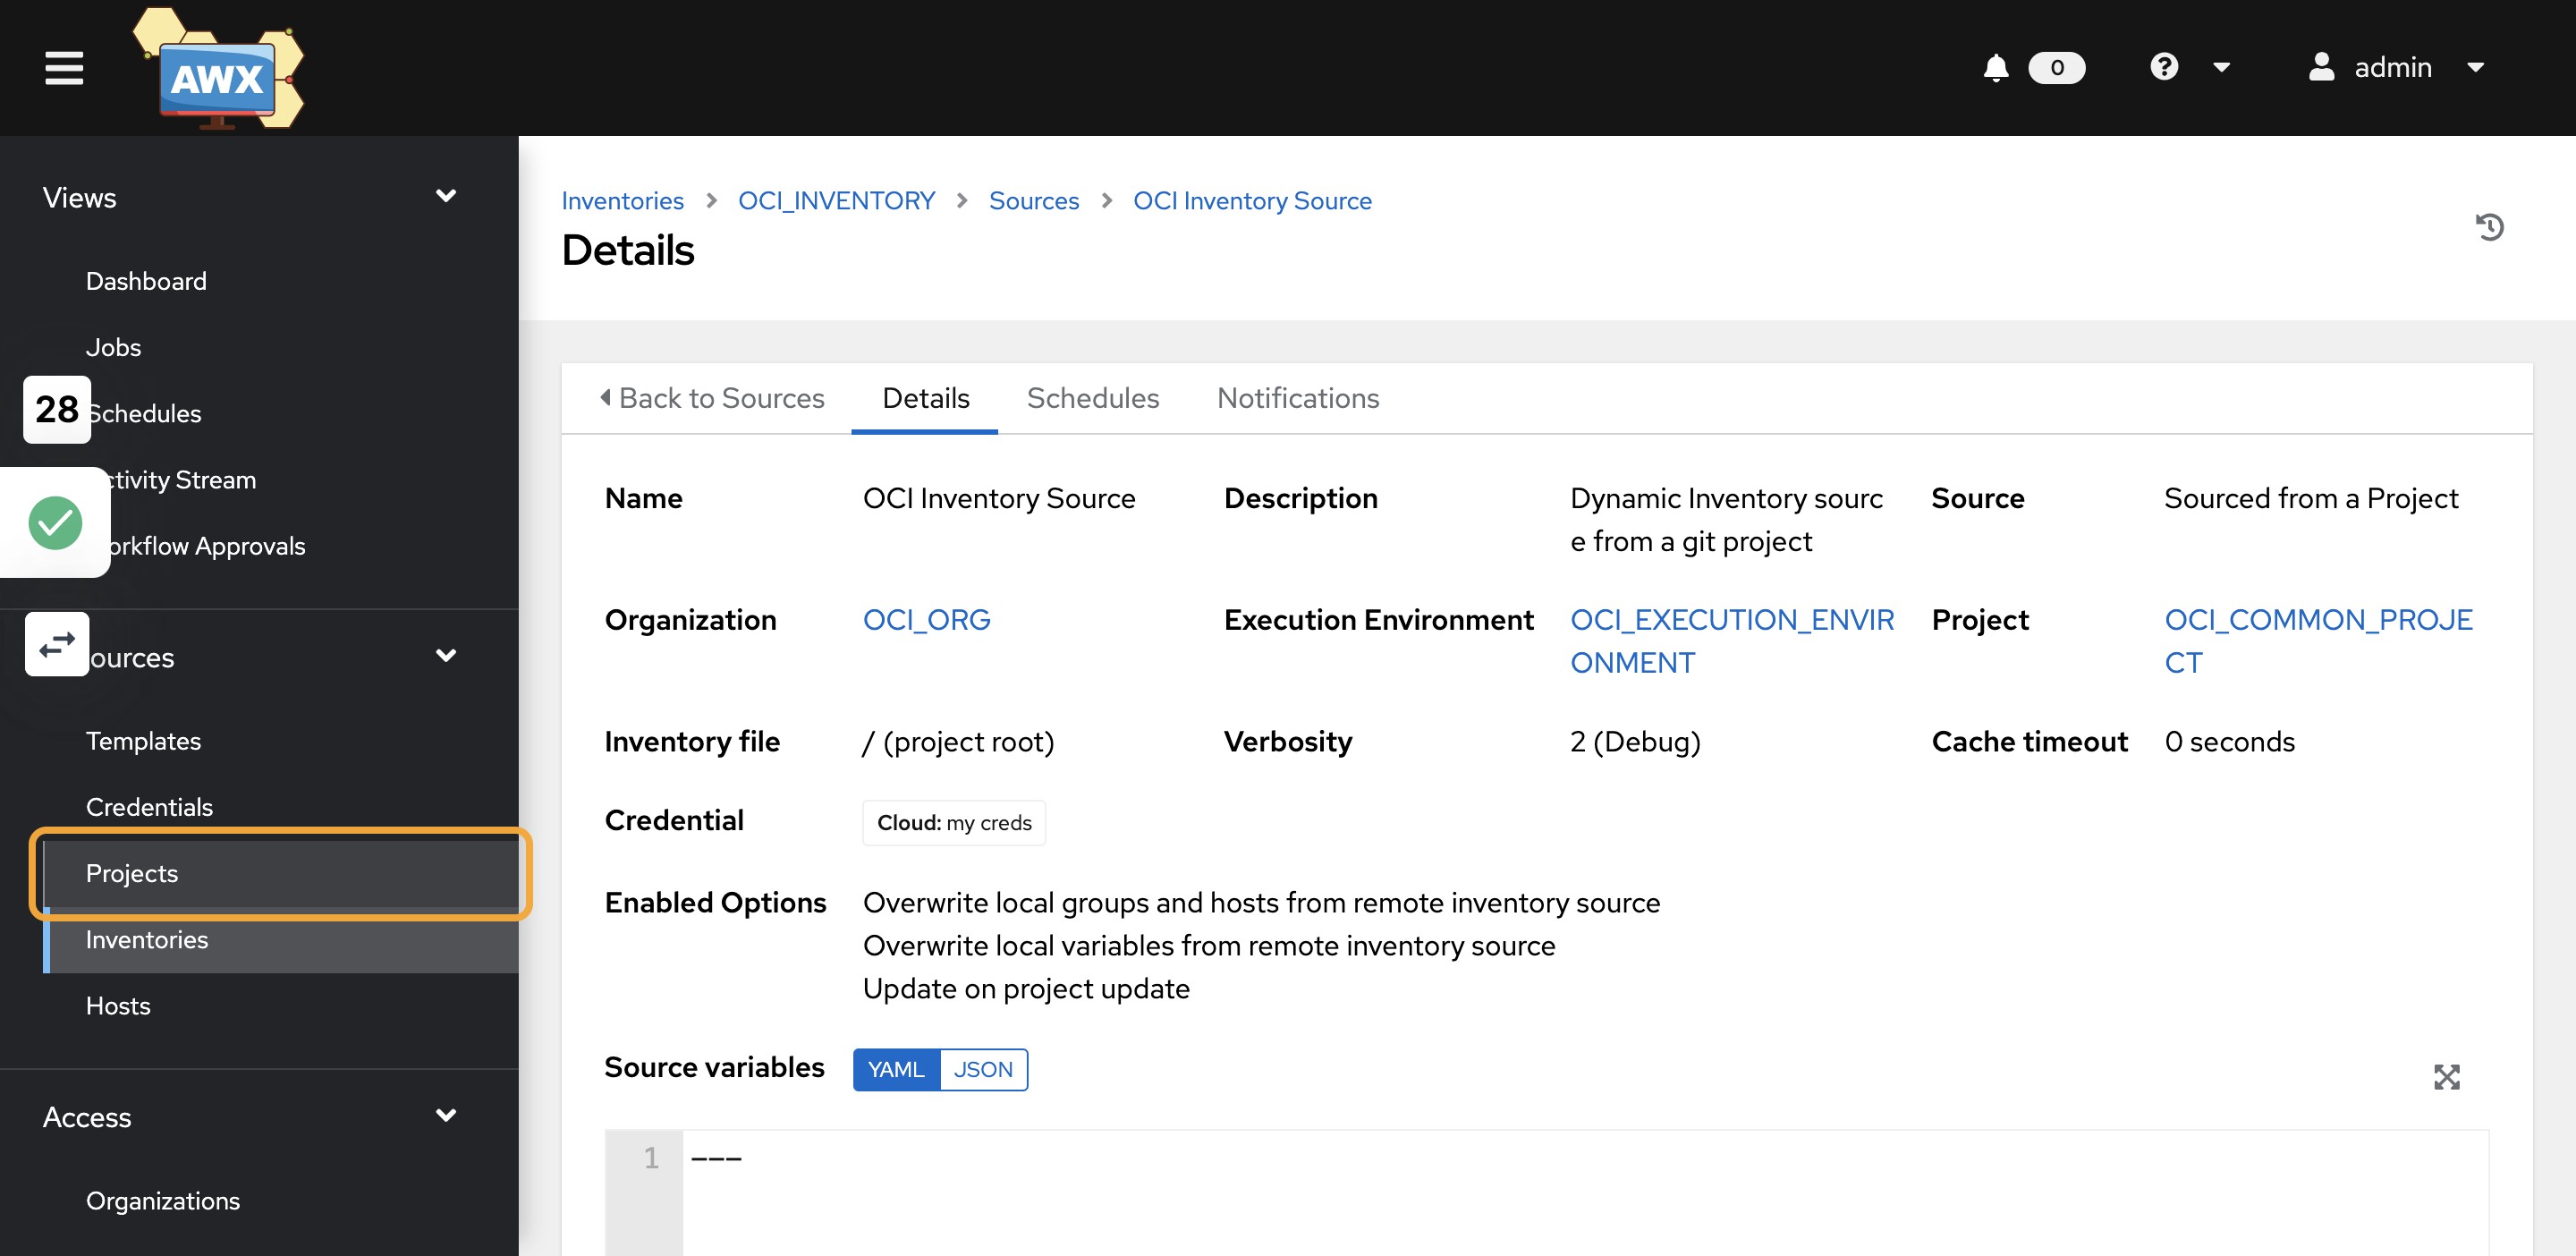
19)Now Click on Inventories
20)Click on OCI_INVENTORY and then Click on Sources
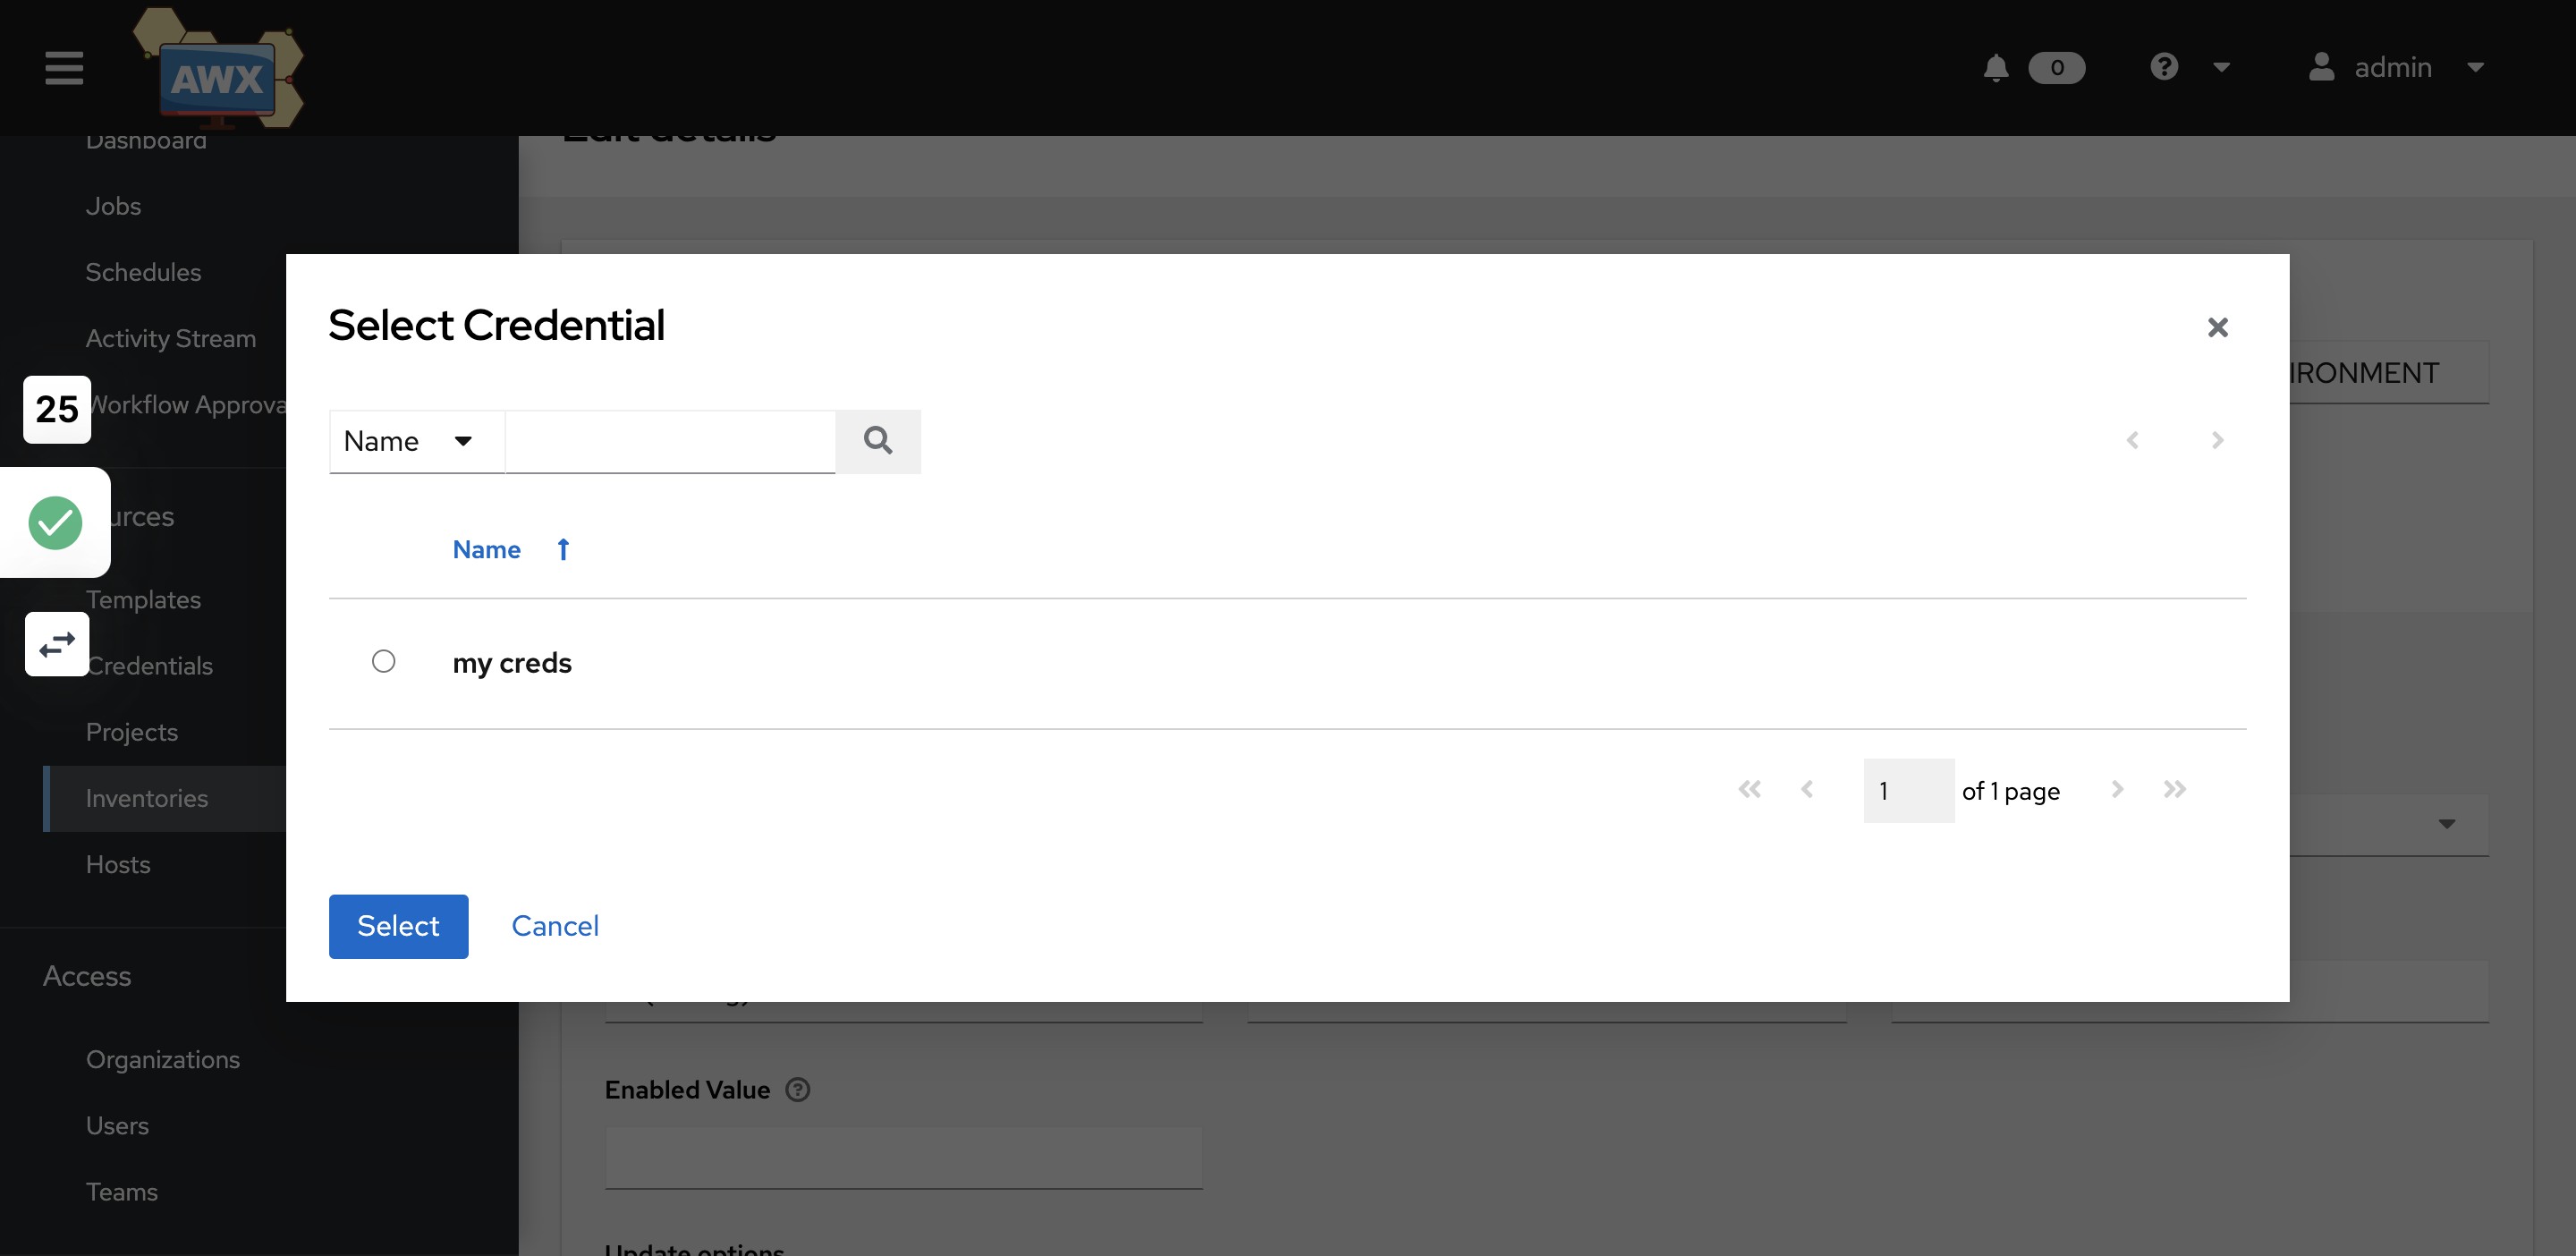
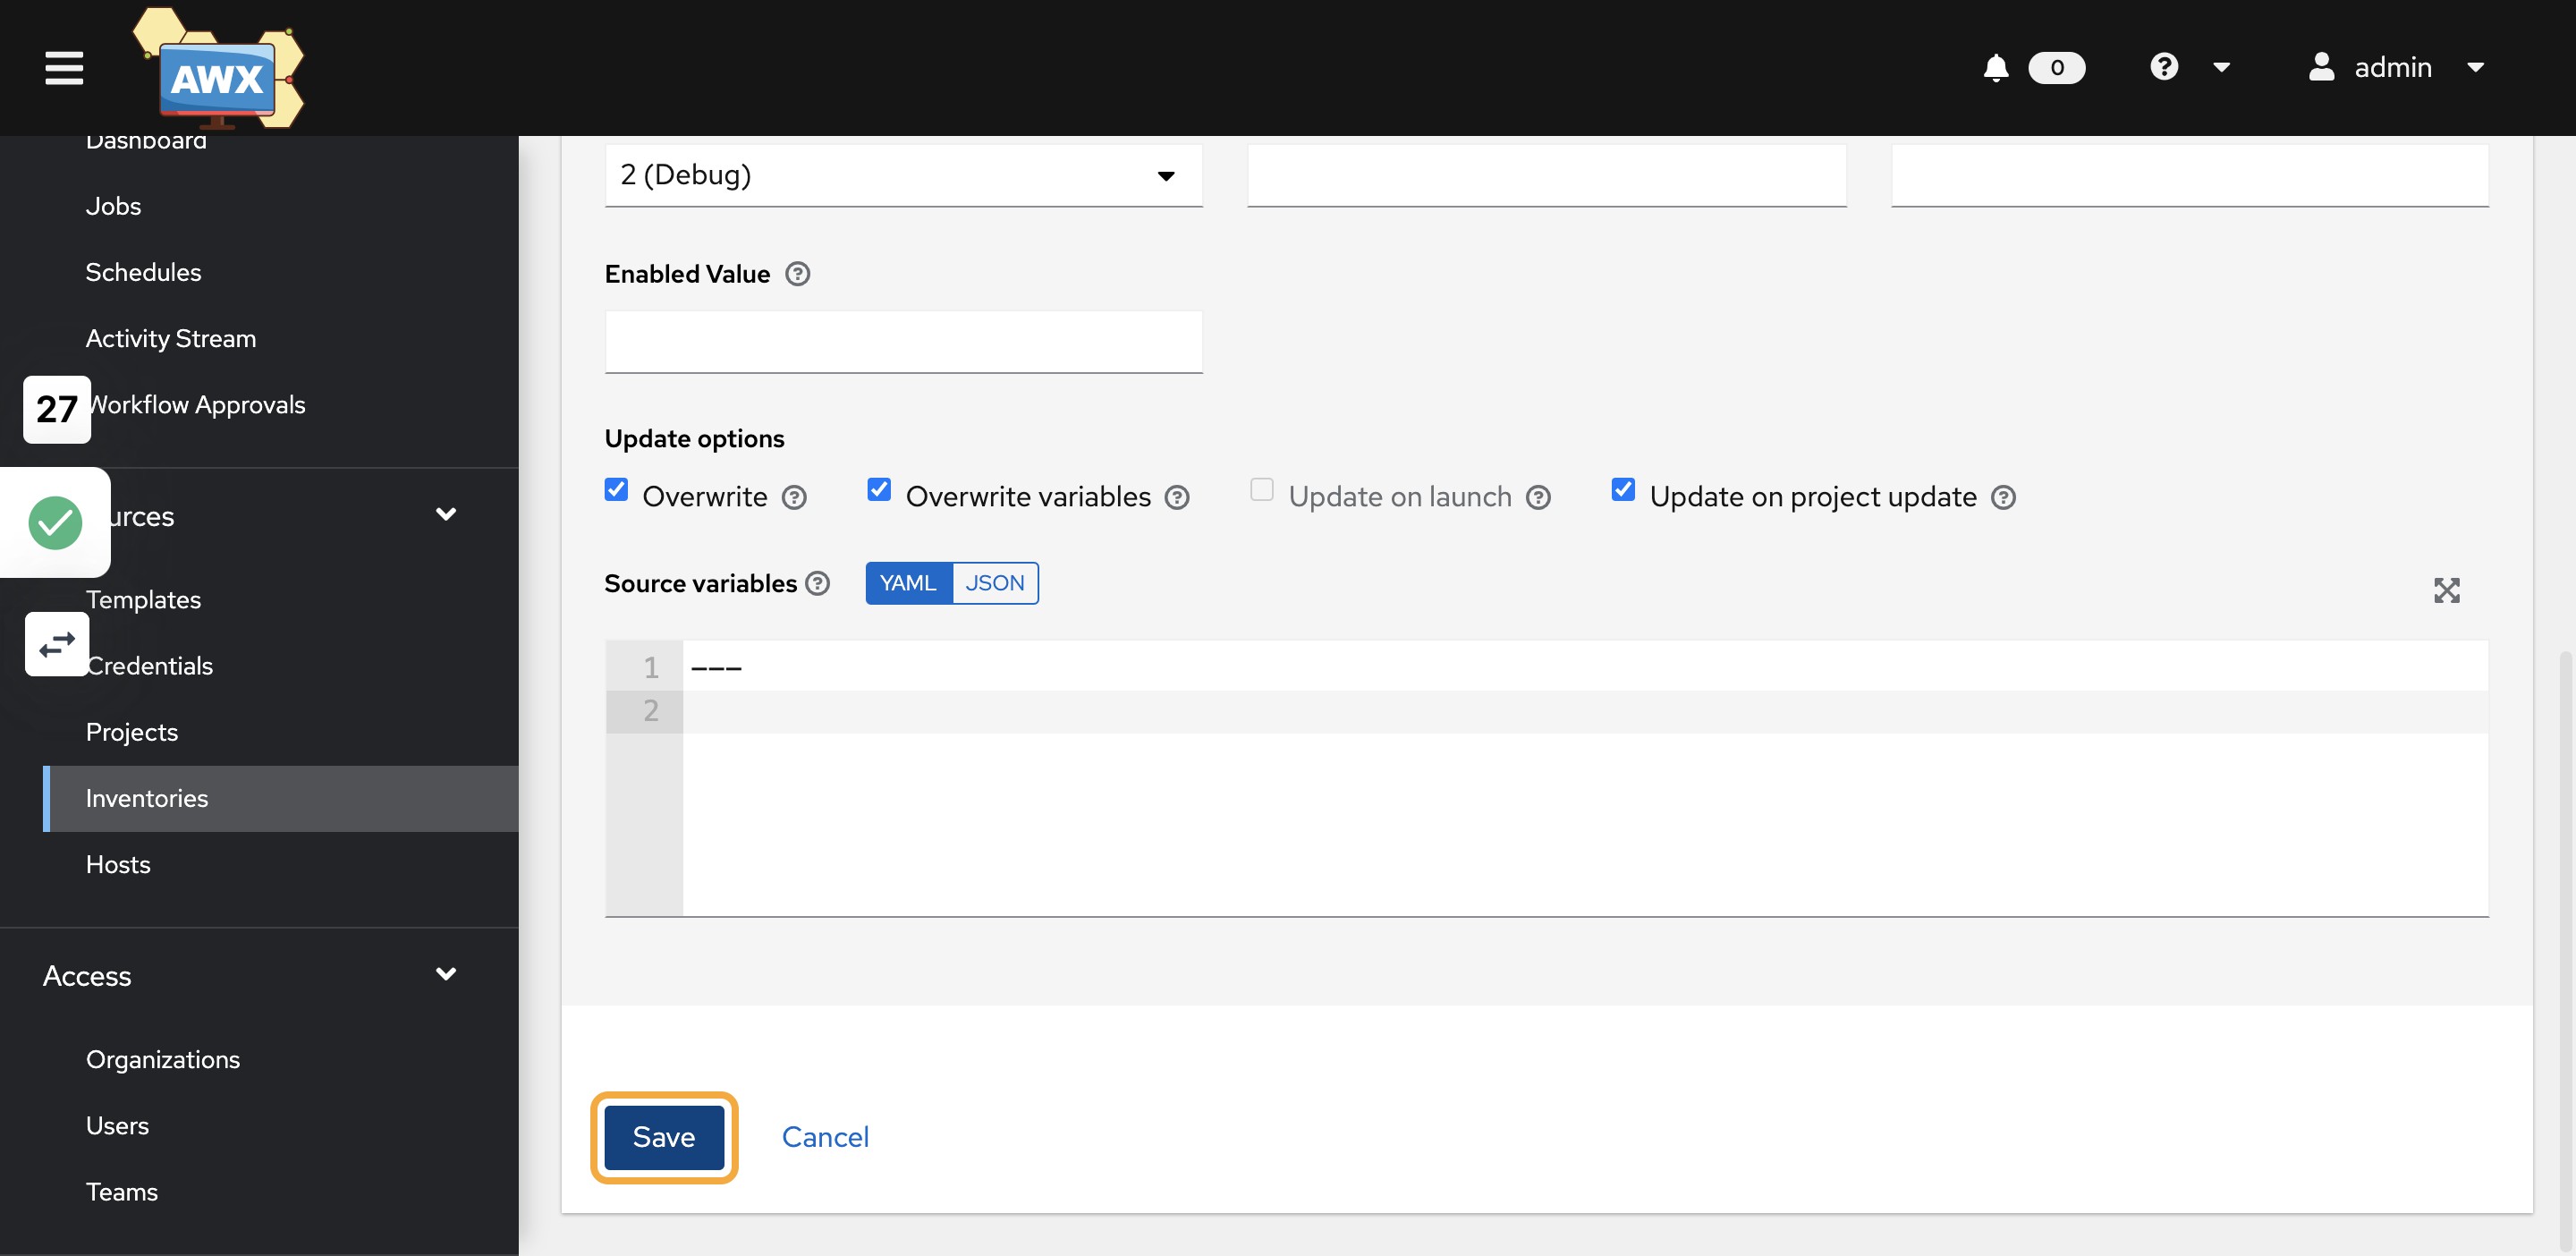
21)Click on Edit Source and Search for Credential
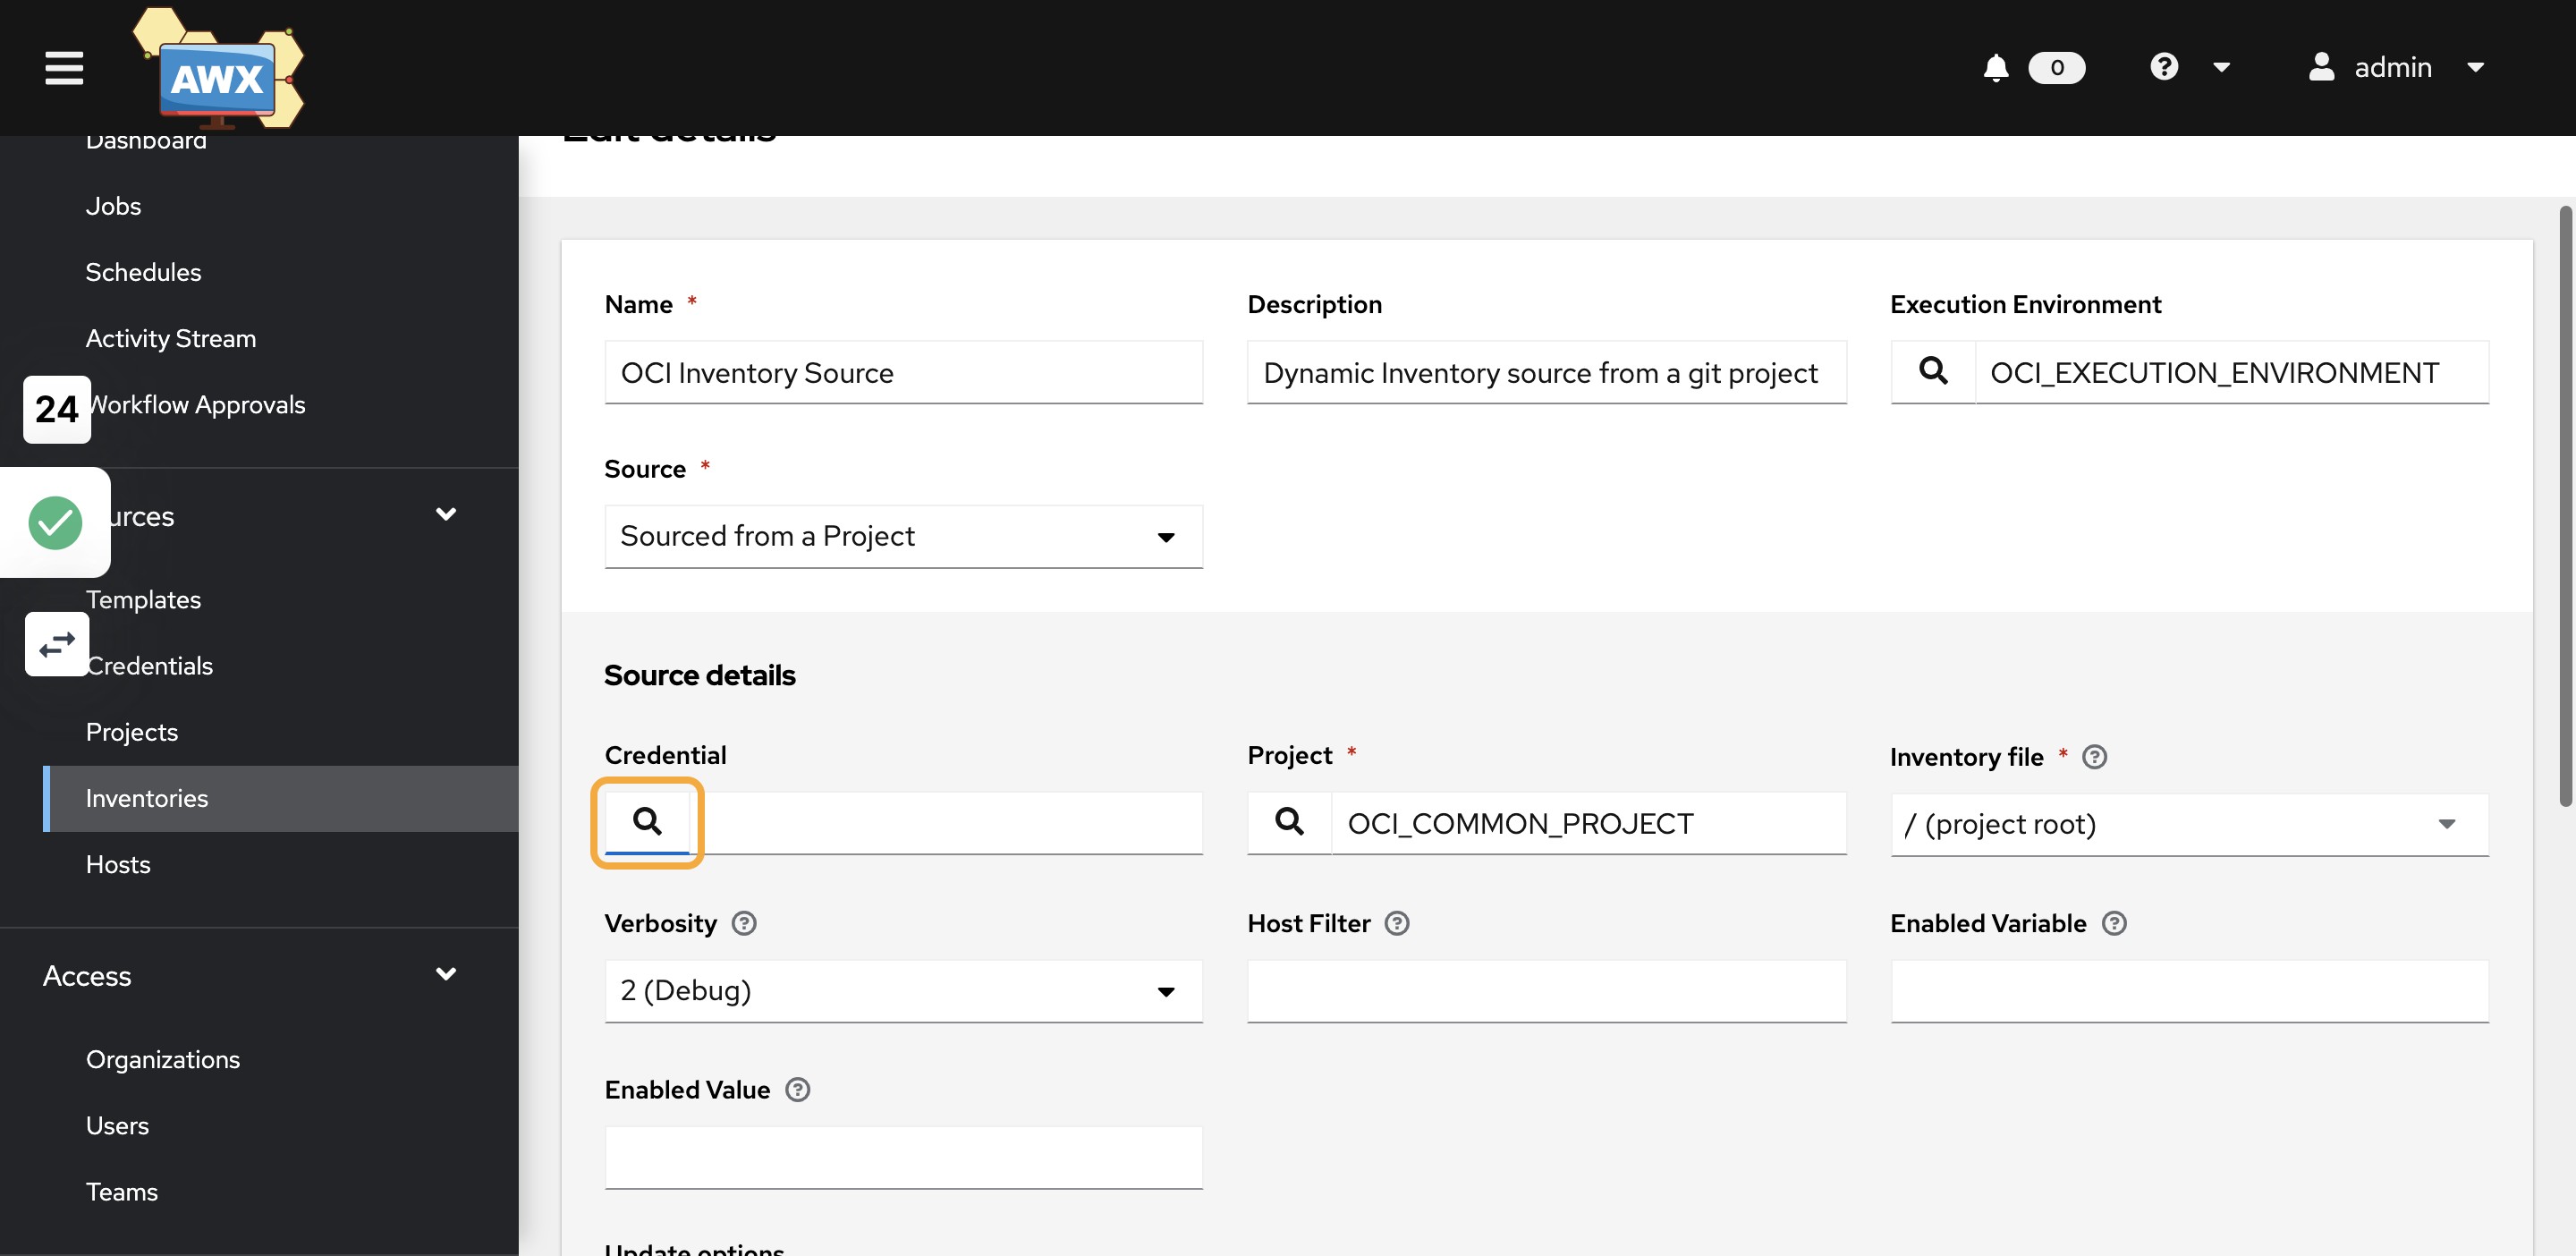
22)Select the credential created in the previous step
23)Click on Save
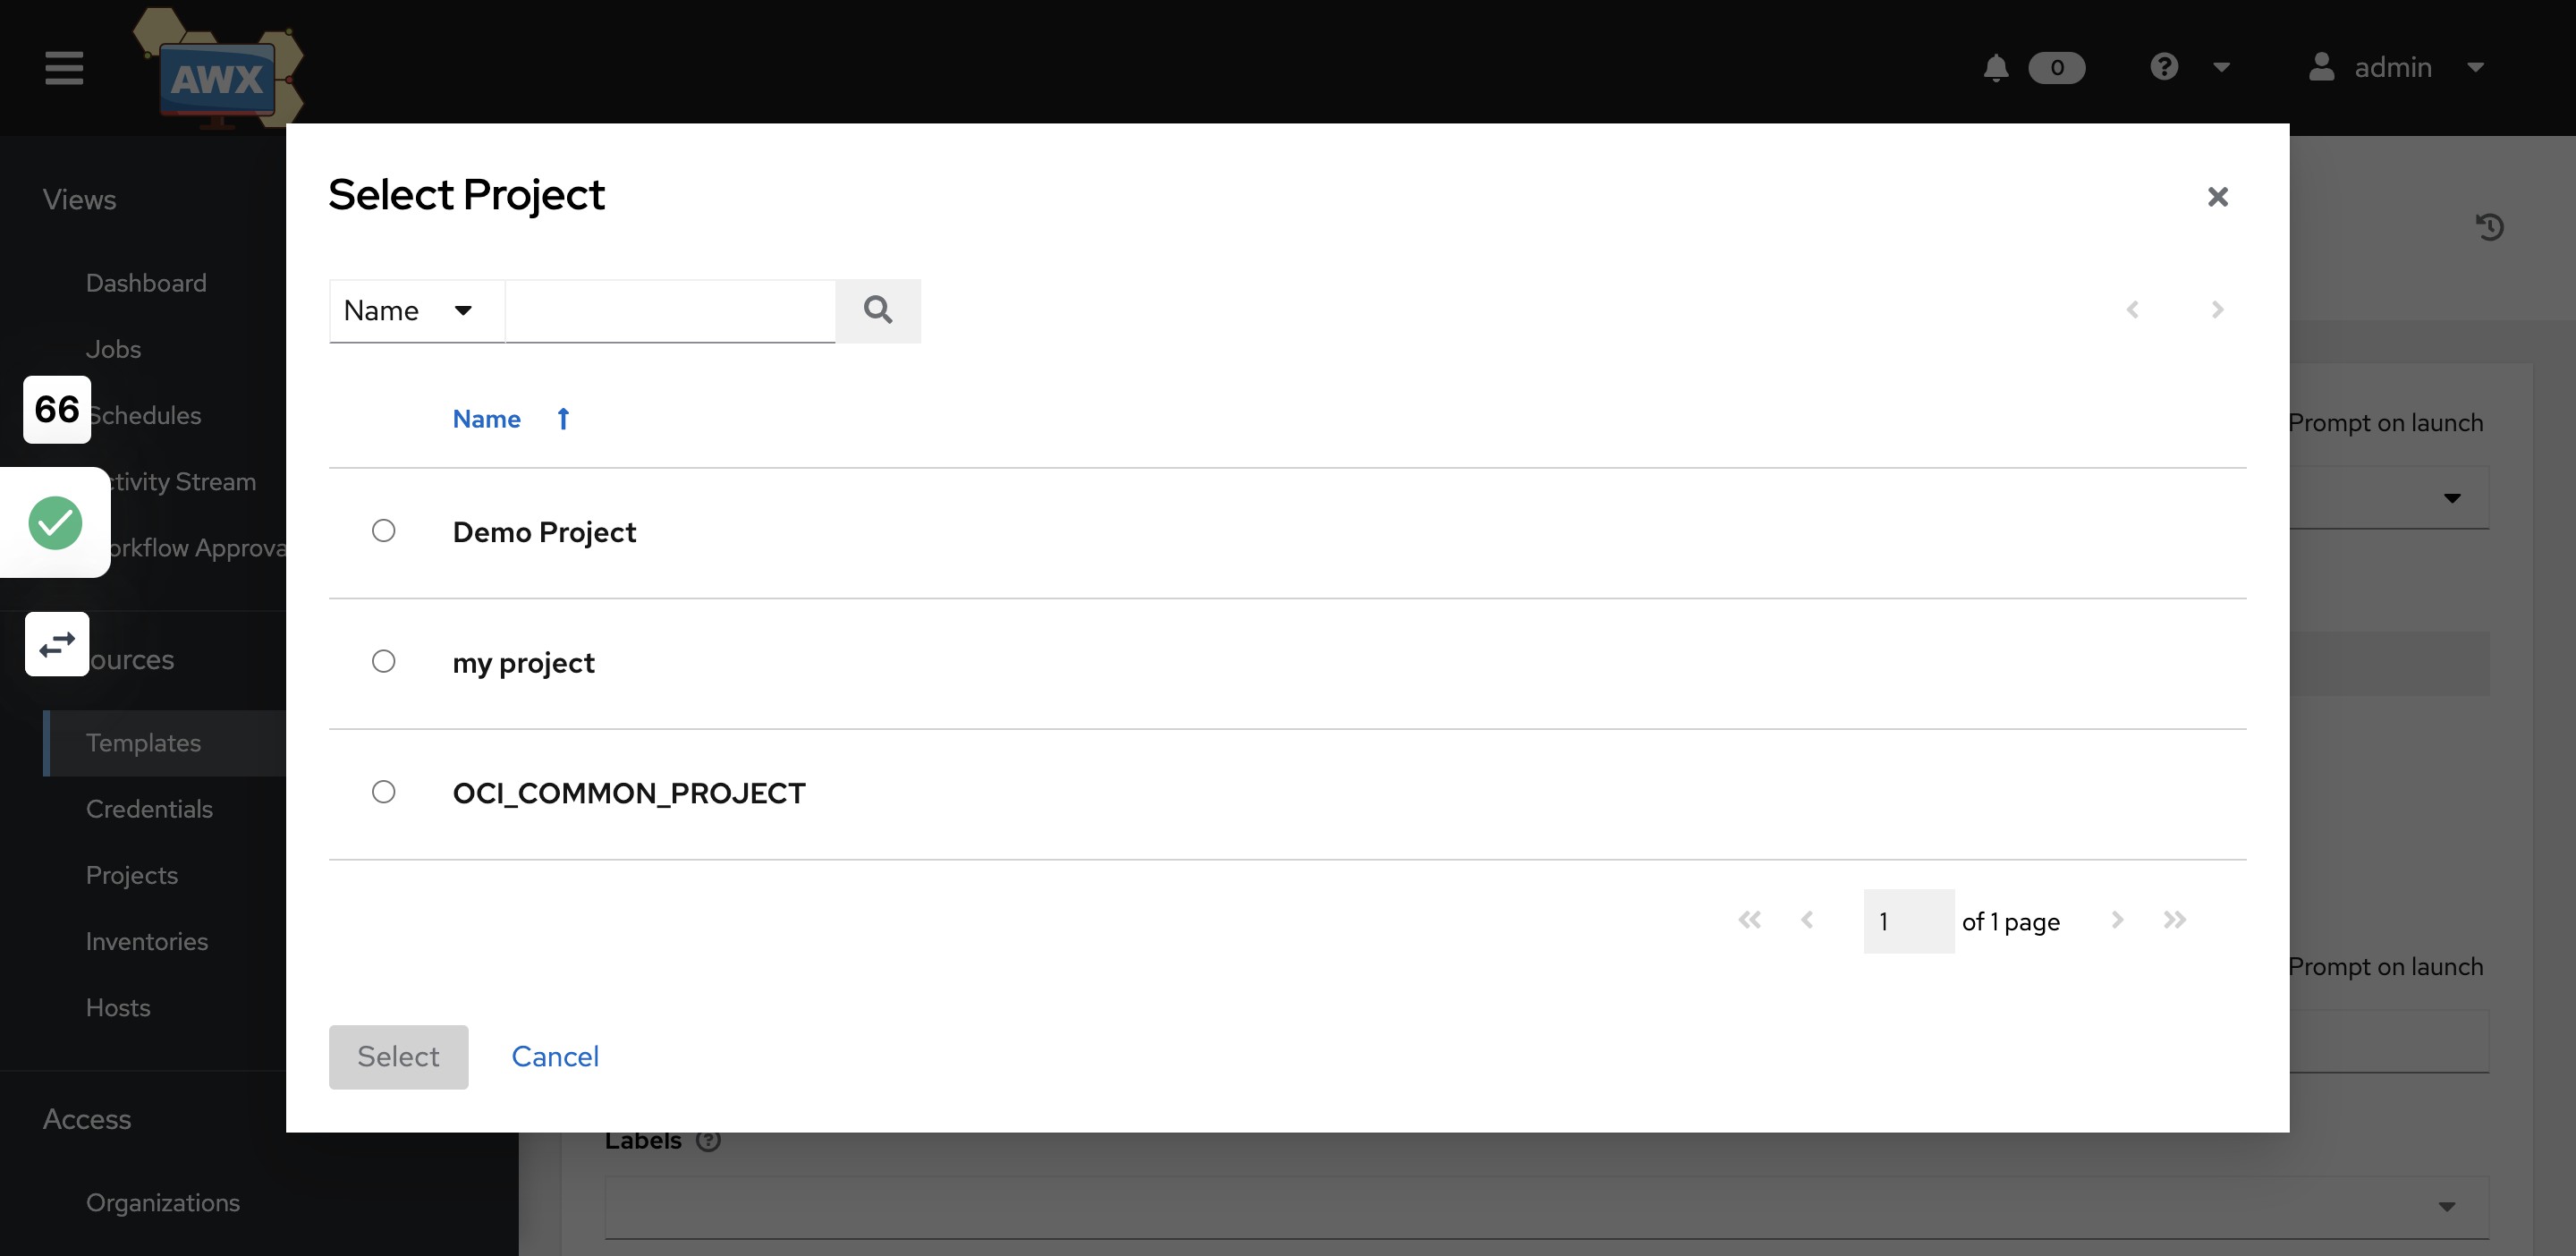
24)Next step is to add project. so click on Projects
25)Click on Add and provide the project name
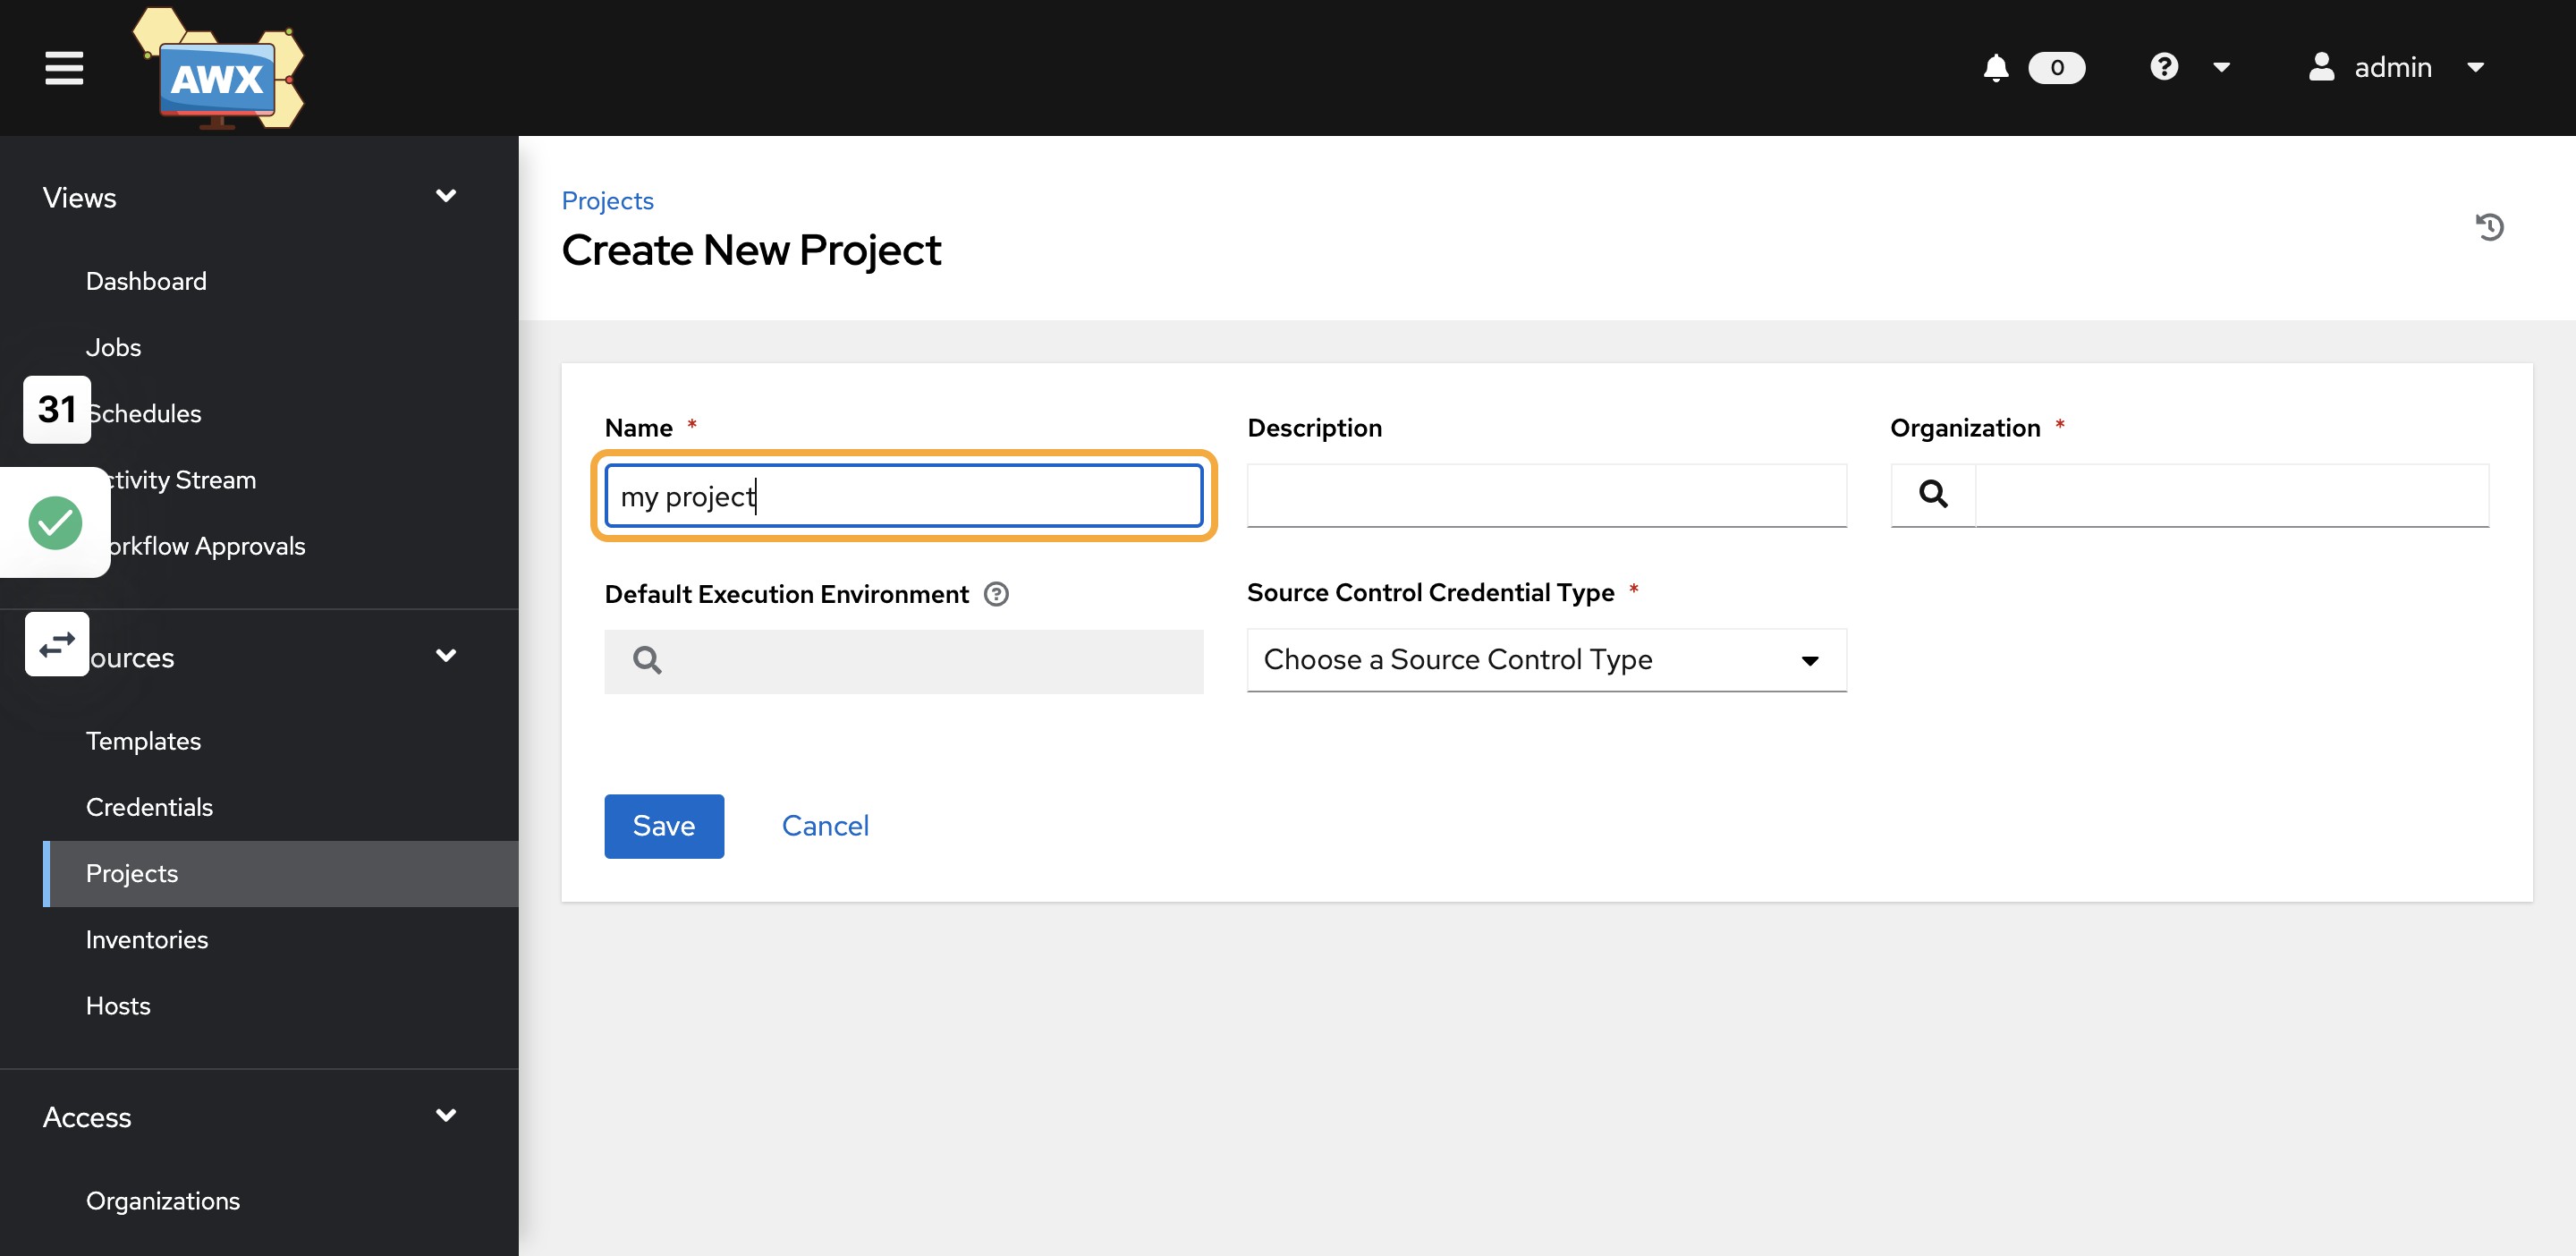
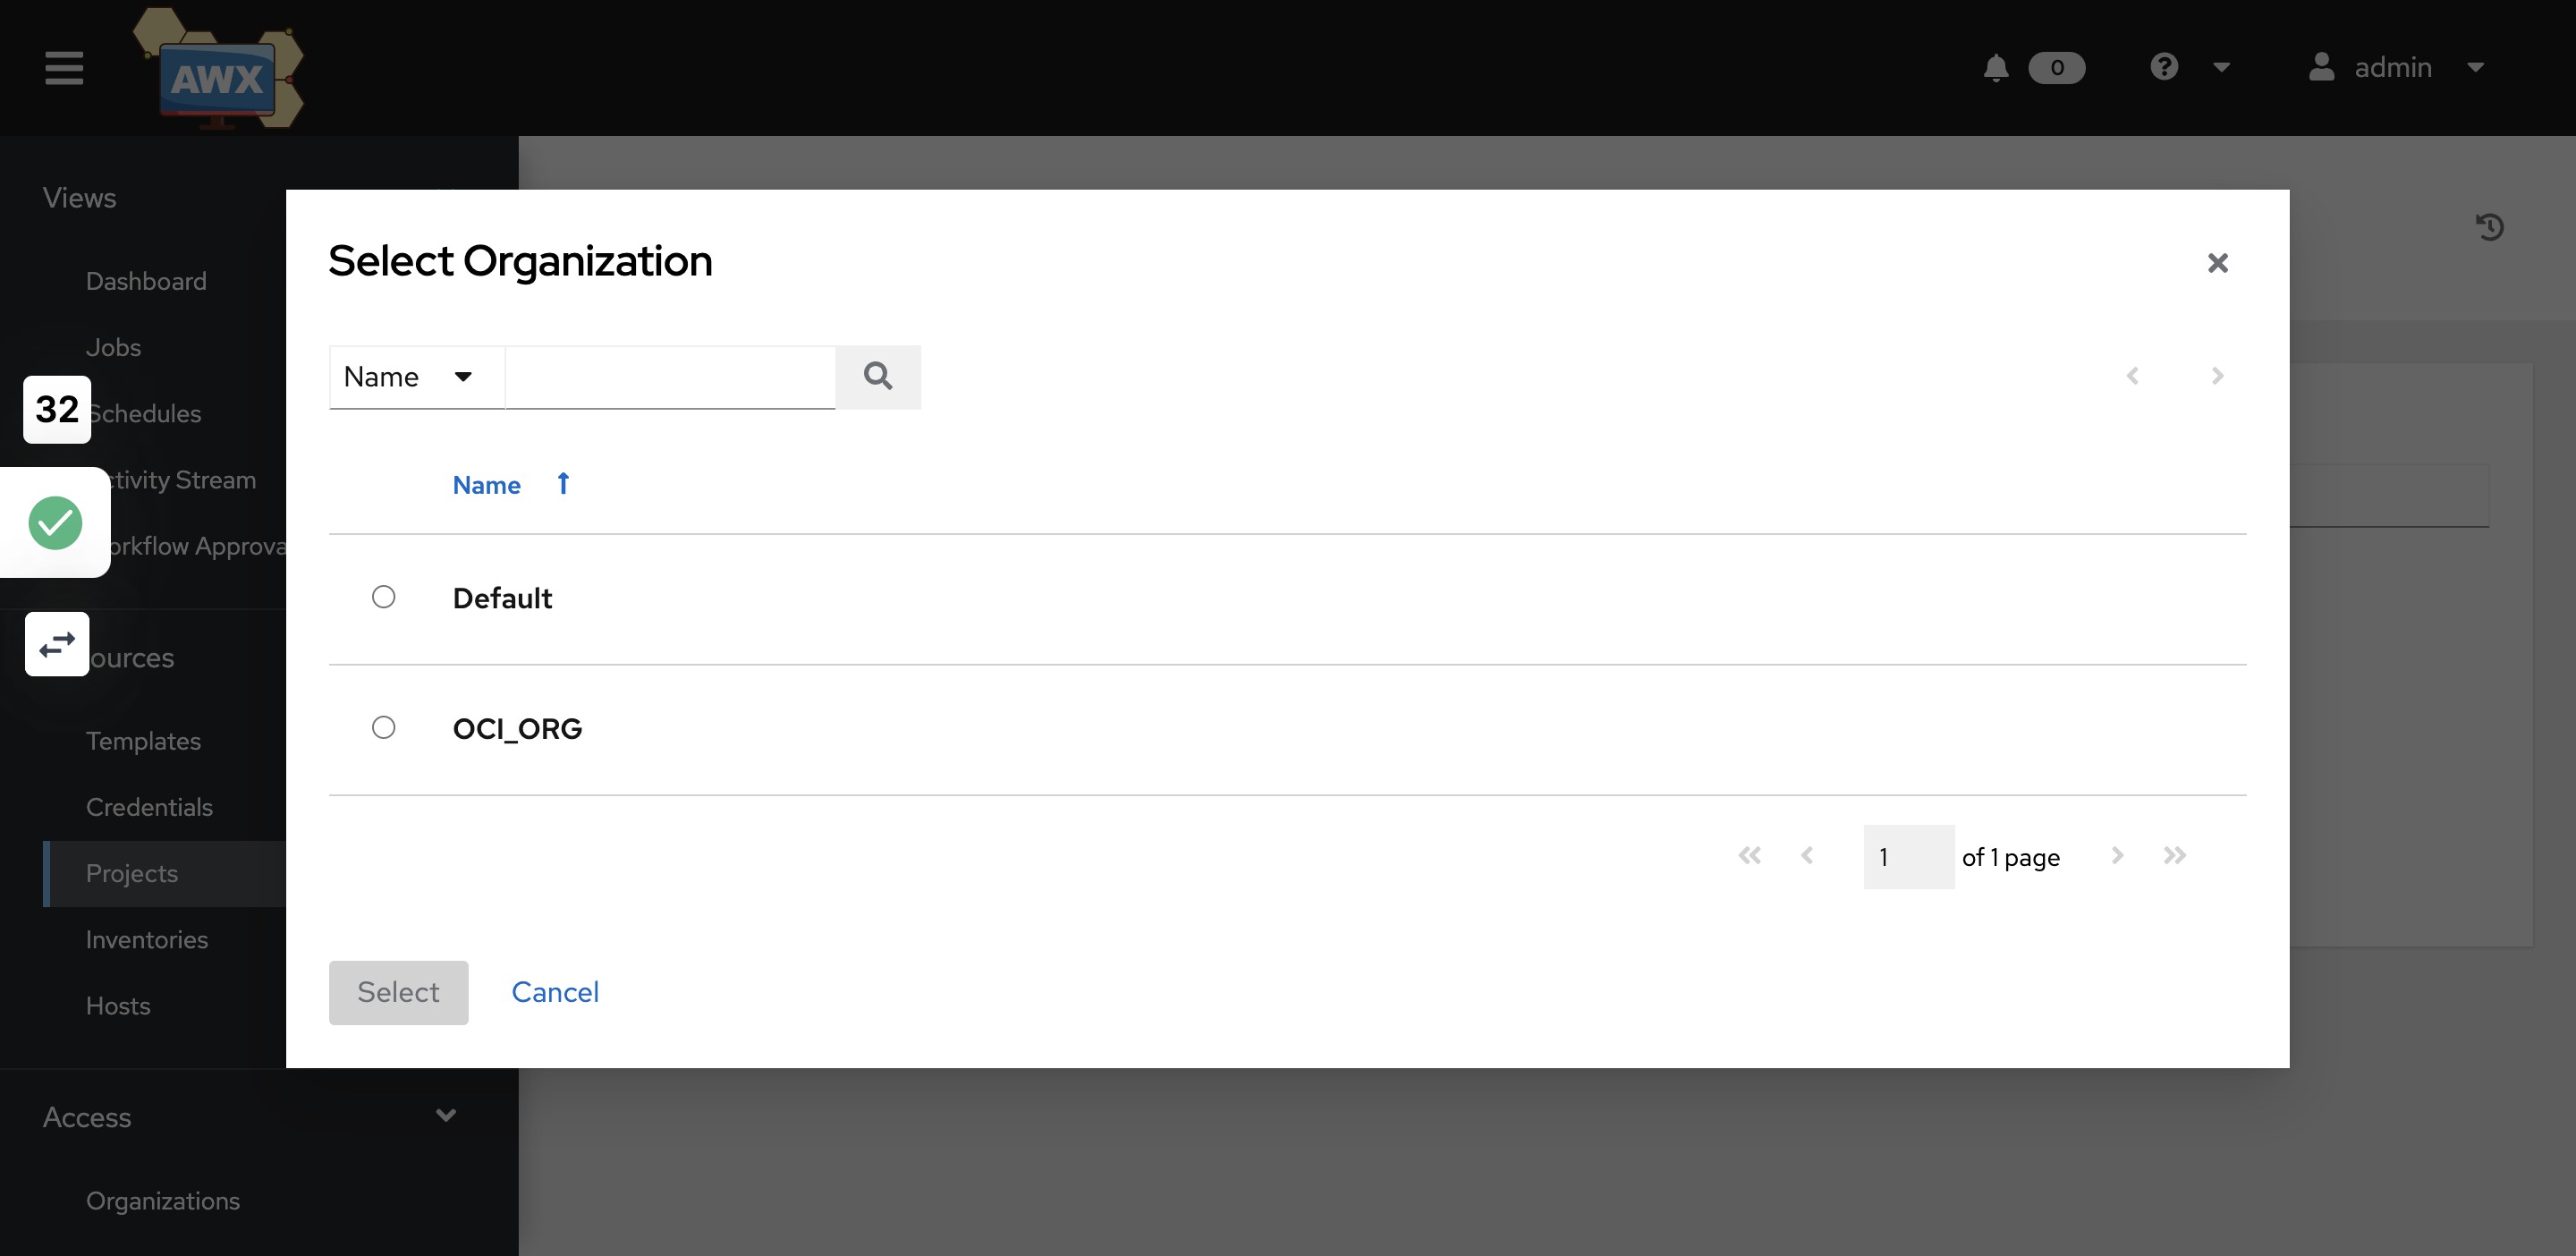
26)Search for Organization

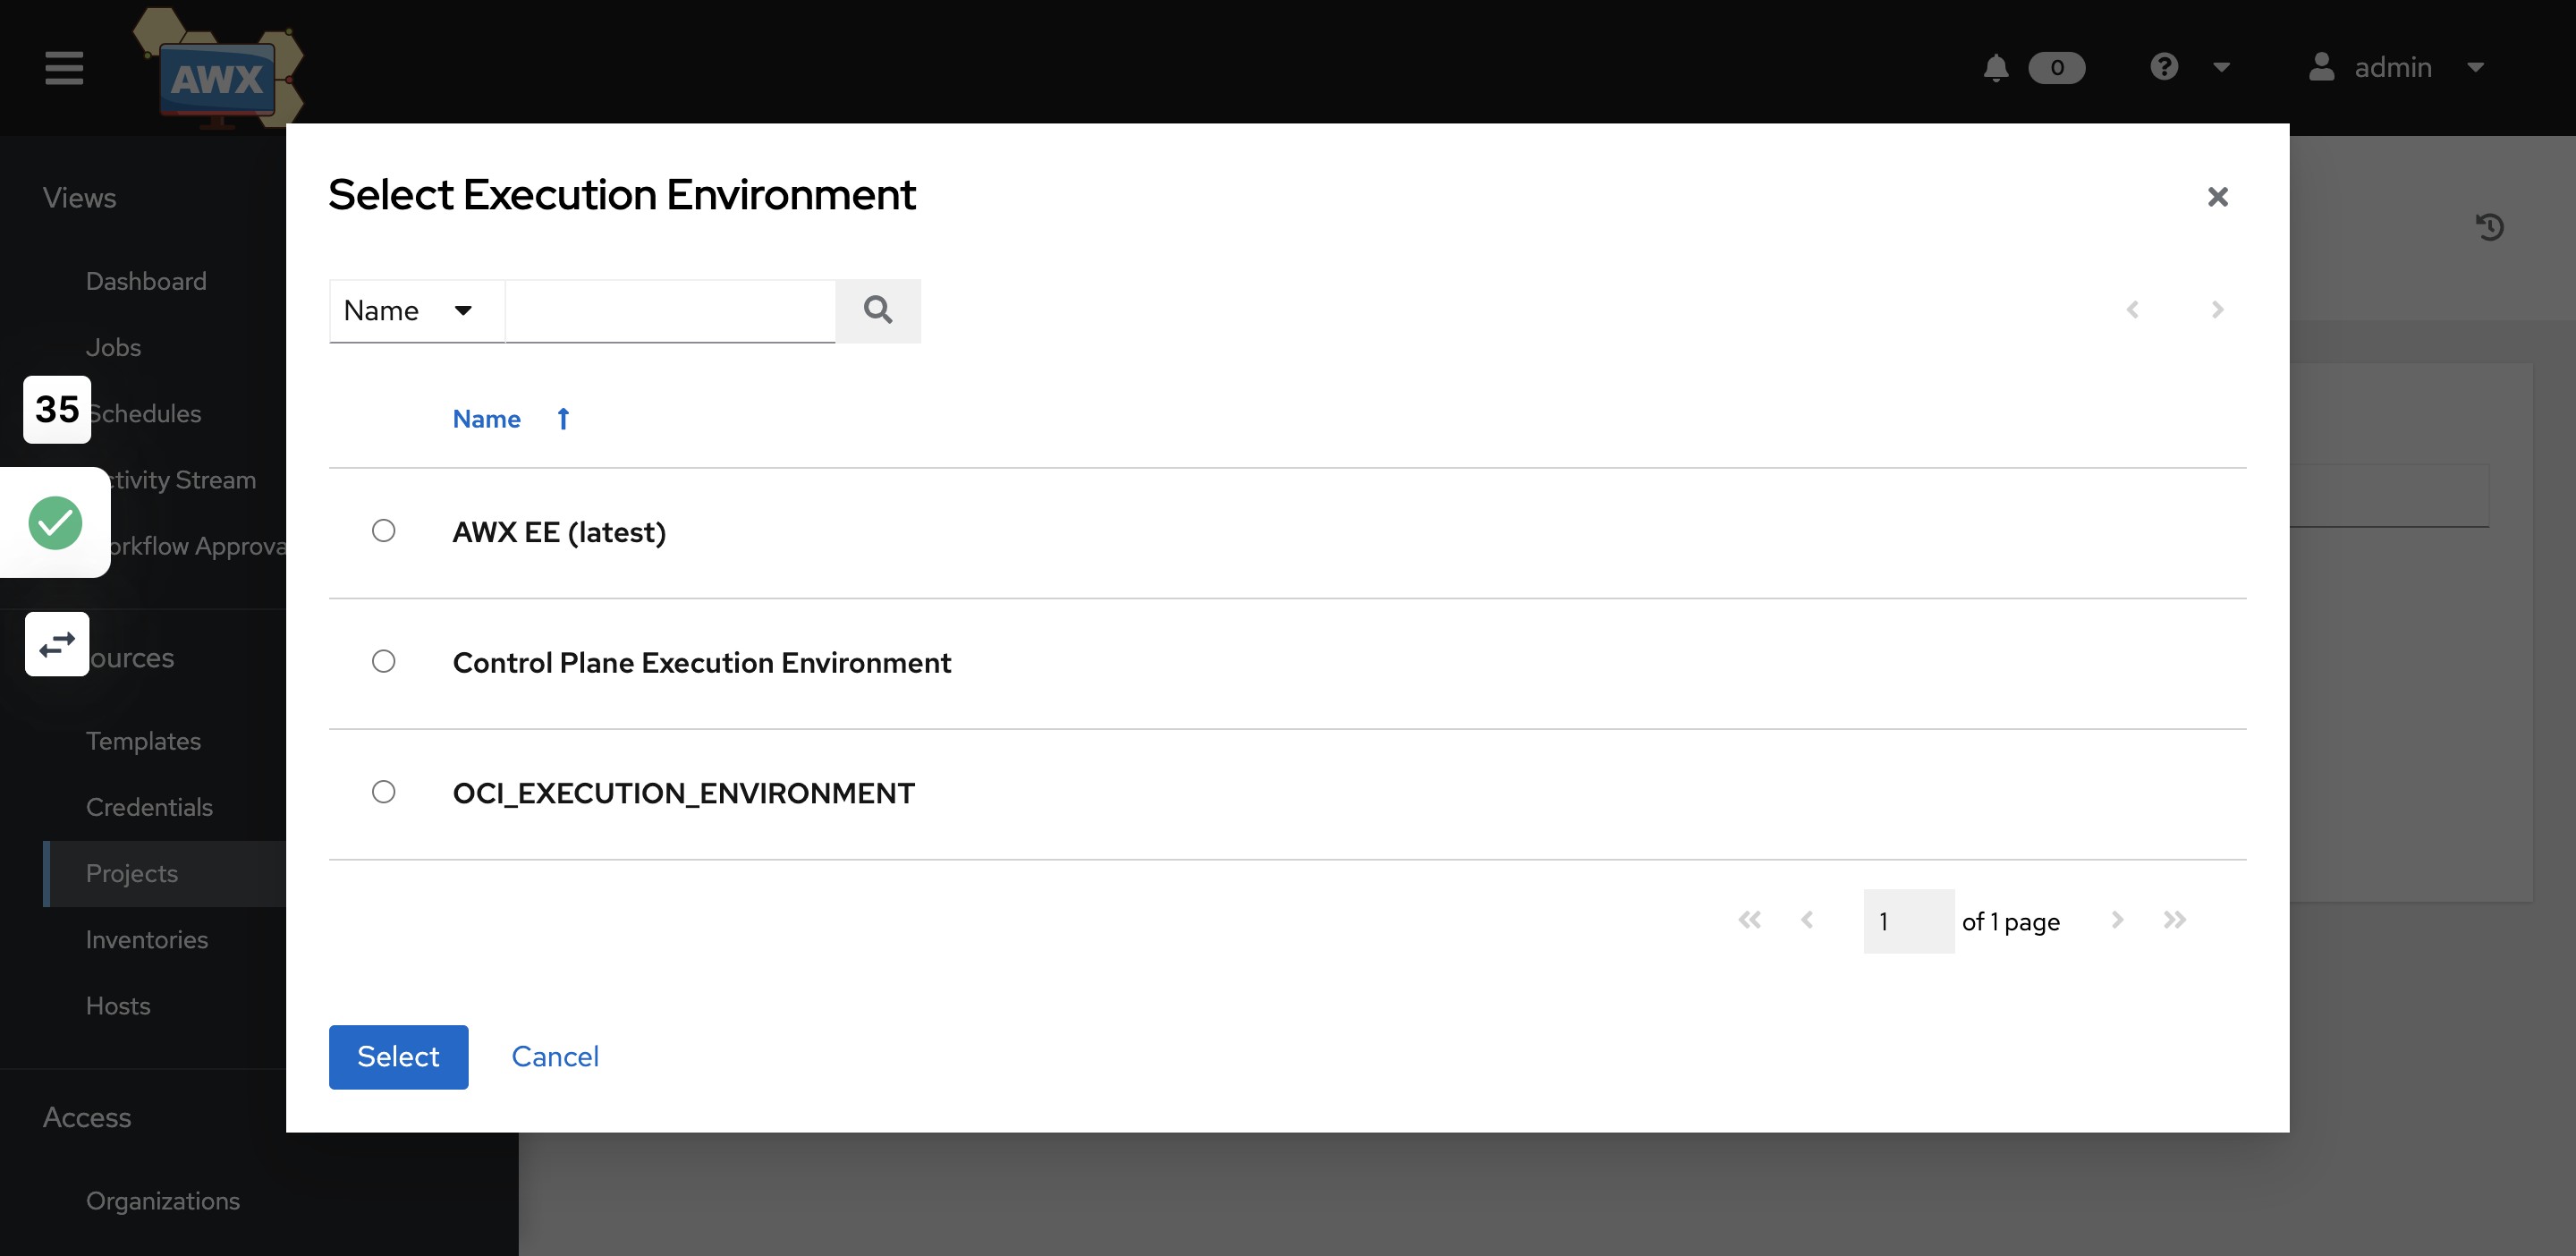
27)Select OCI_ORG
28)Search for Execution environment

29)Select OCI_EXECUTION_ENVIRONMENT
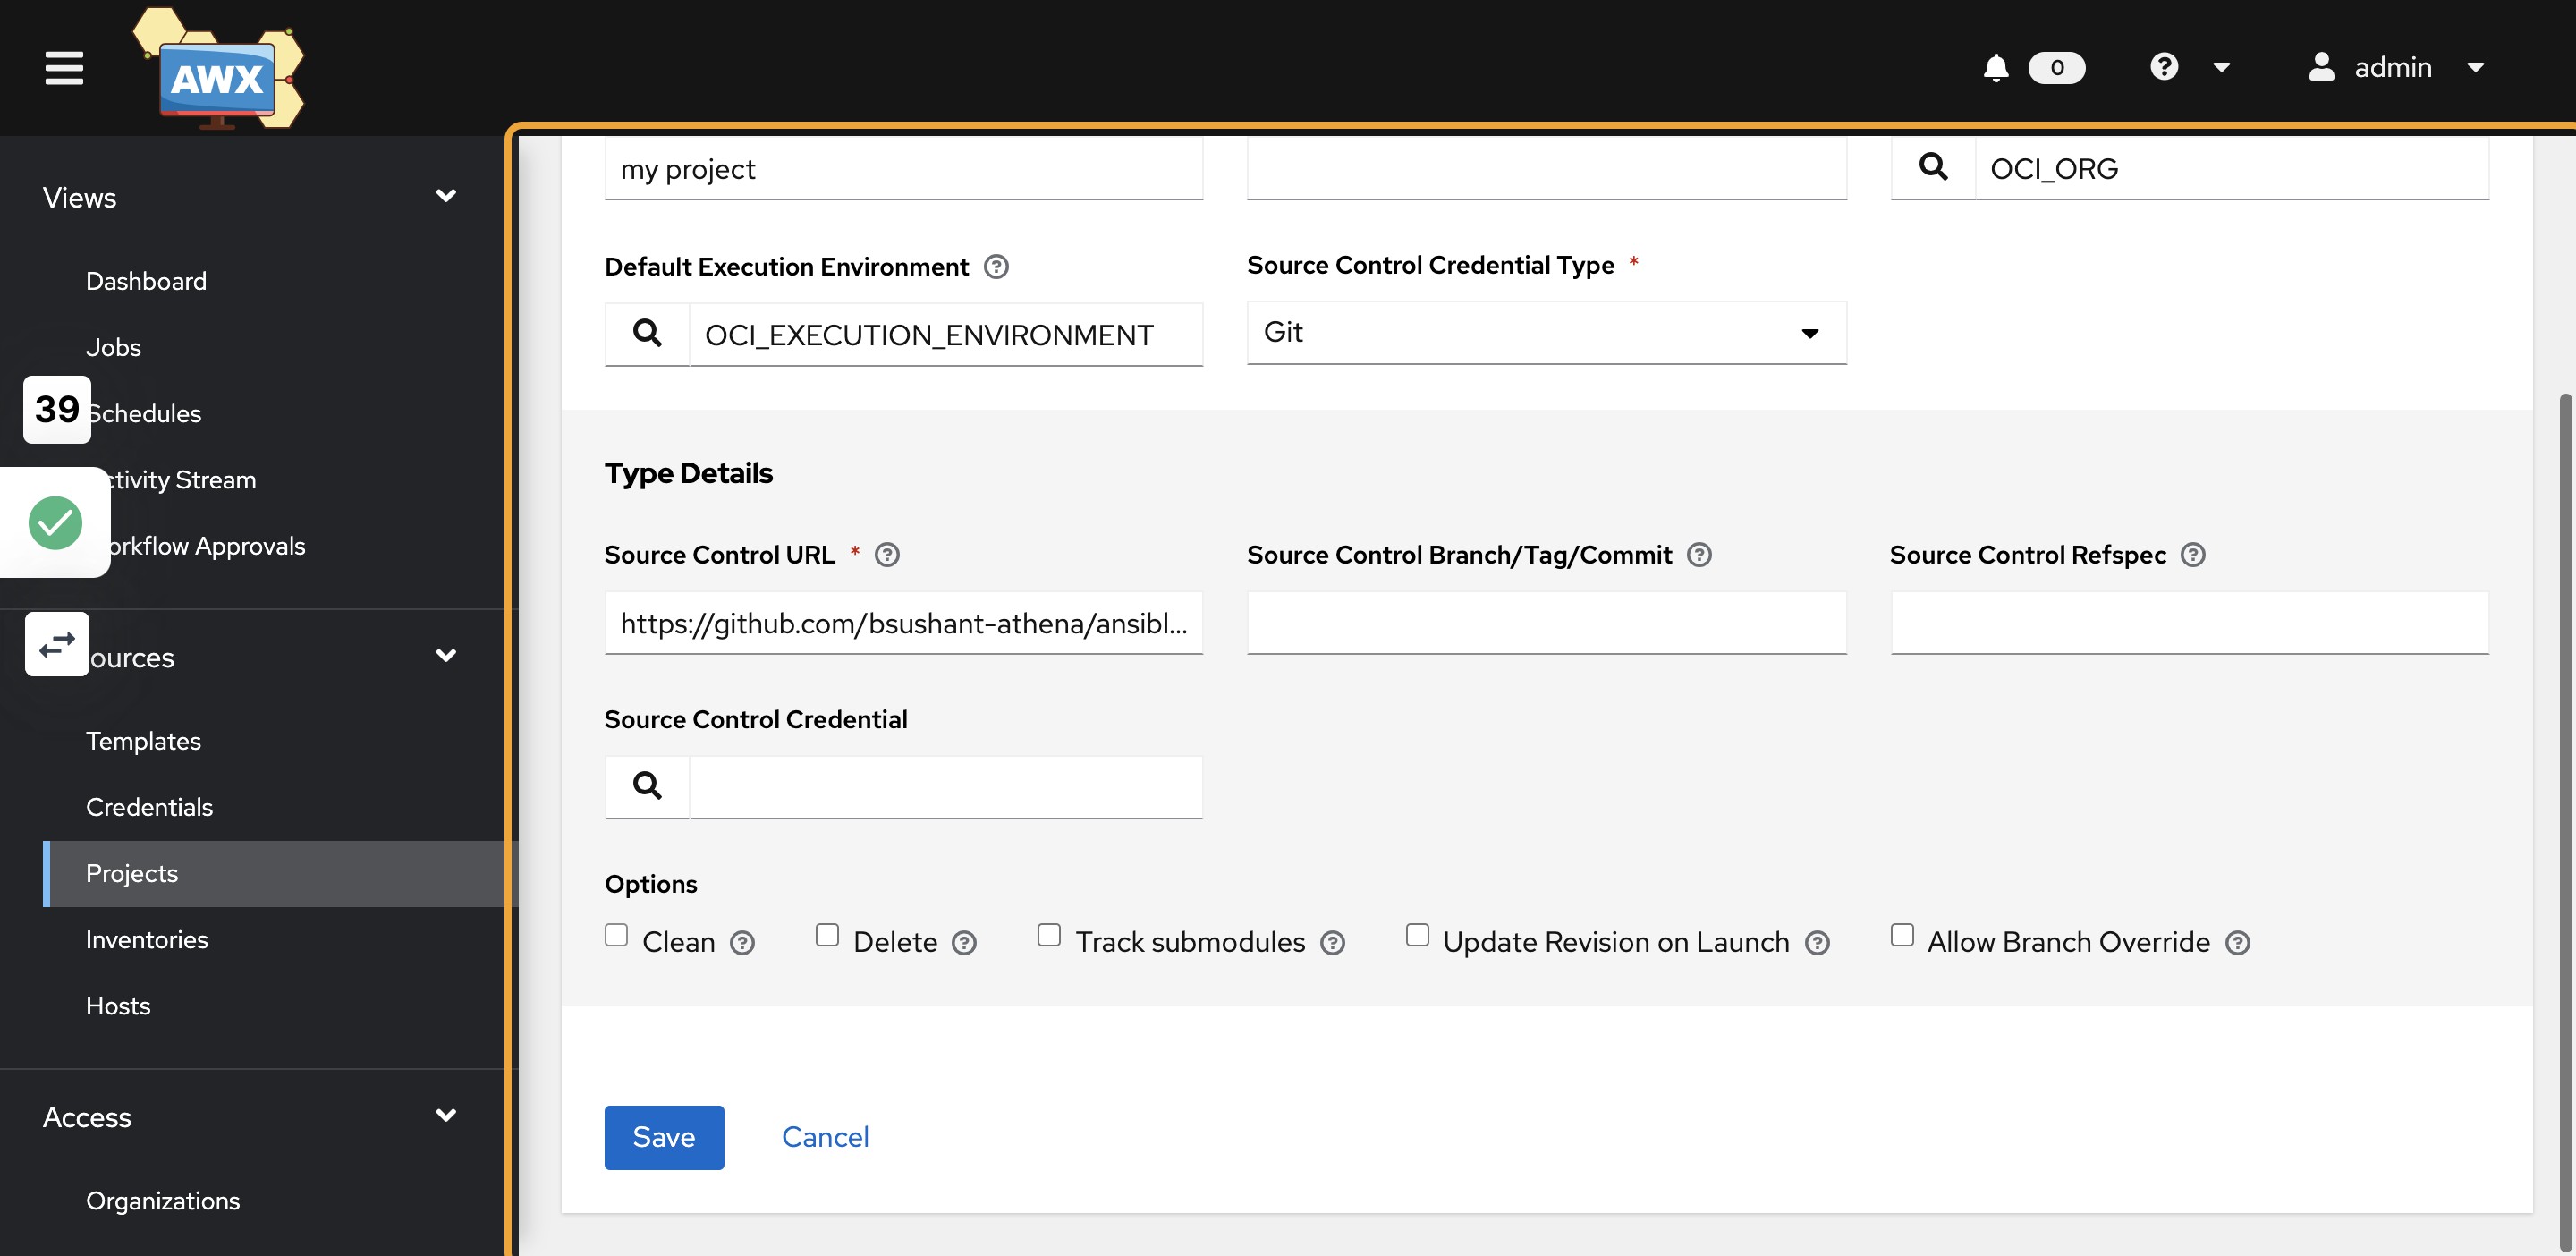
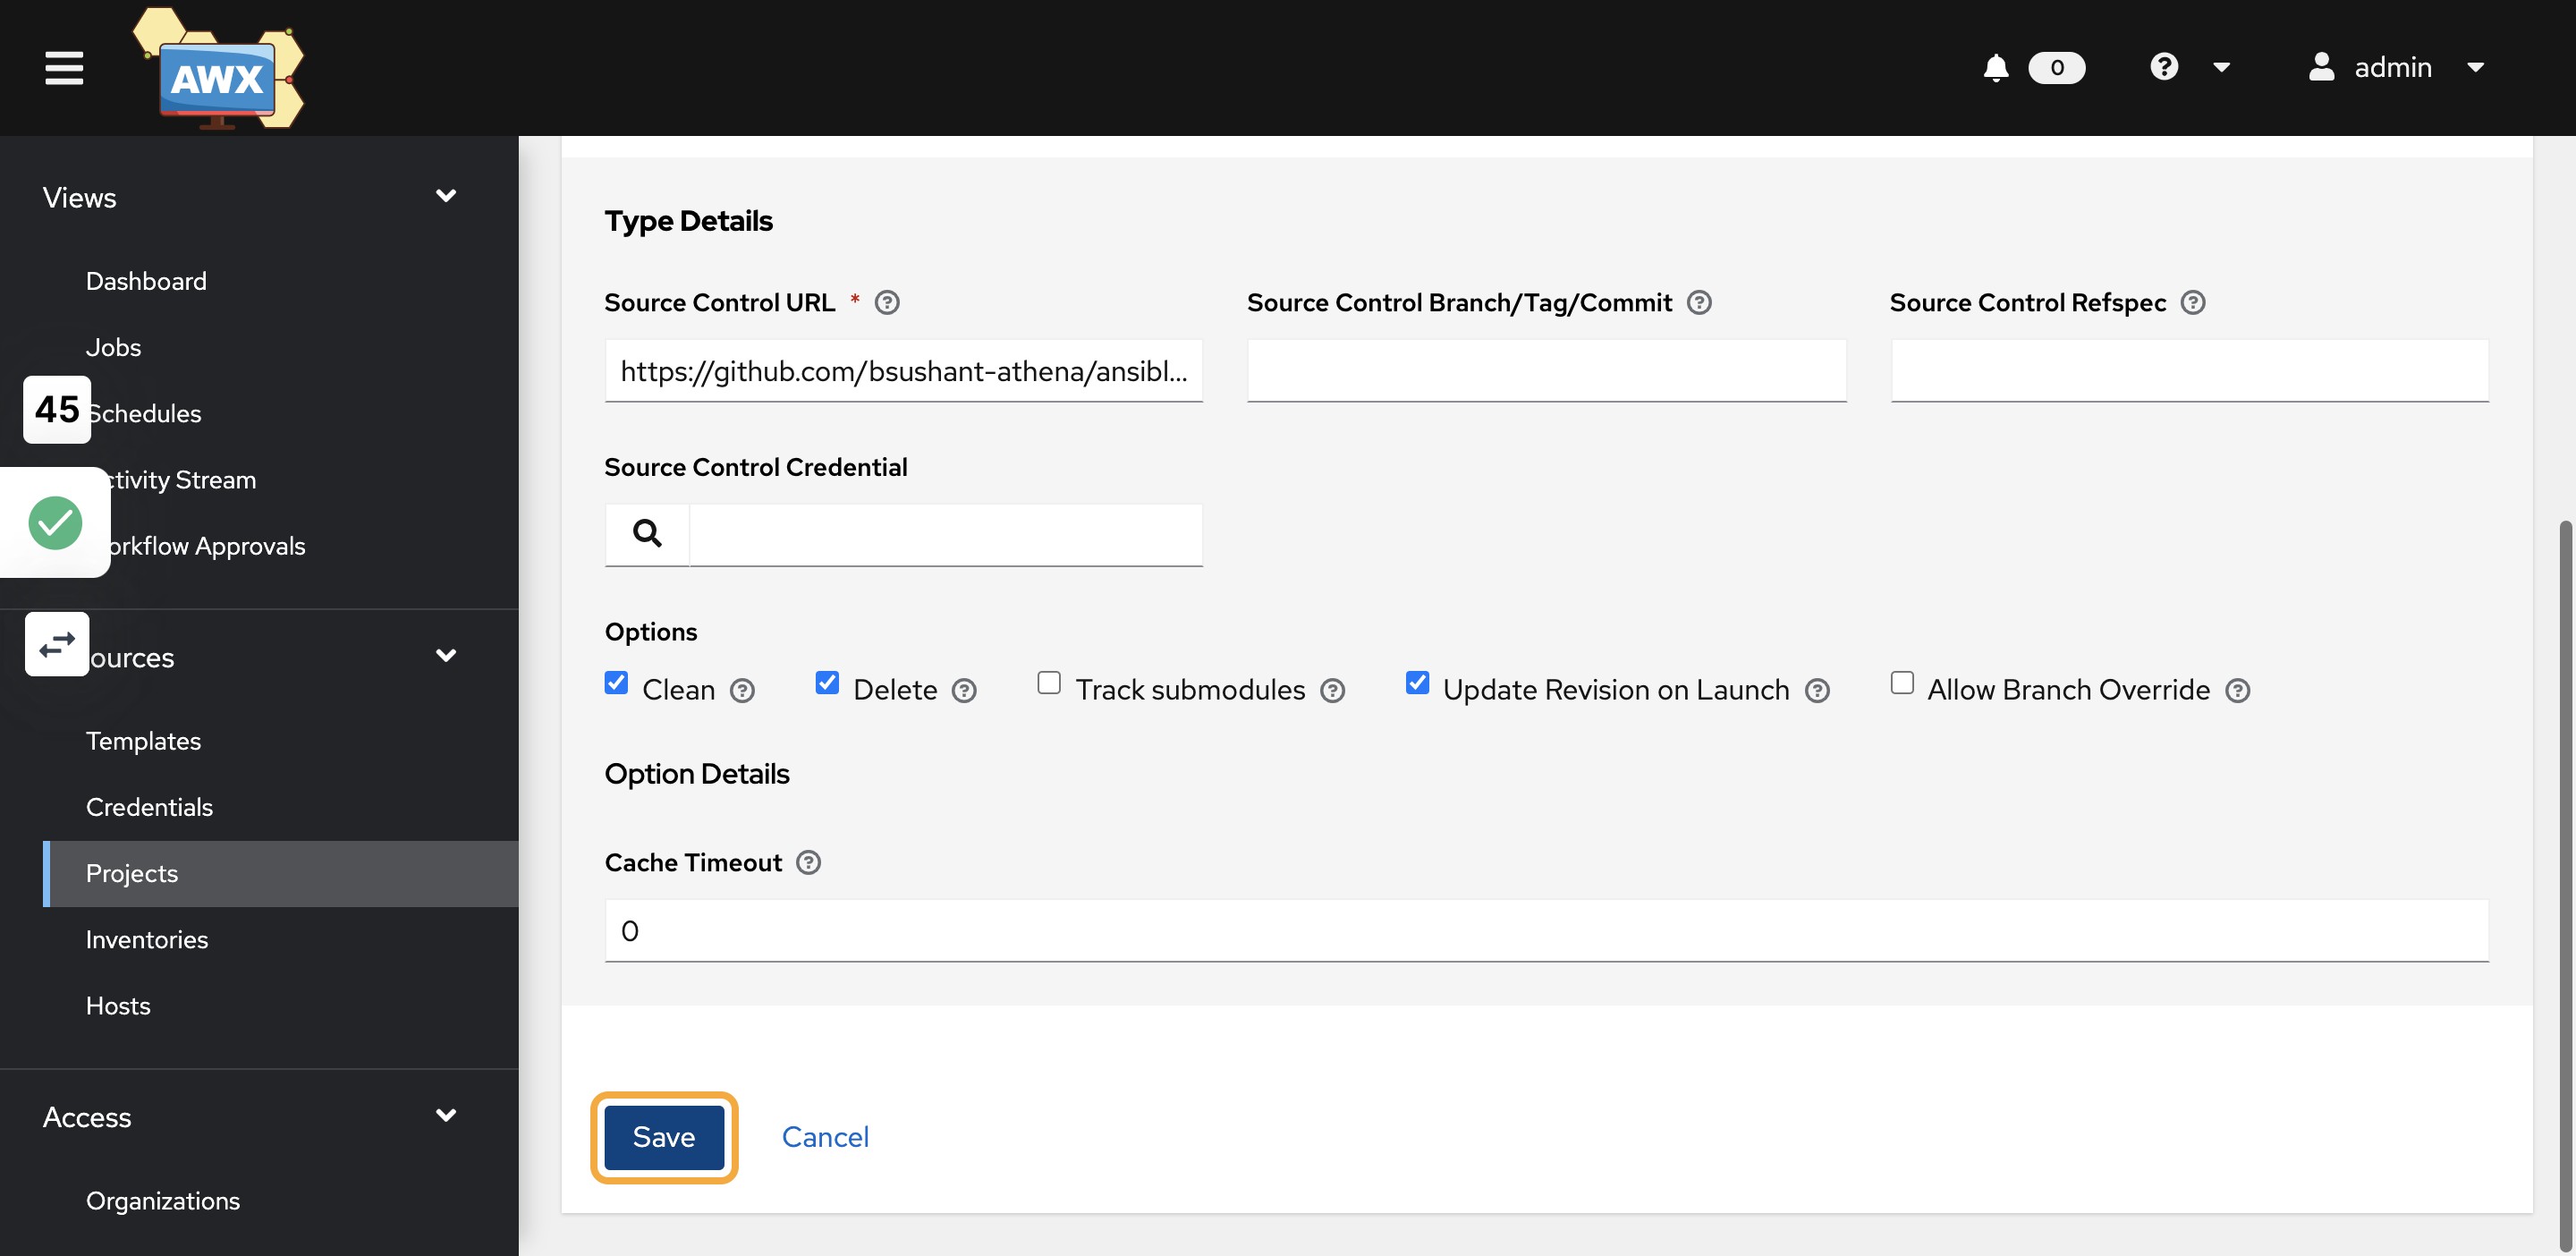
30)Select Git
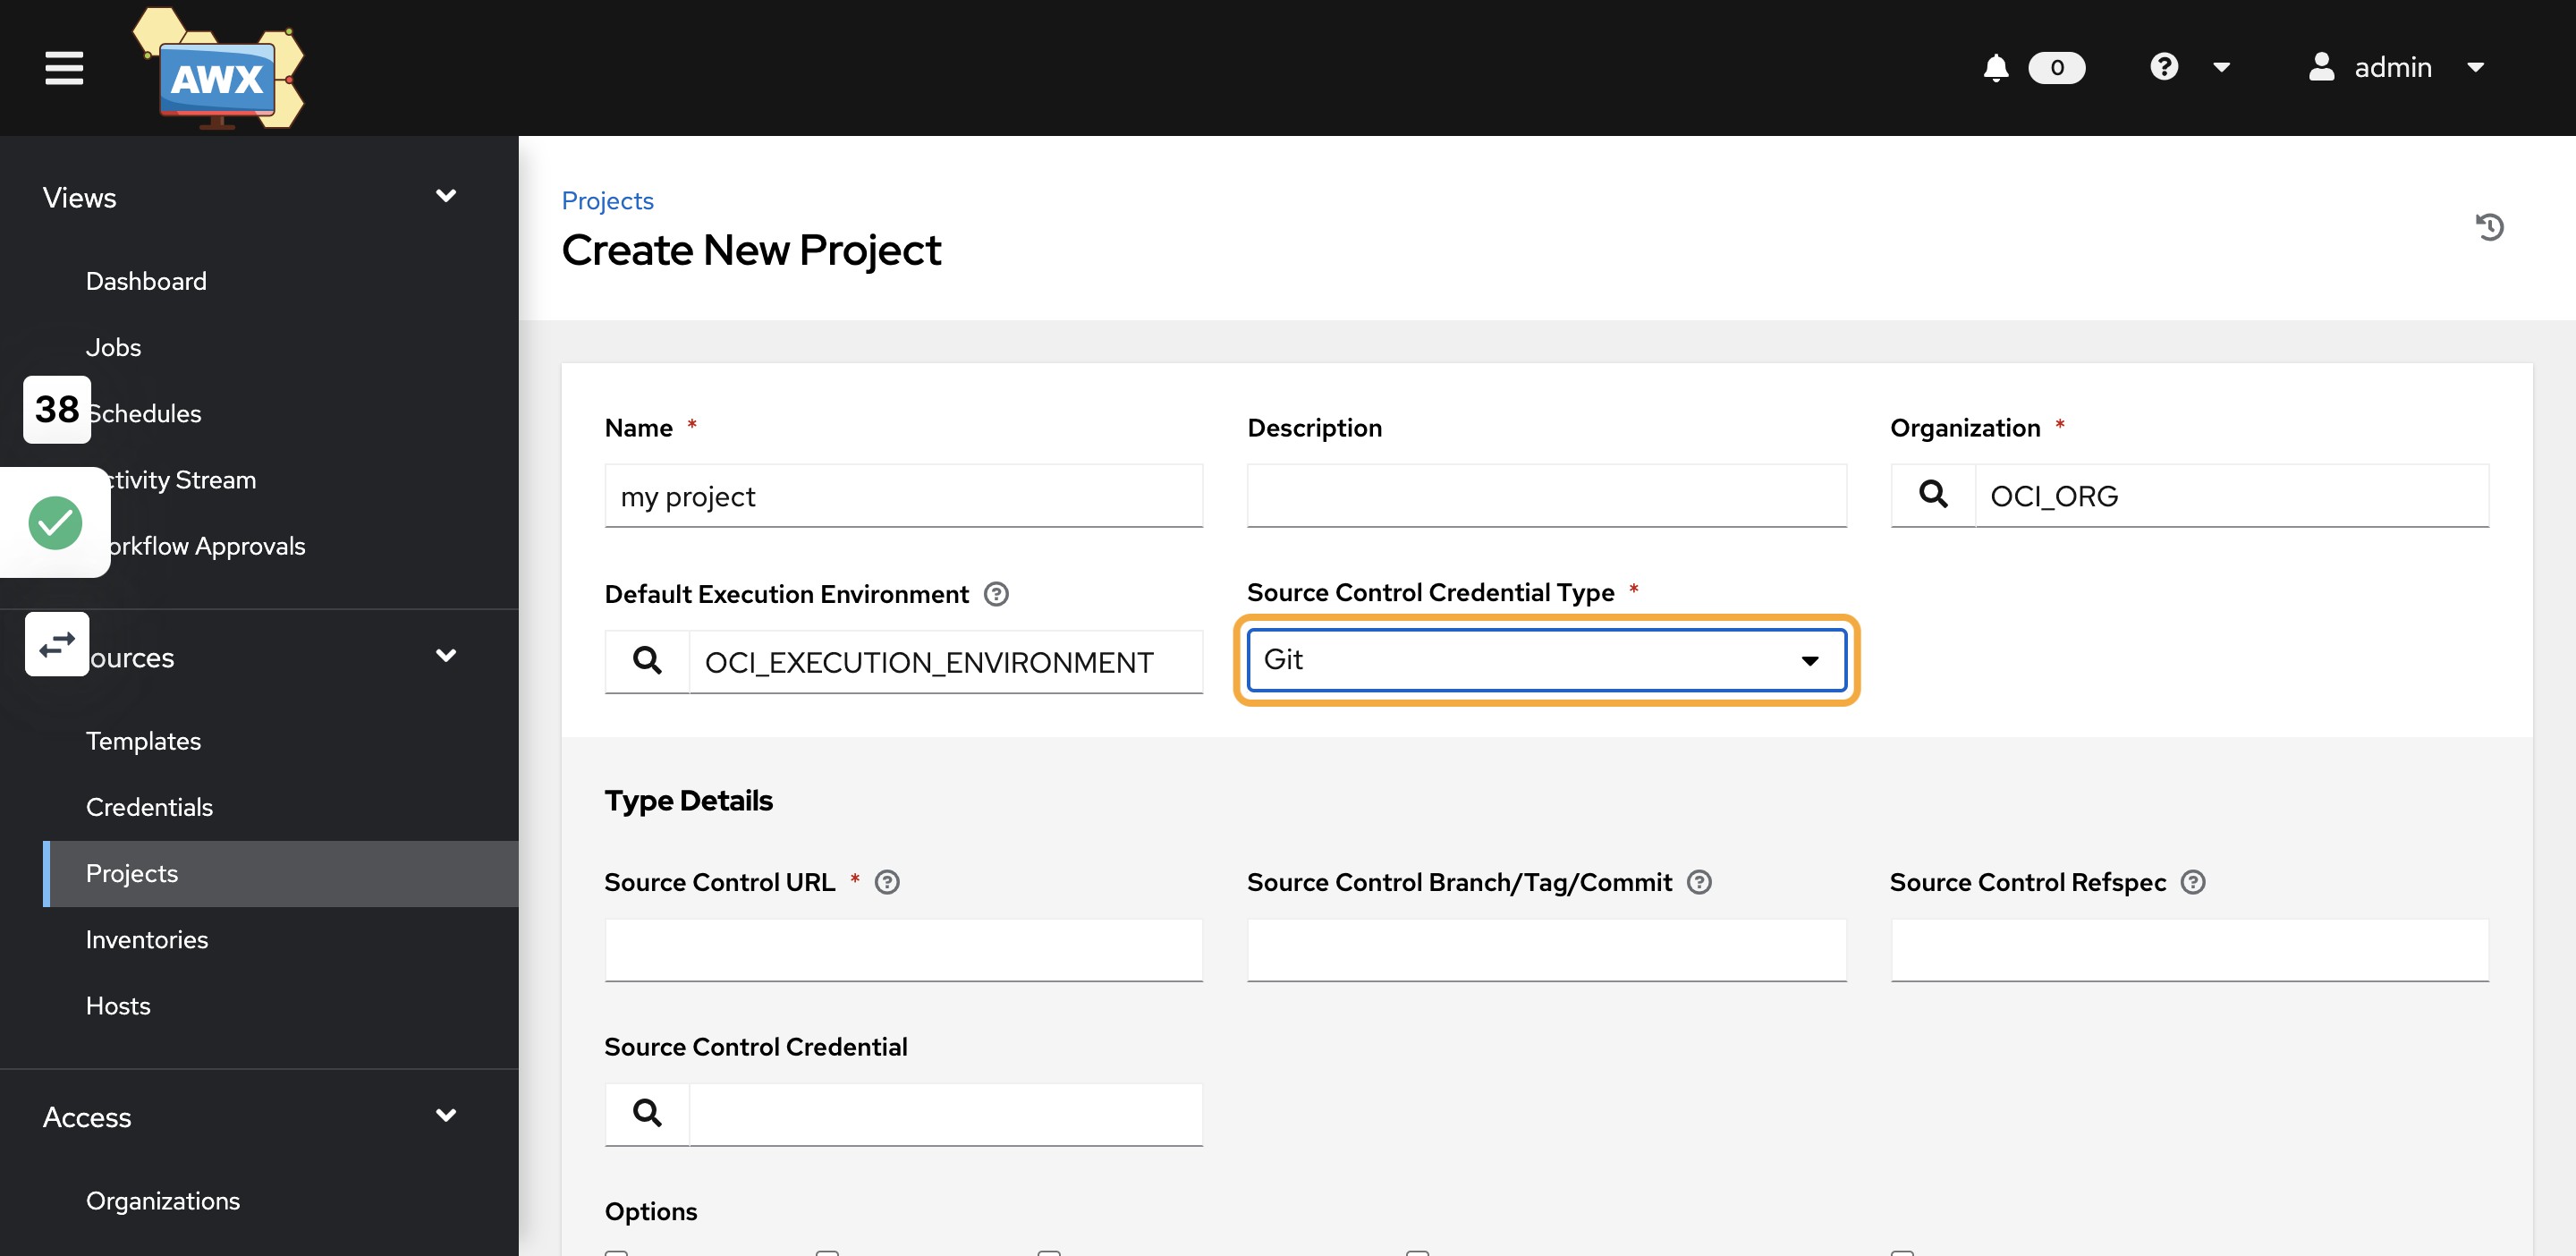
31)Provide the Git repo url of your project

32)Select “Clean” , “Delete” and “Update Revision on Launch”
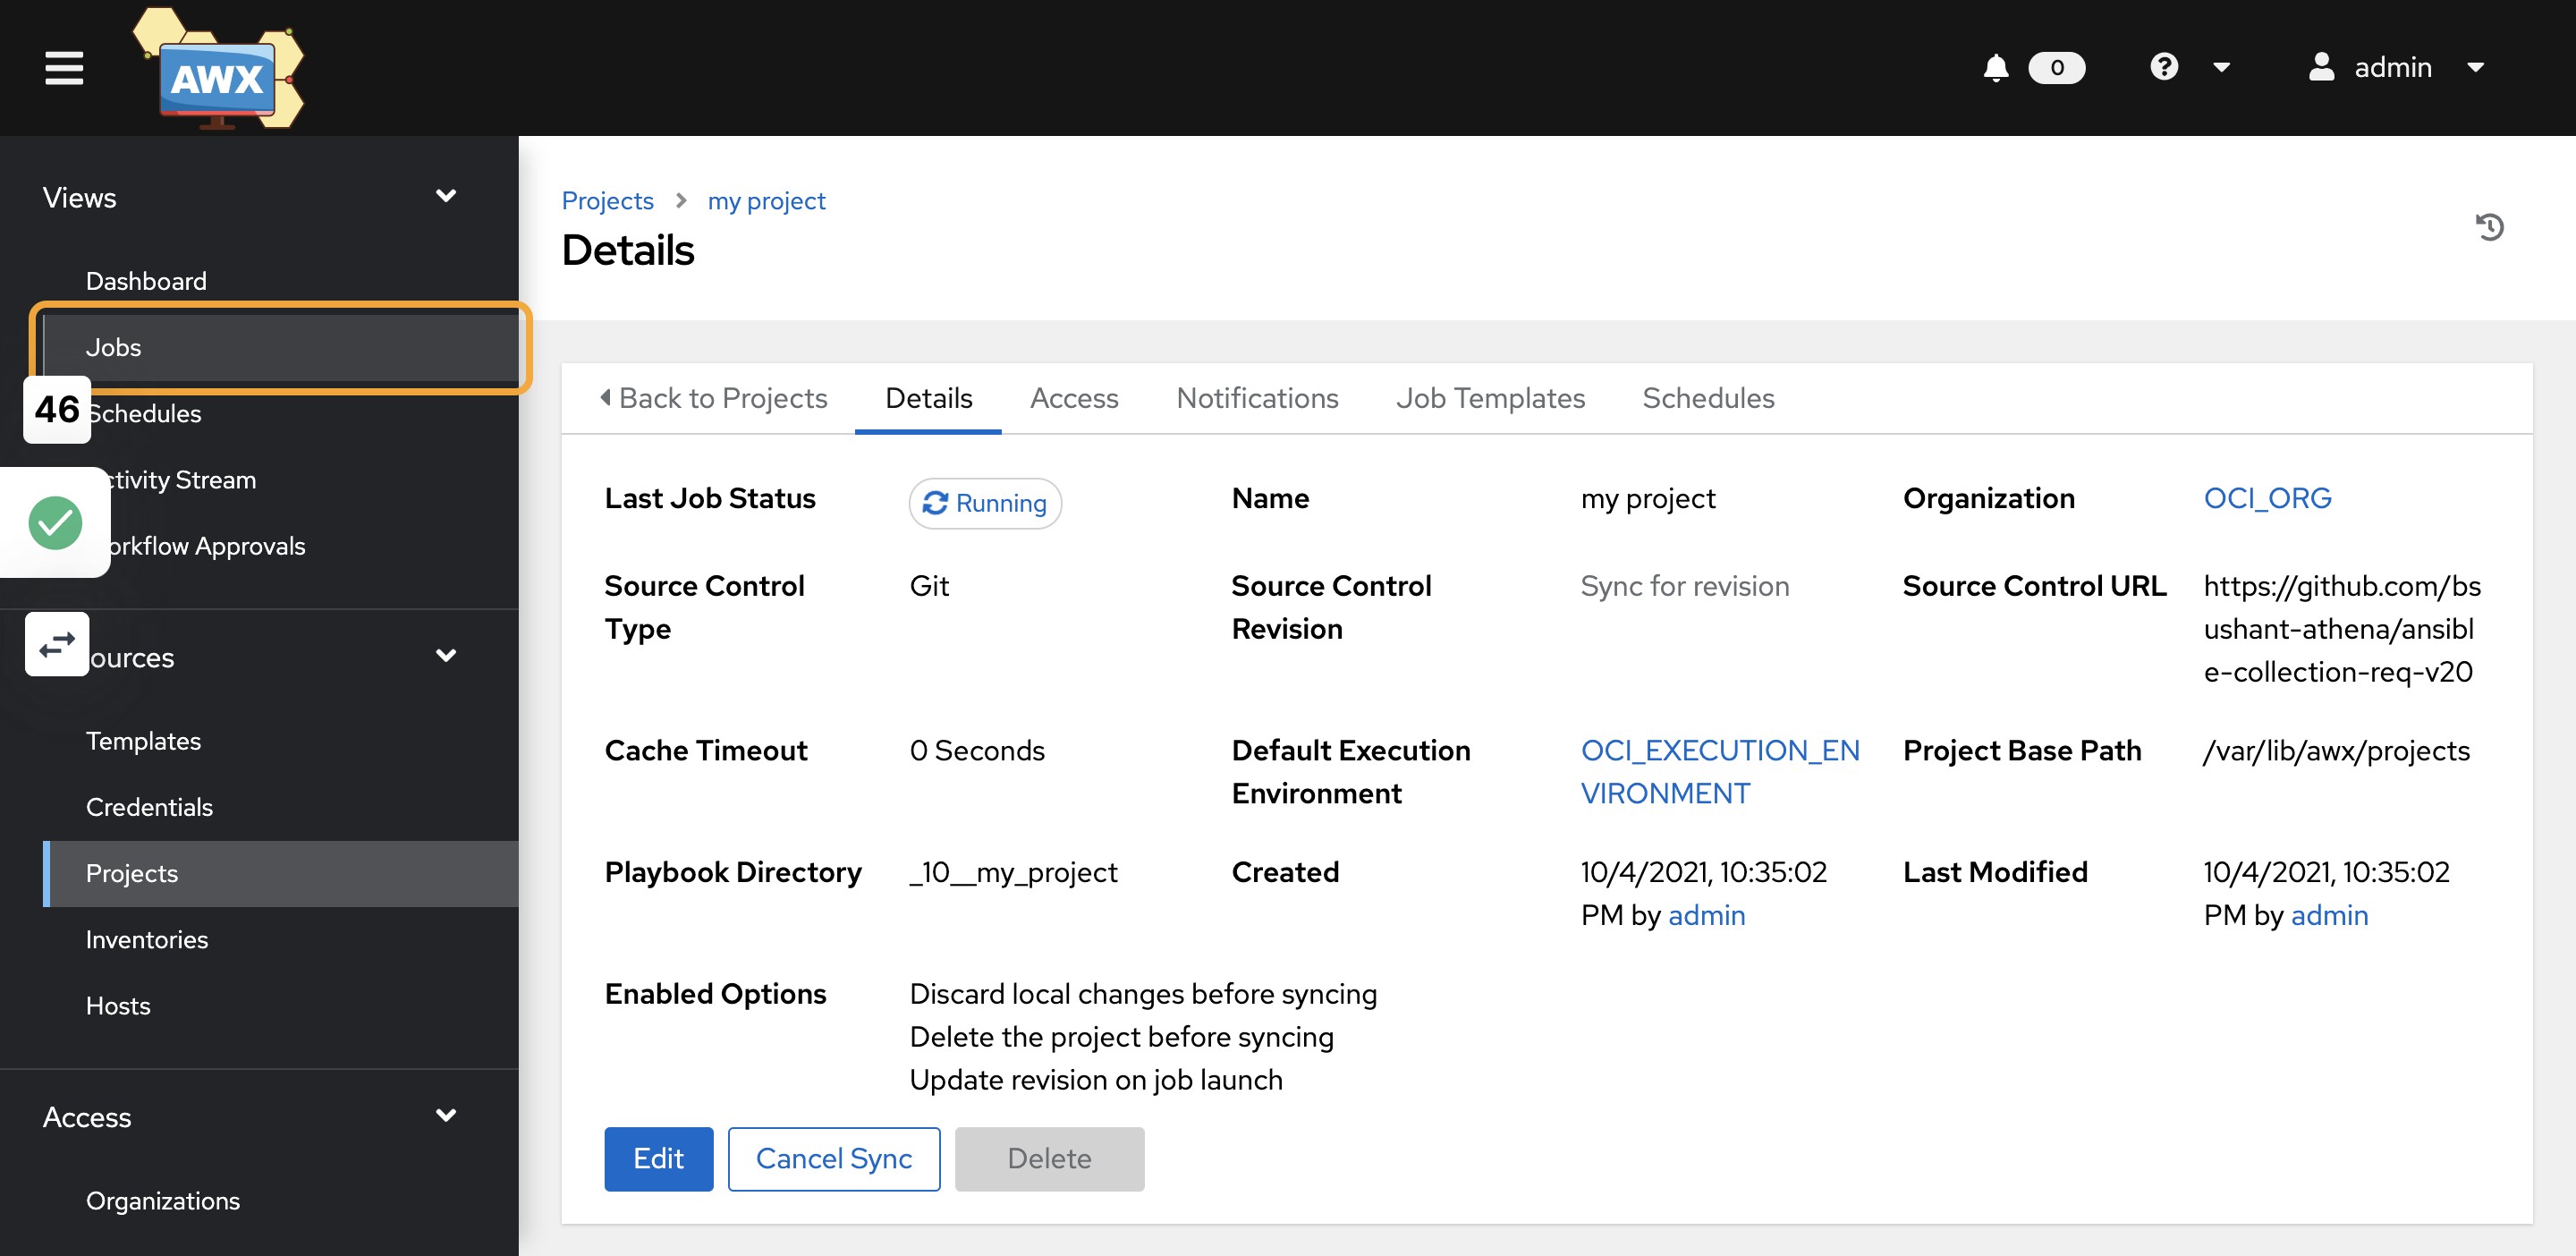
33)Click on Save
34)Project creation status can be seen on the Jobs link
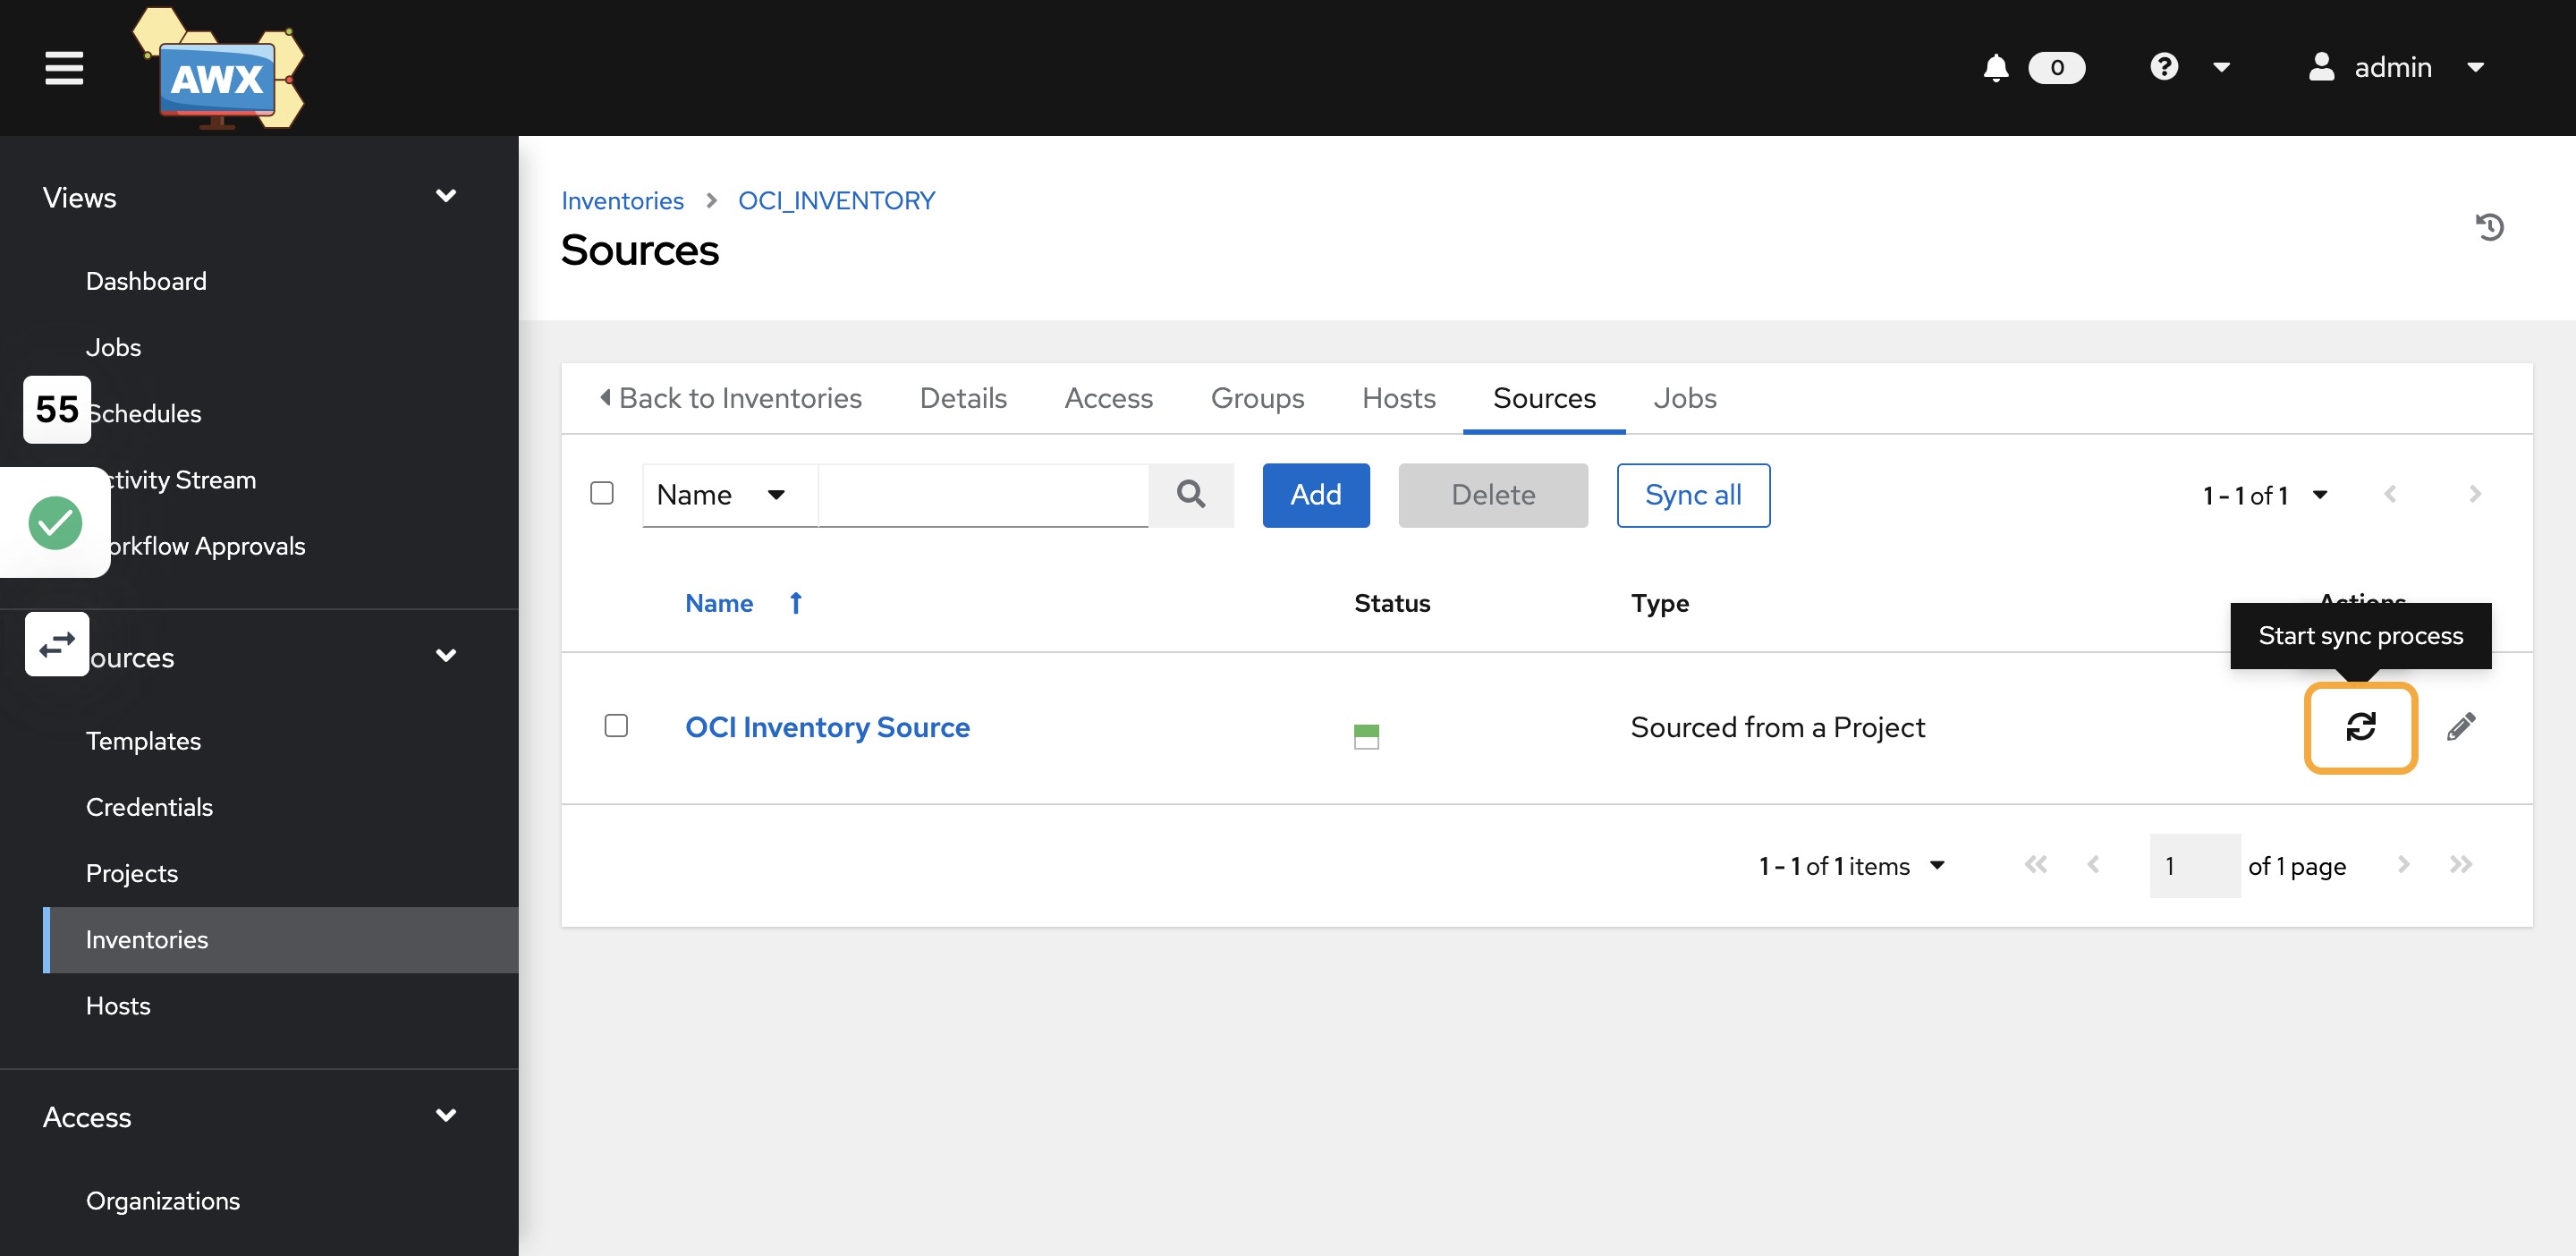
35)Click on Inventories
36)Select ” OCI_INVENTORY” and click on Sources

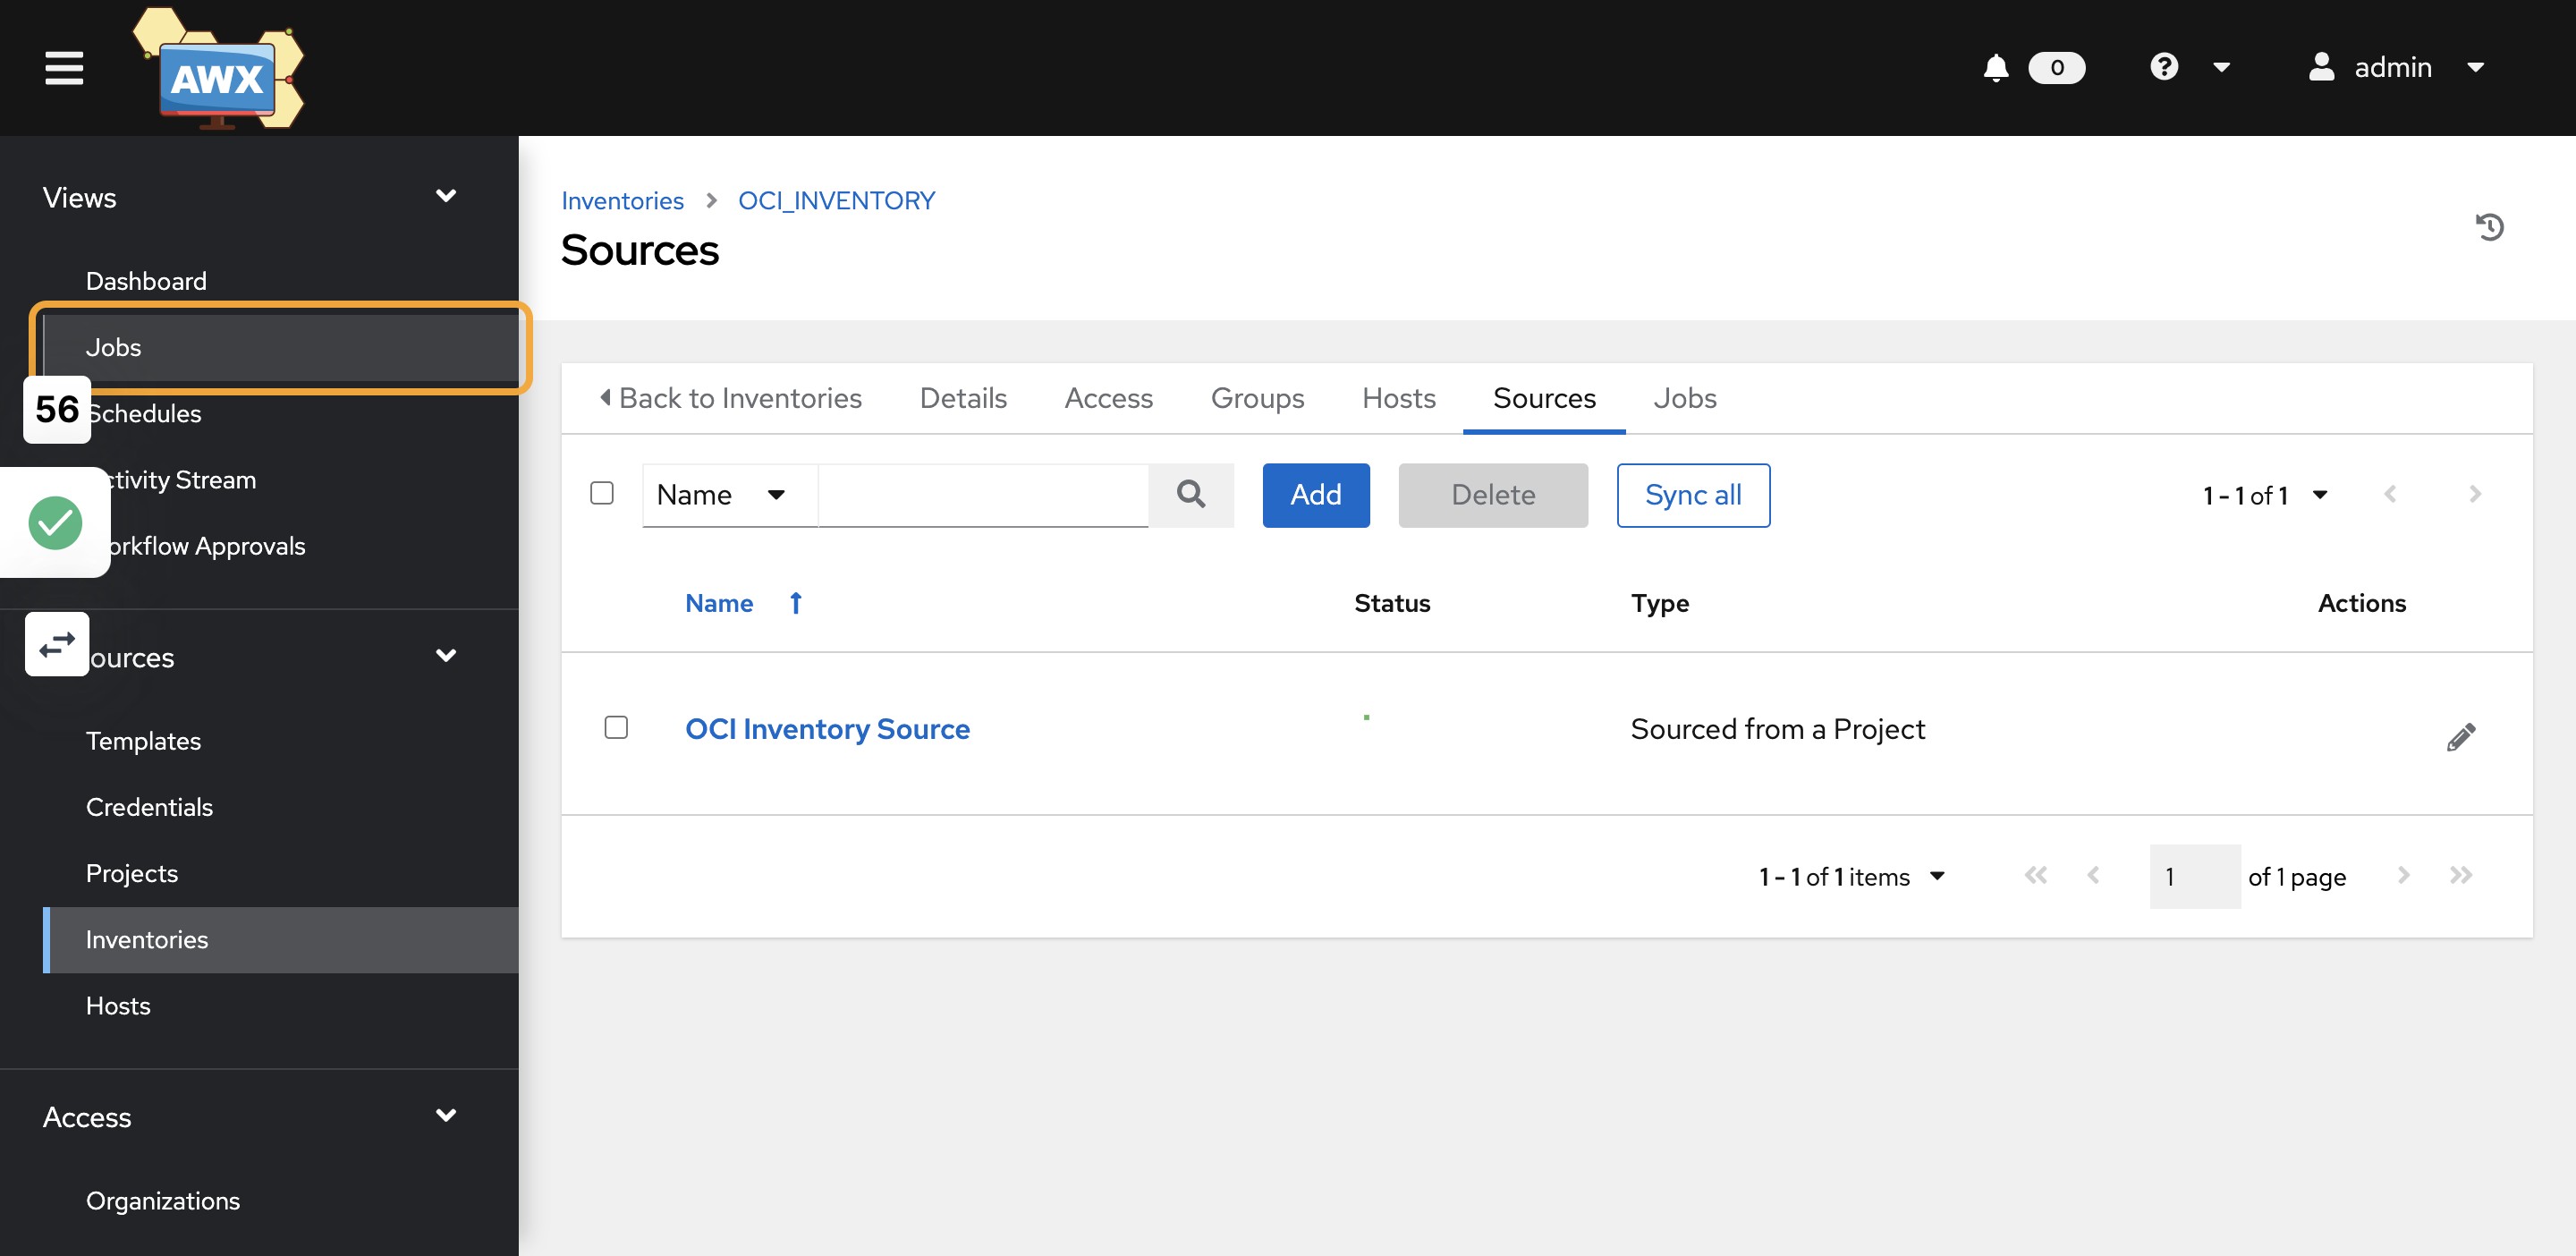
37)Click on Start sync process
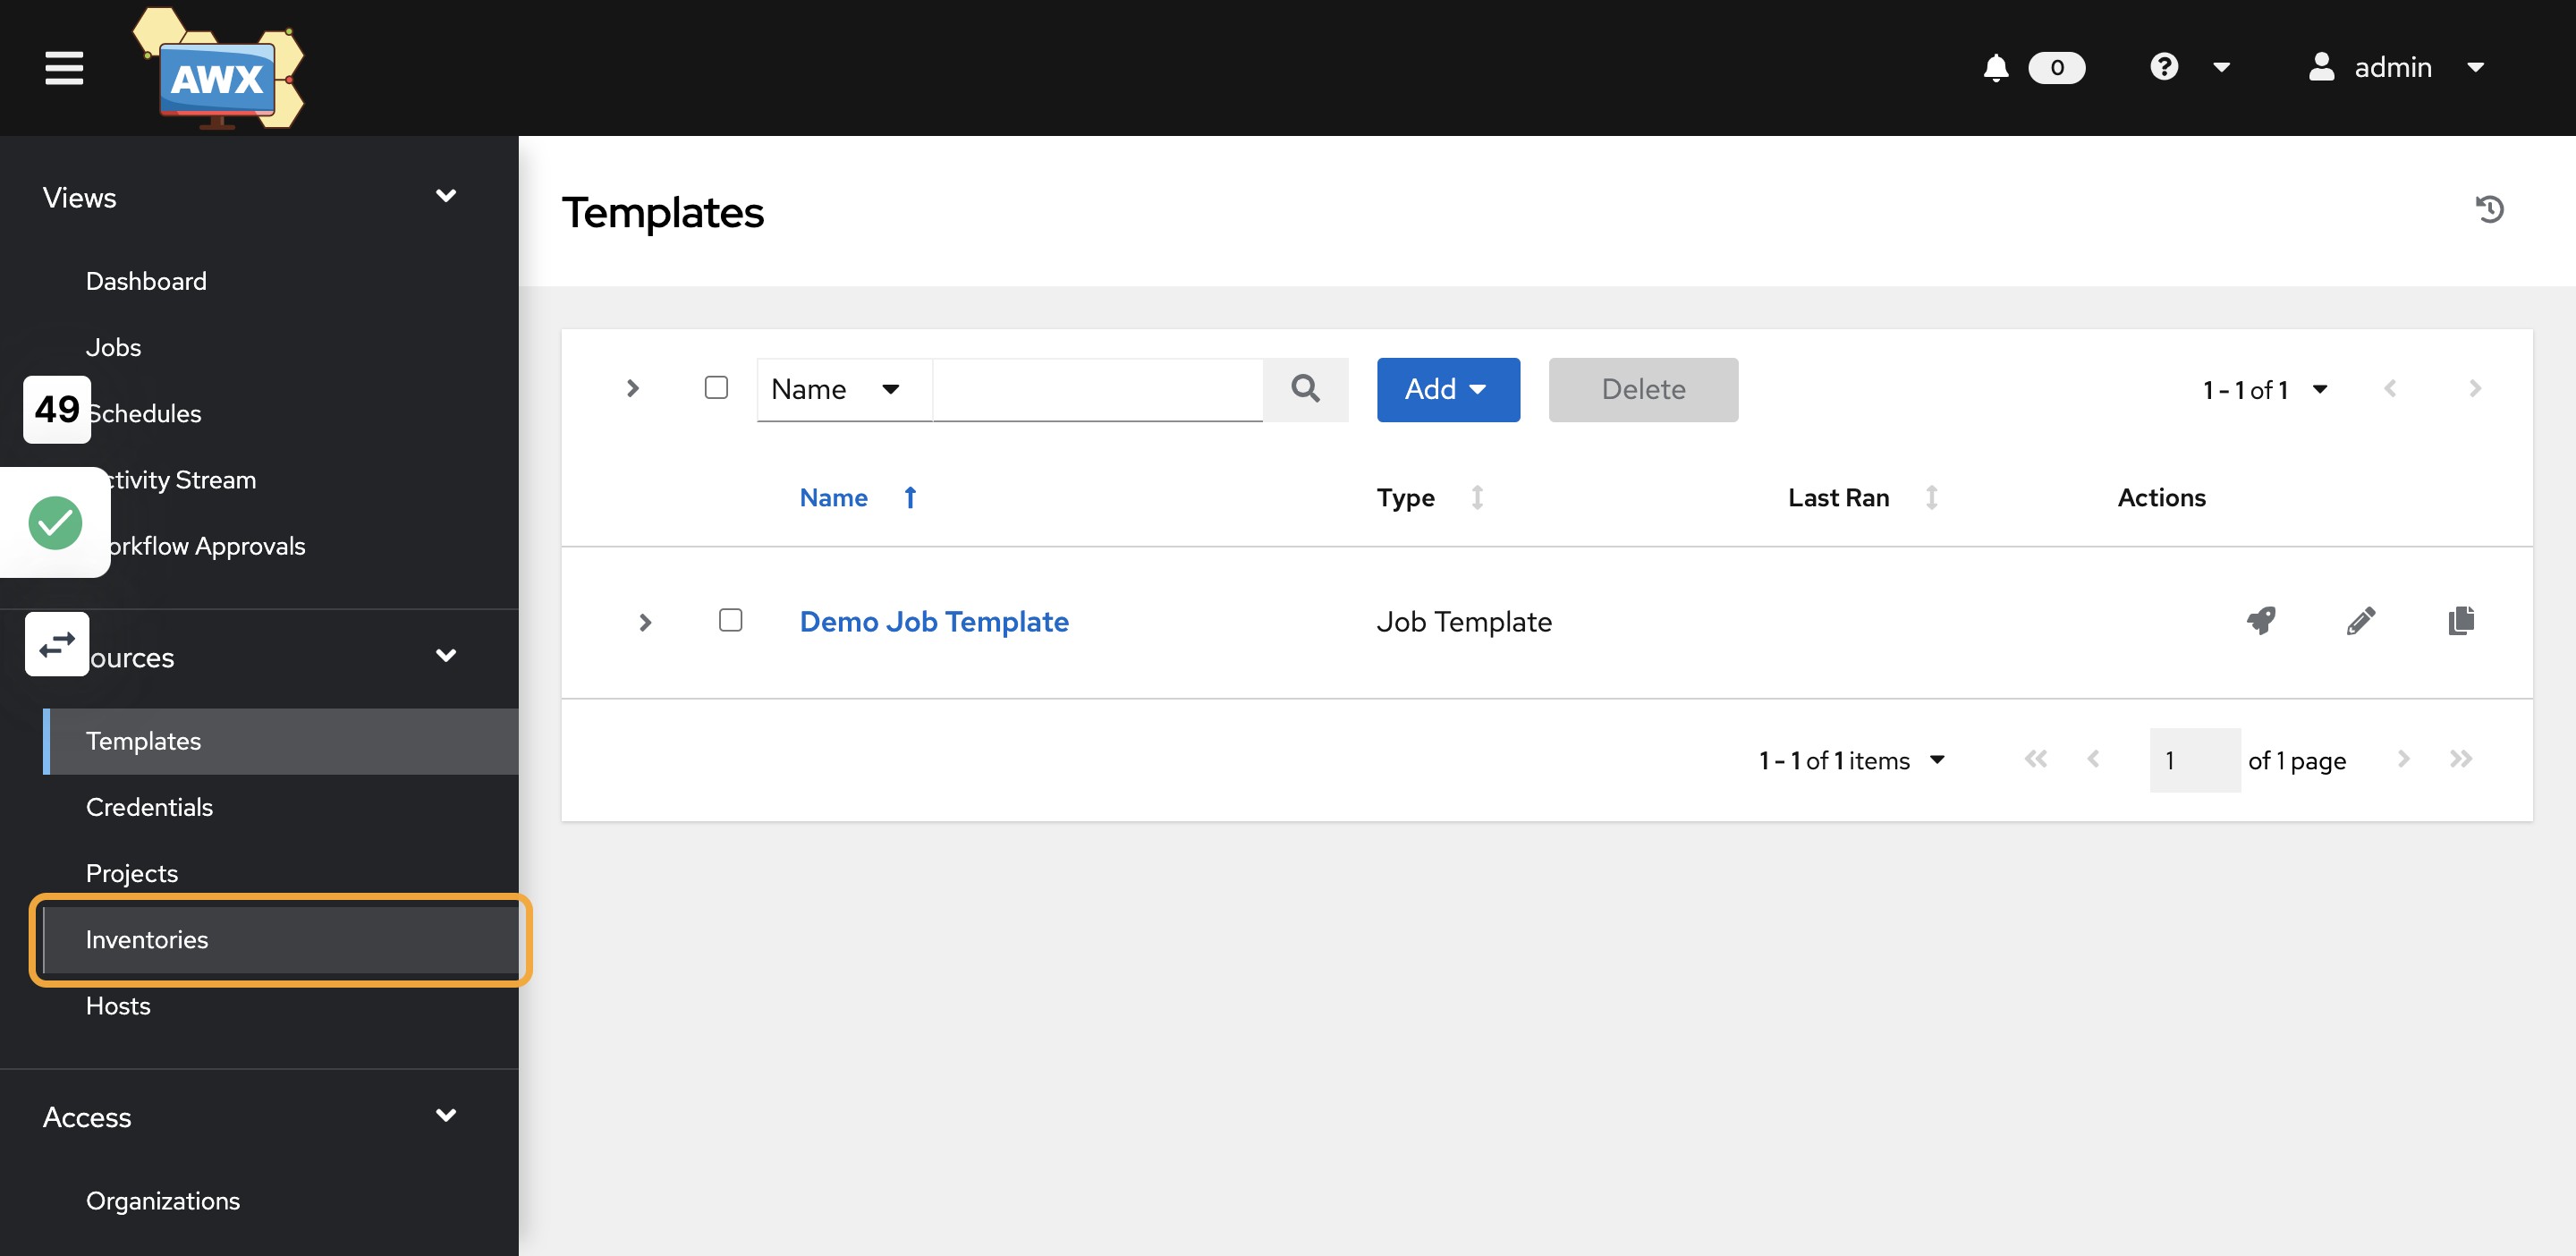
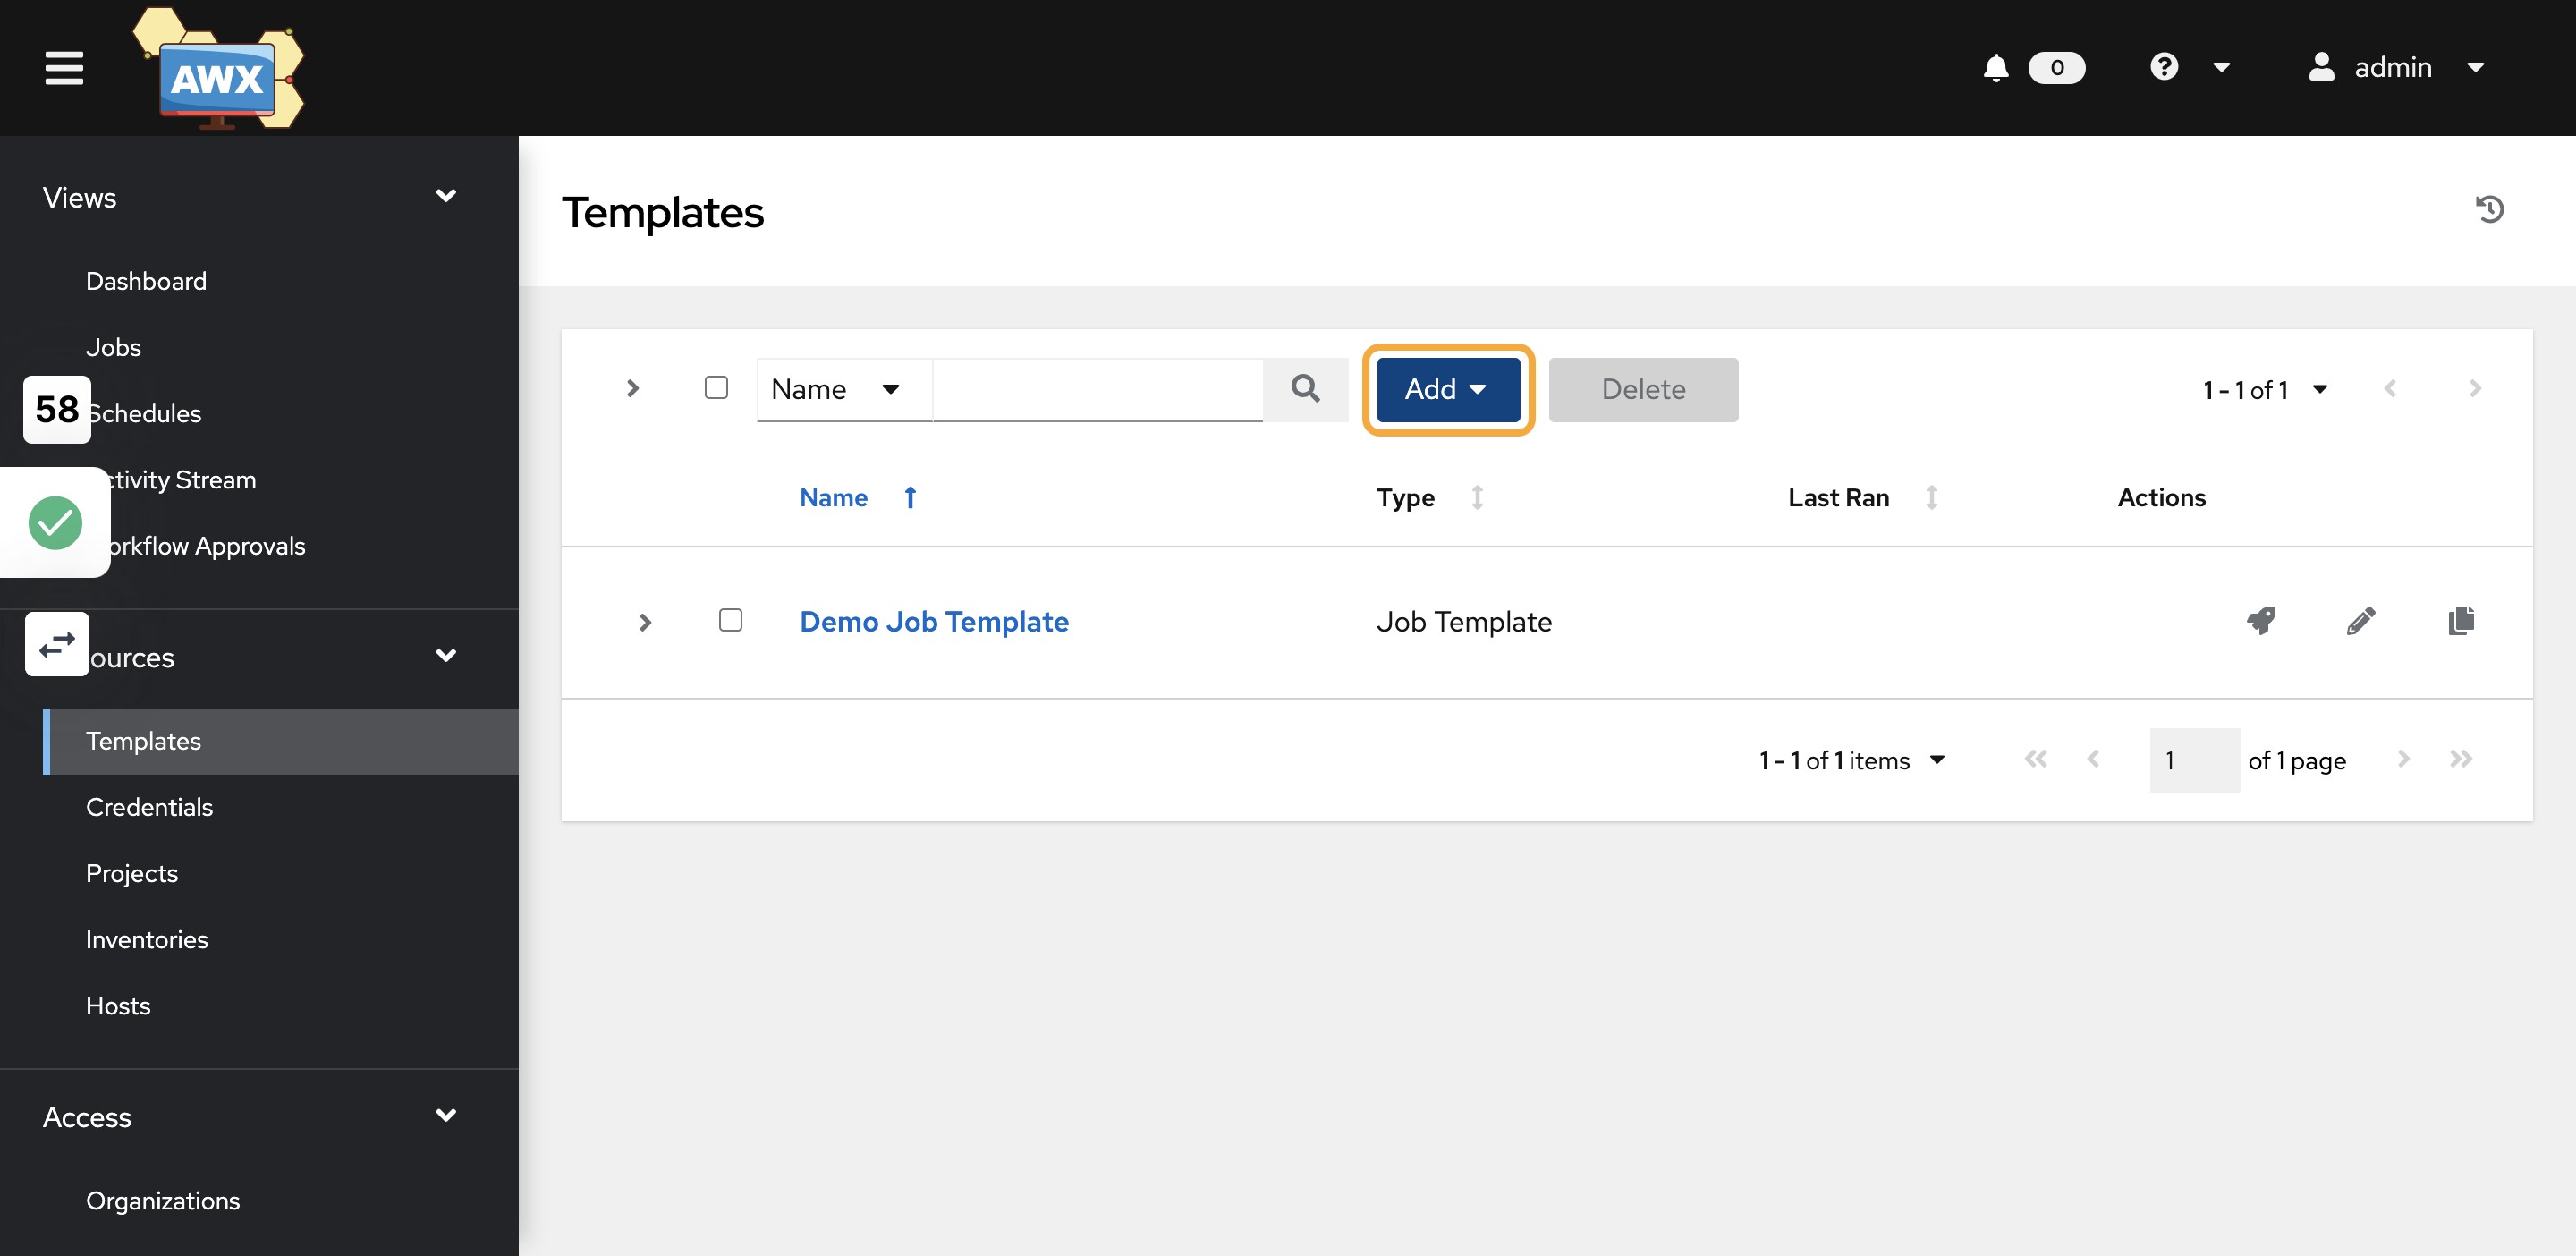
38)Click on Jobs to view status of inventory fetch
39)Click on Templates

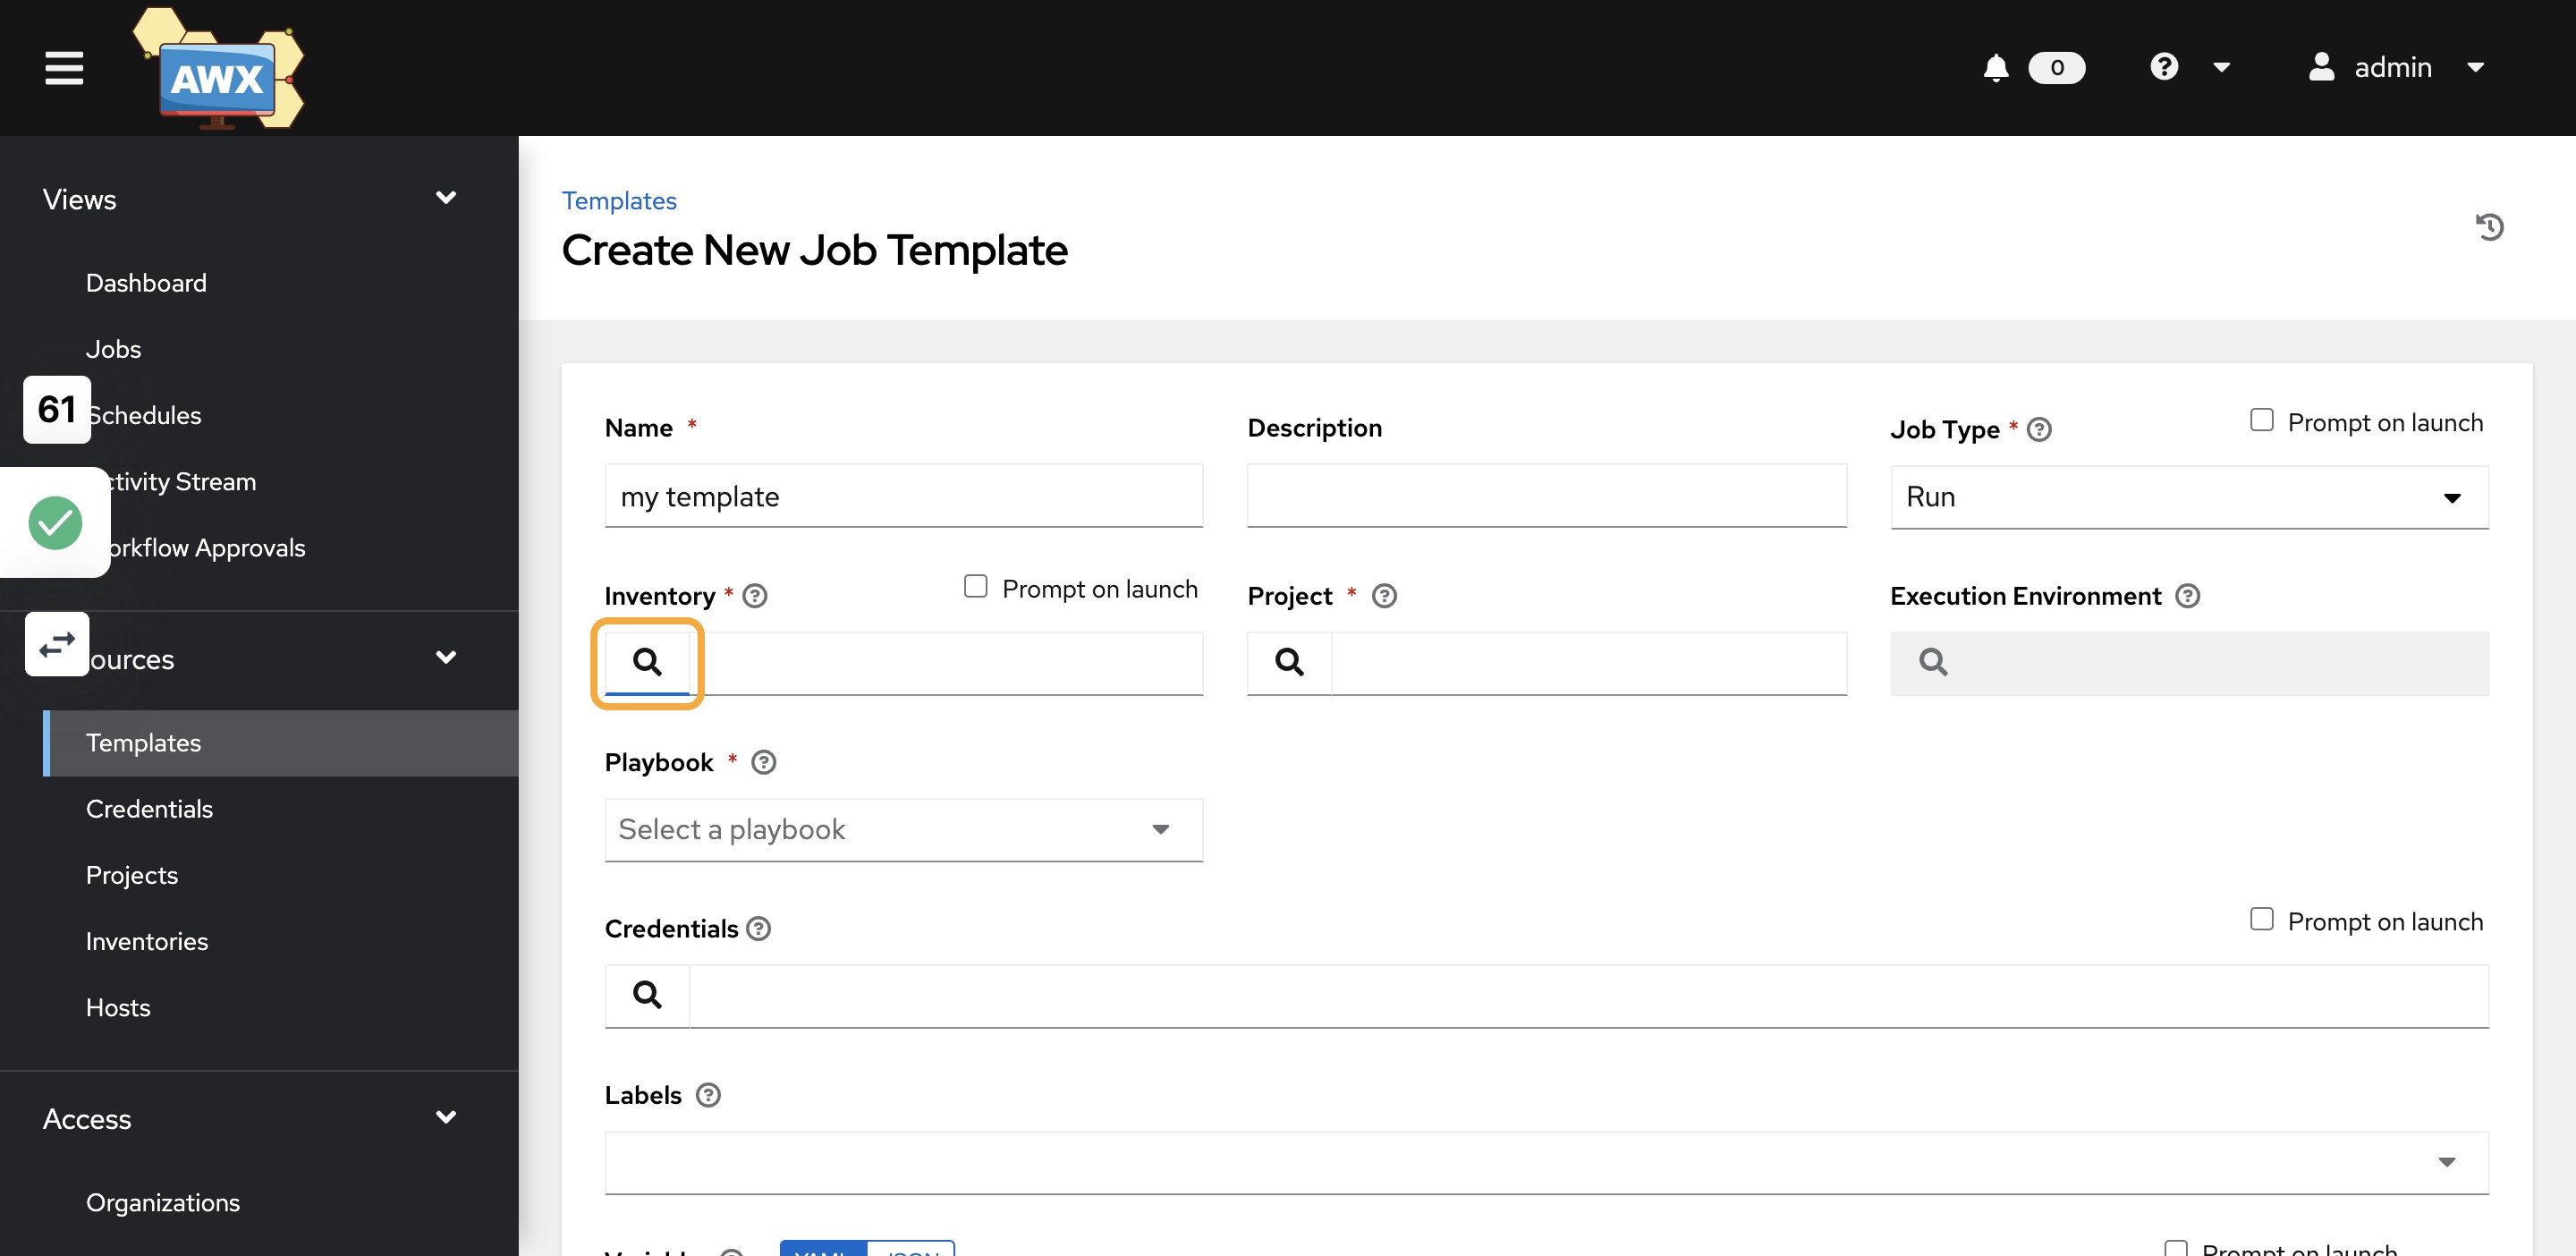
40)Click on Add and select “Add job template”
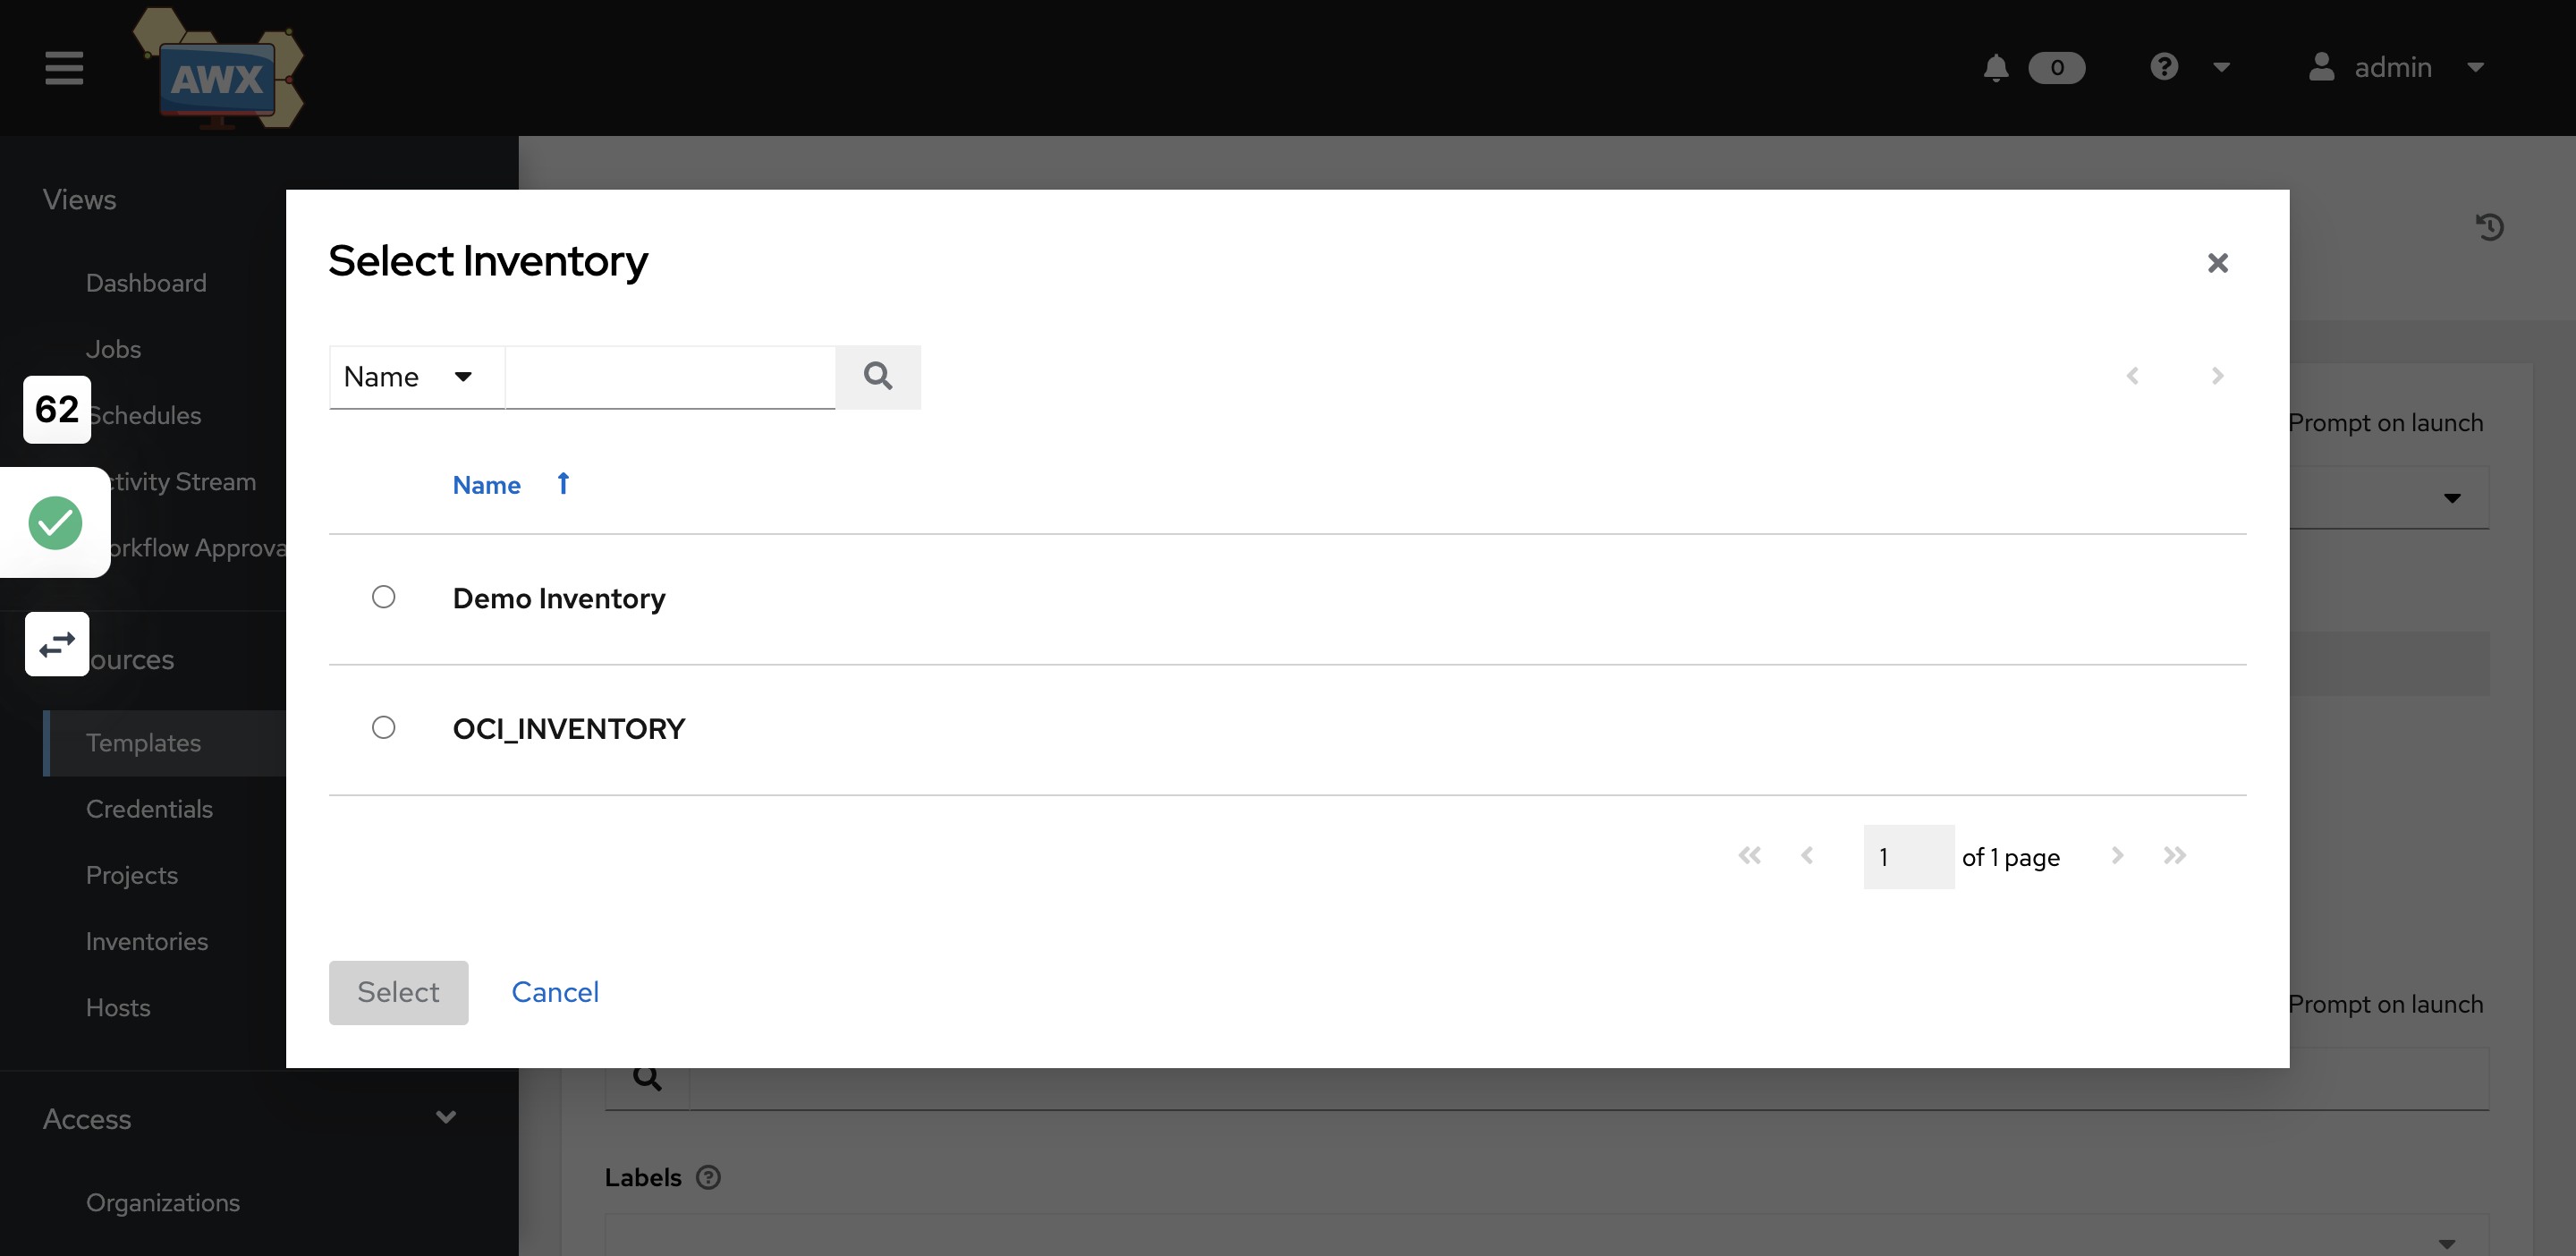
41)Provide Template details
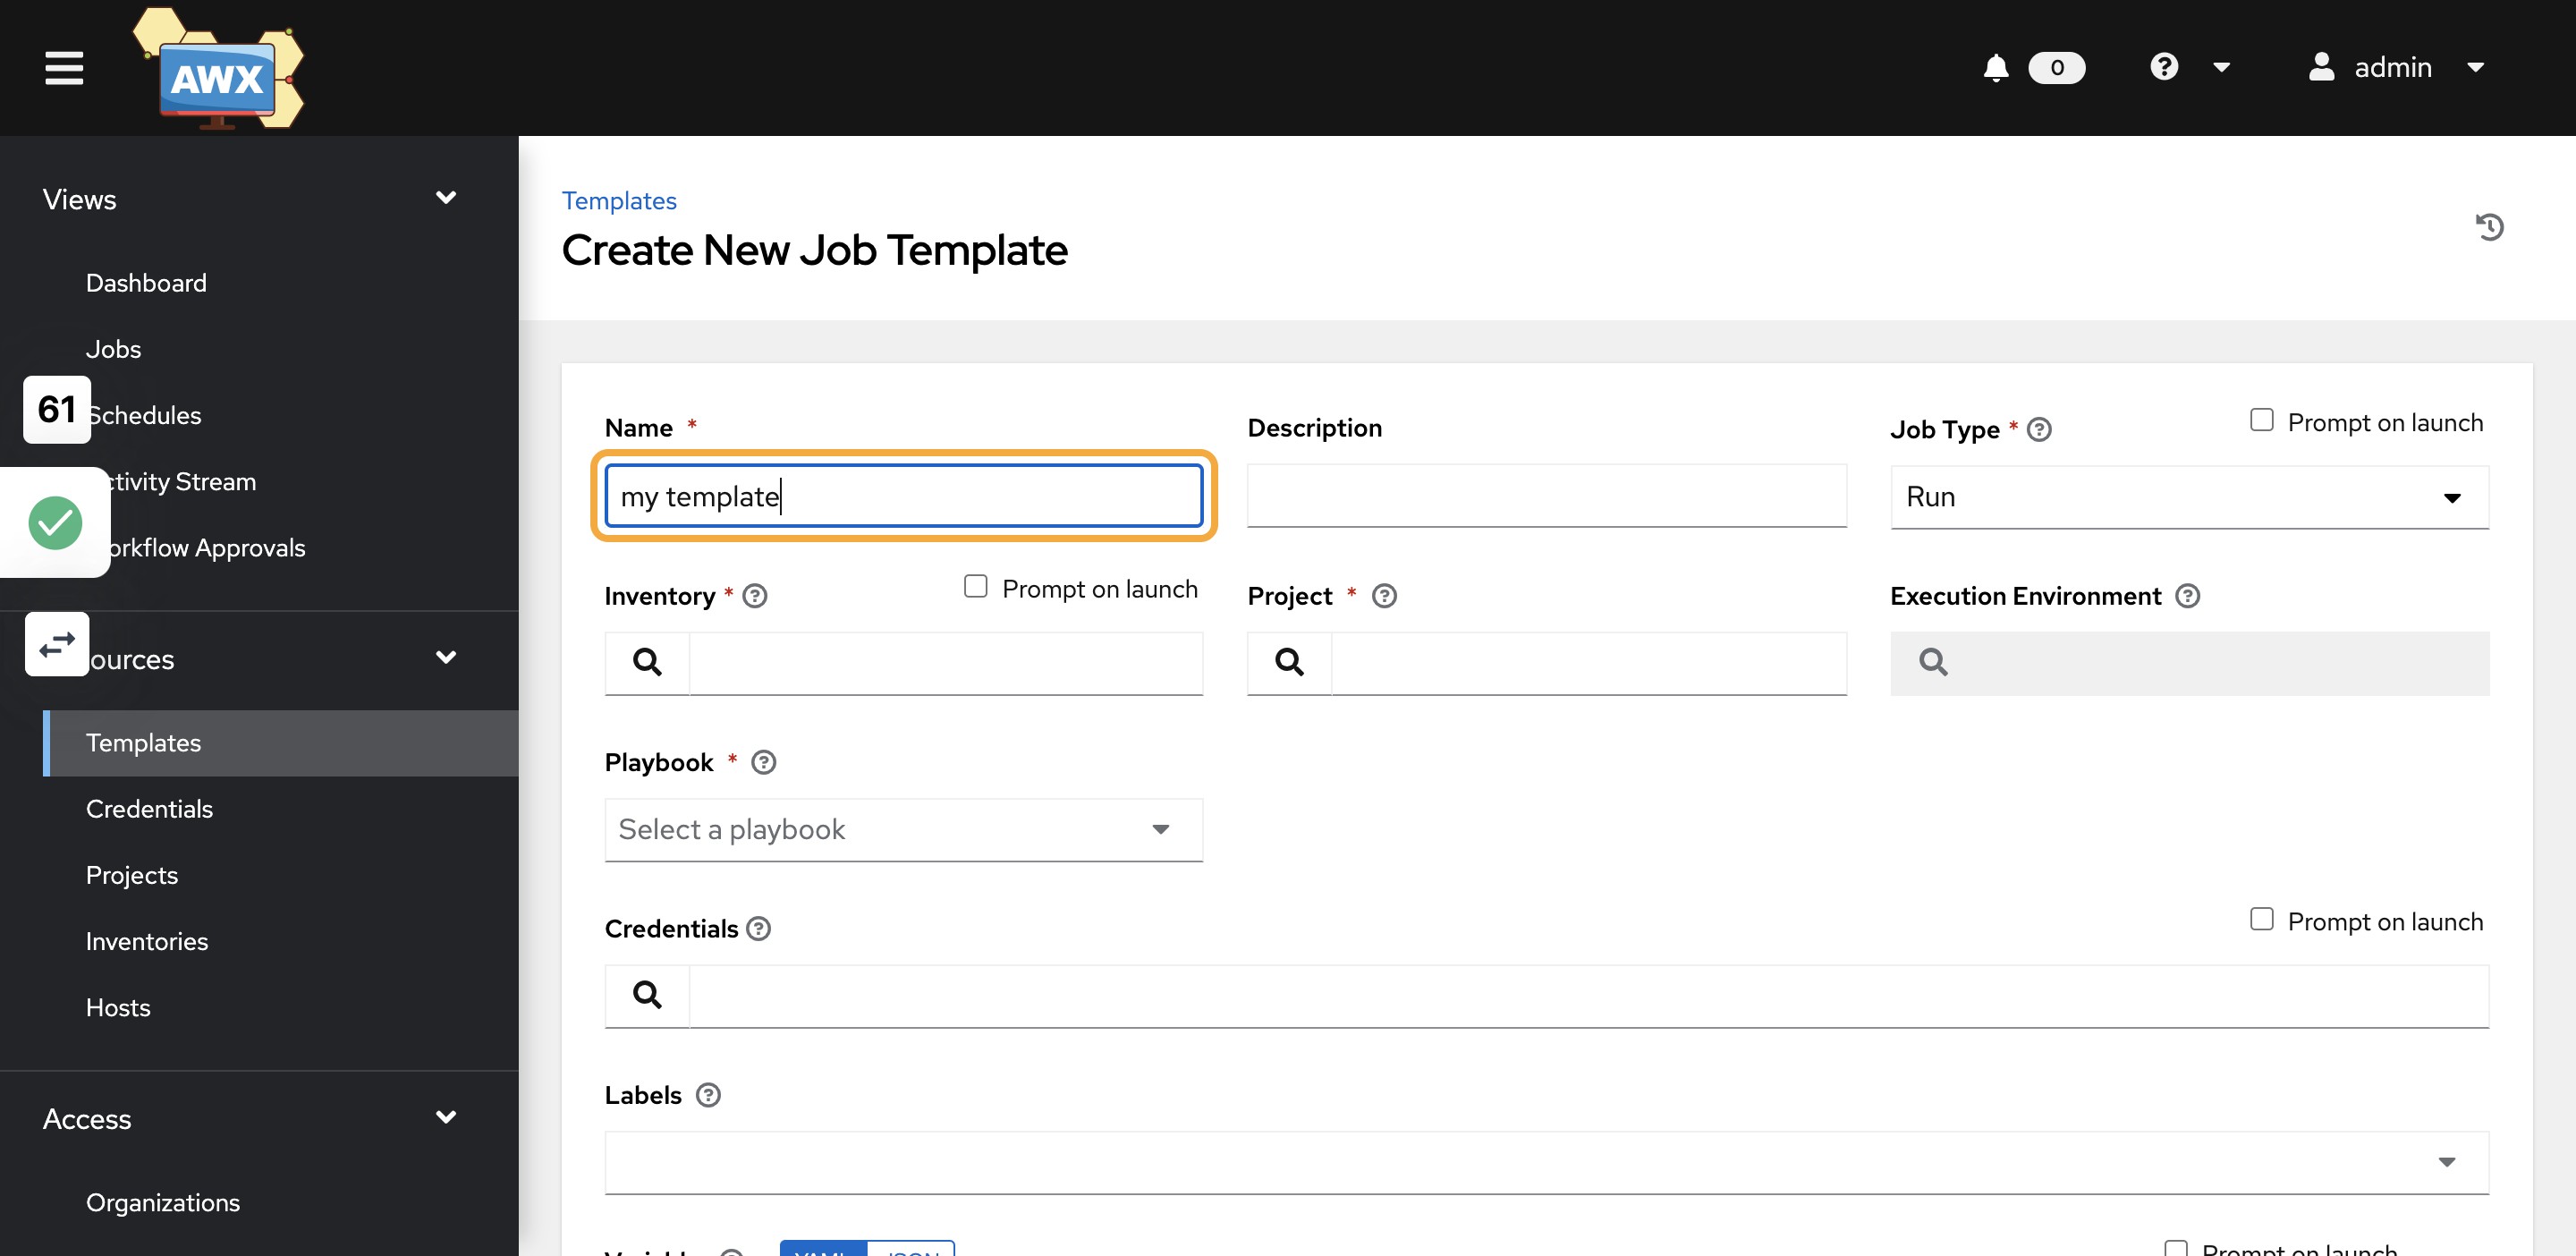
42)Search for the Inventory
43)Select OCI_INVENTORY
44)Search for the Project

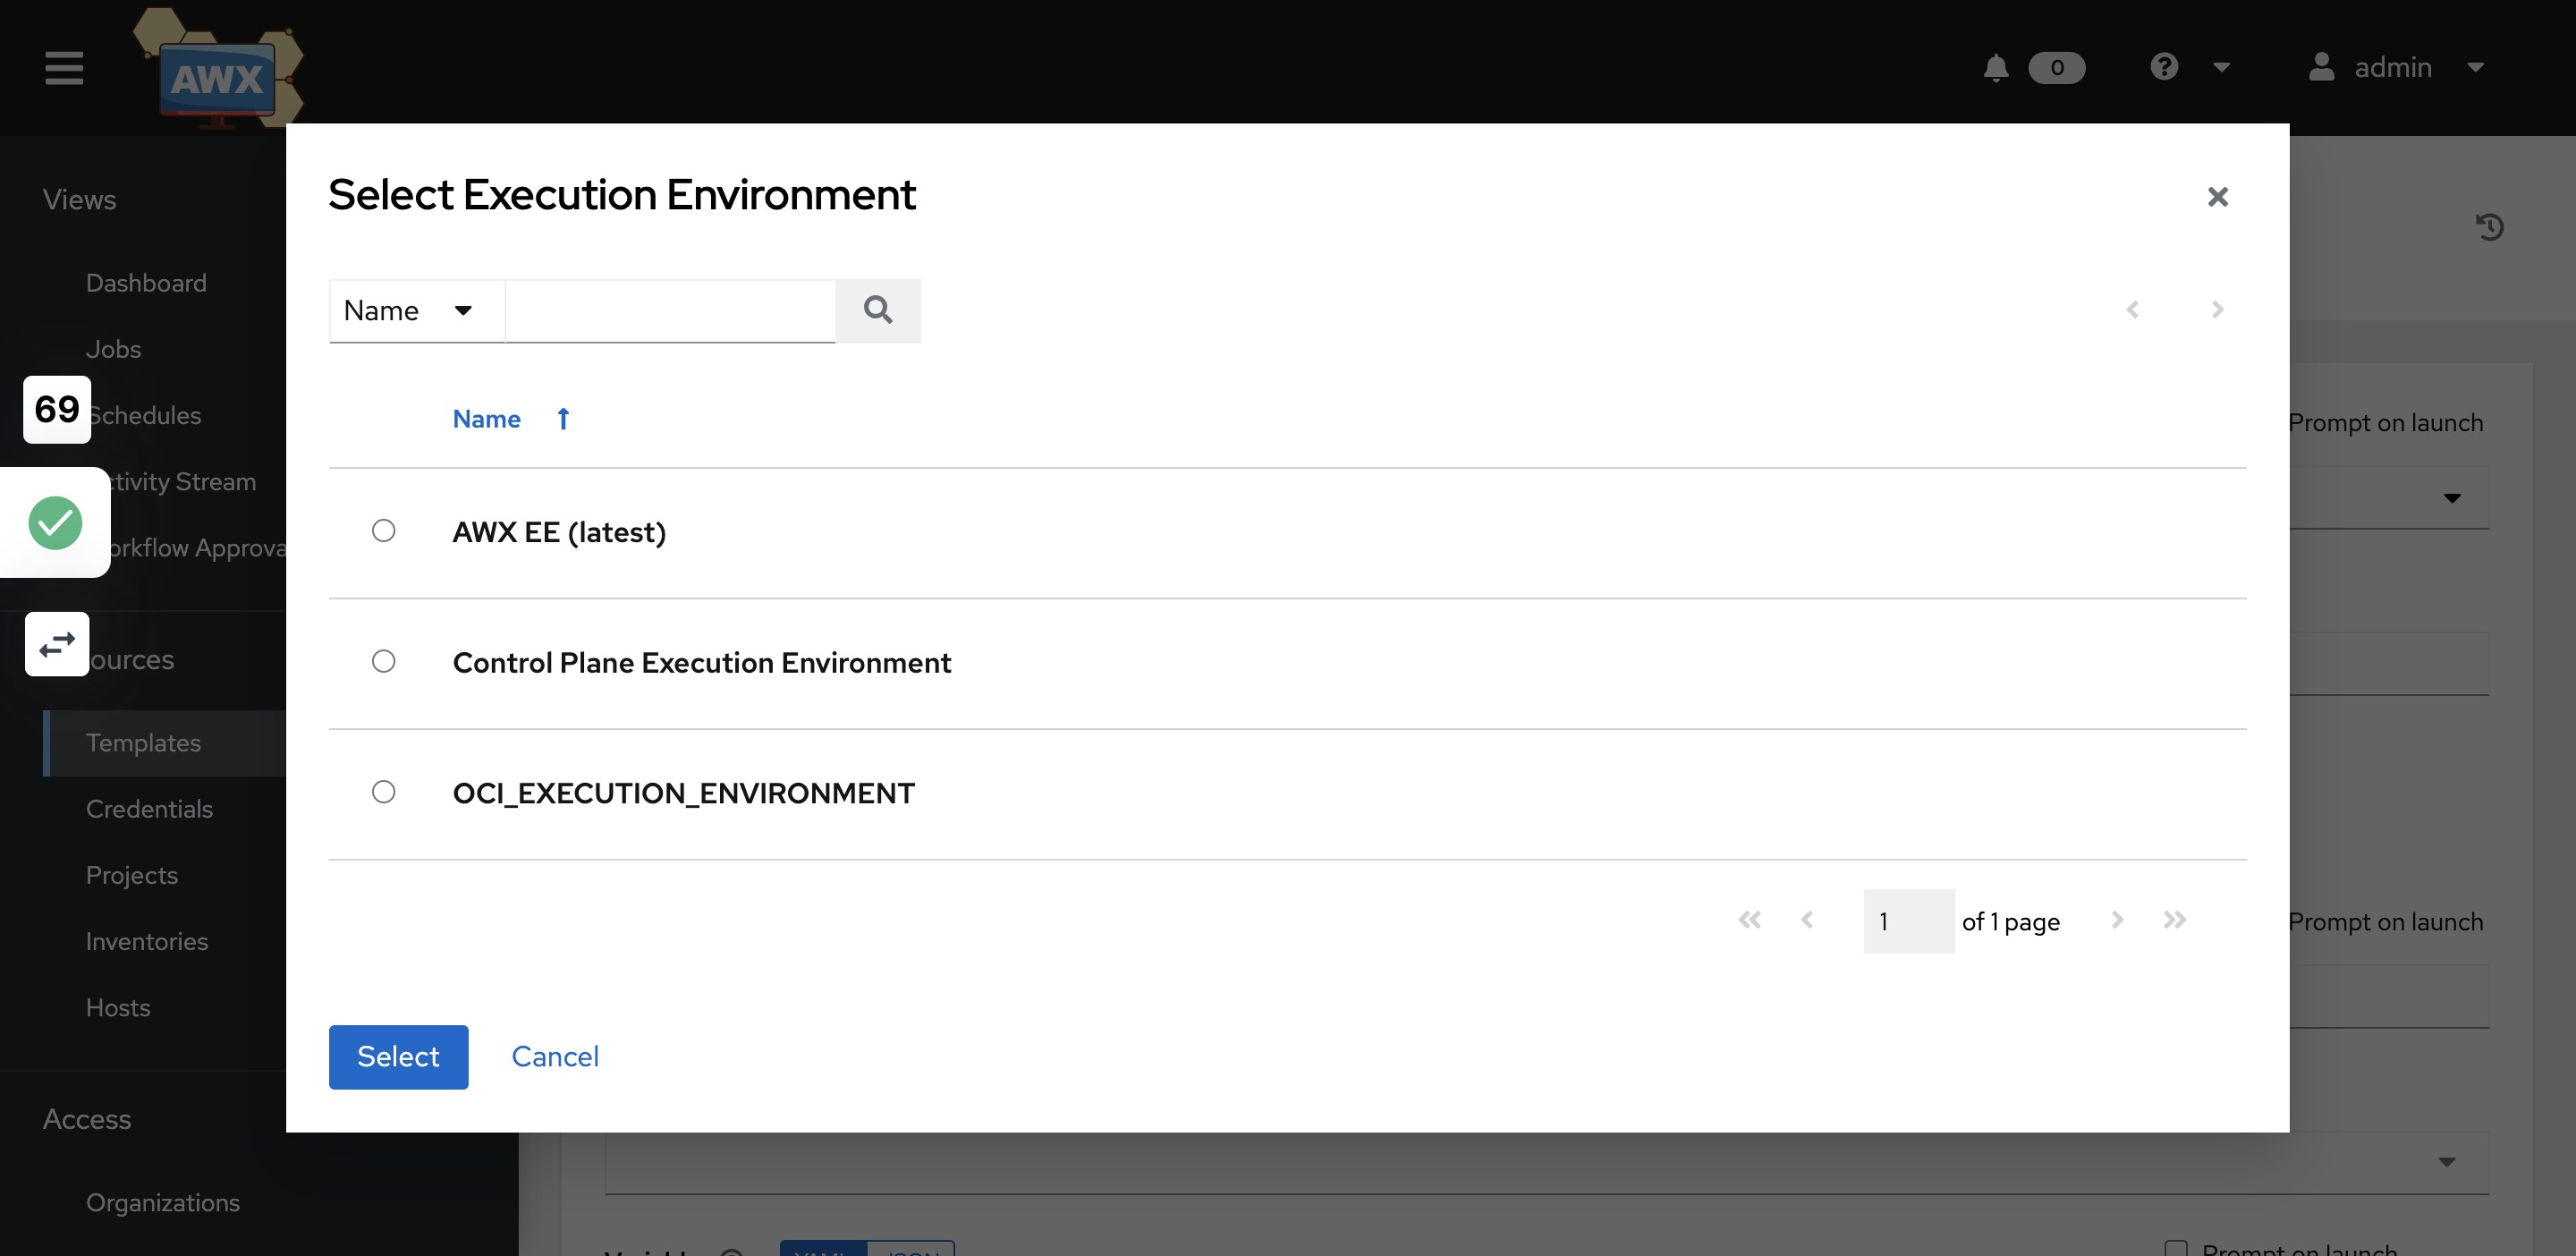
45)Select the project you created in the last step
46)Search for Execution environment
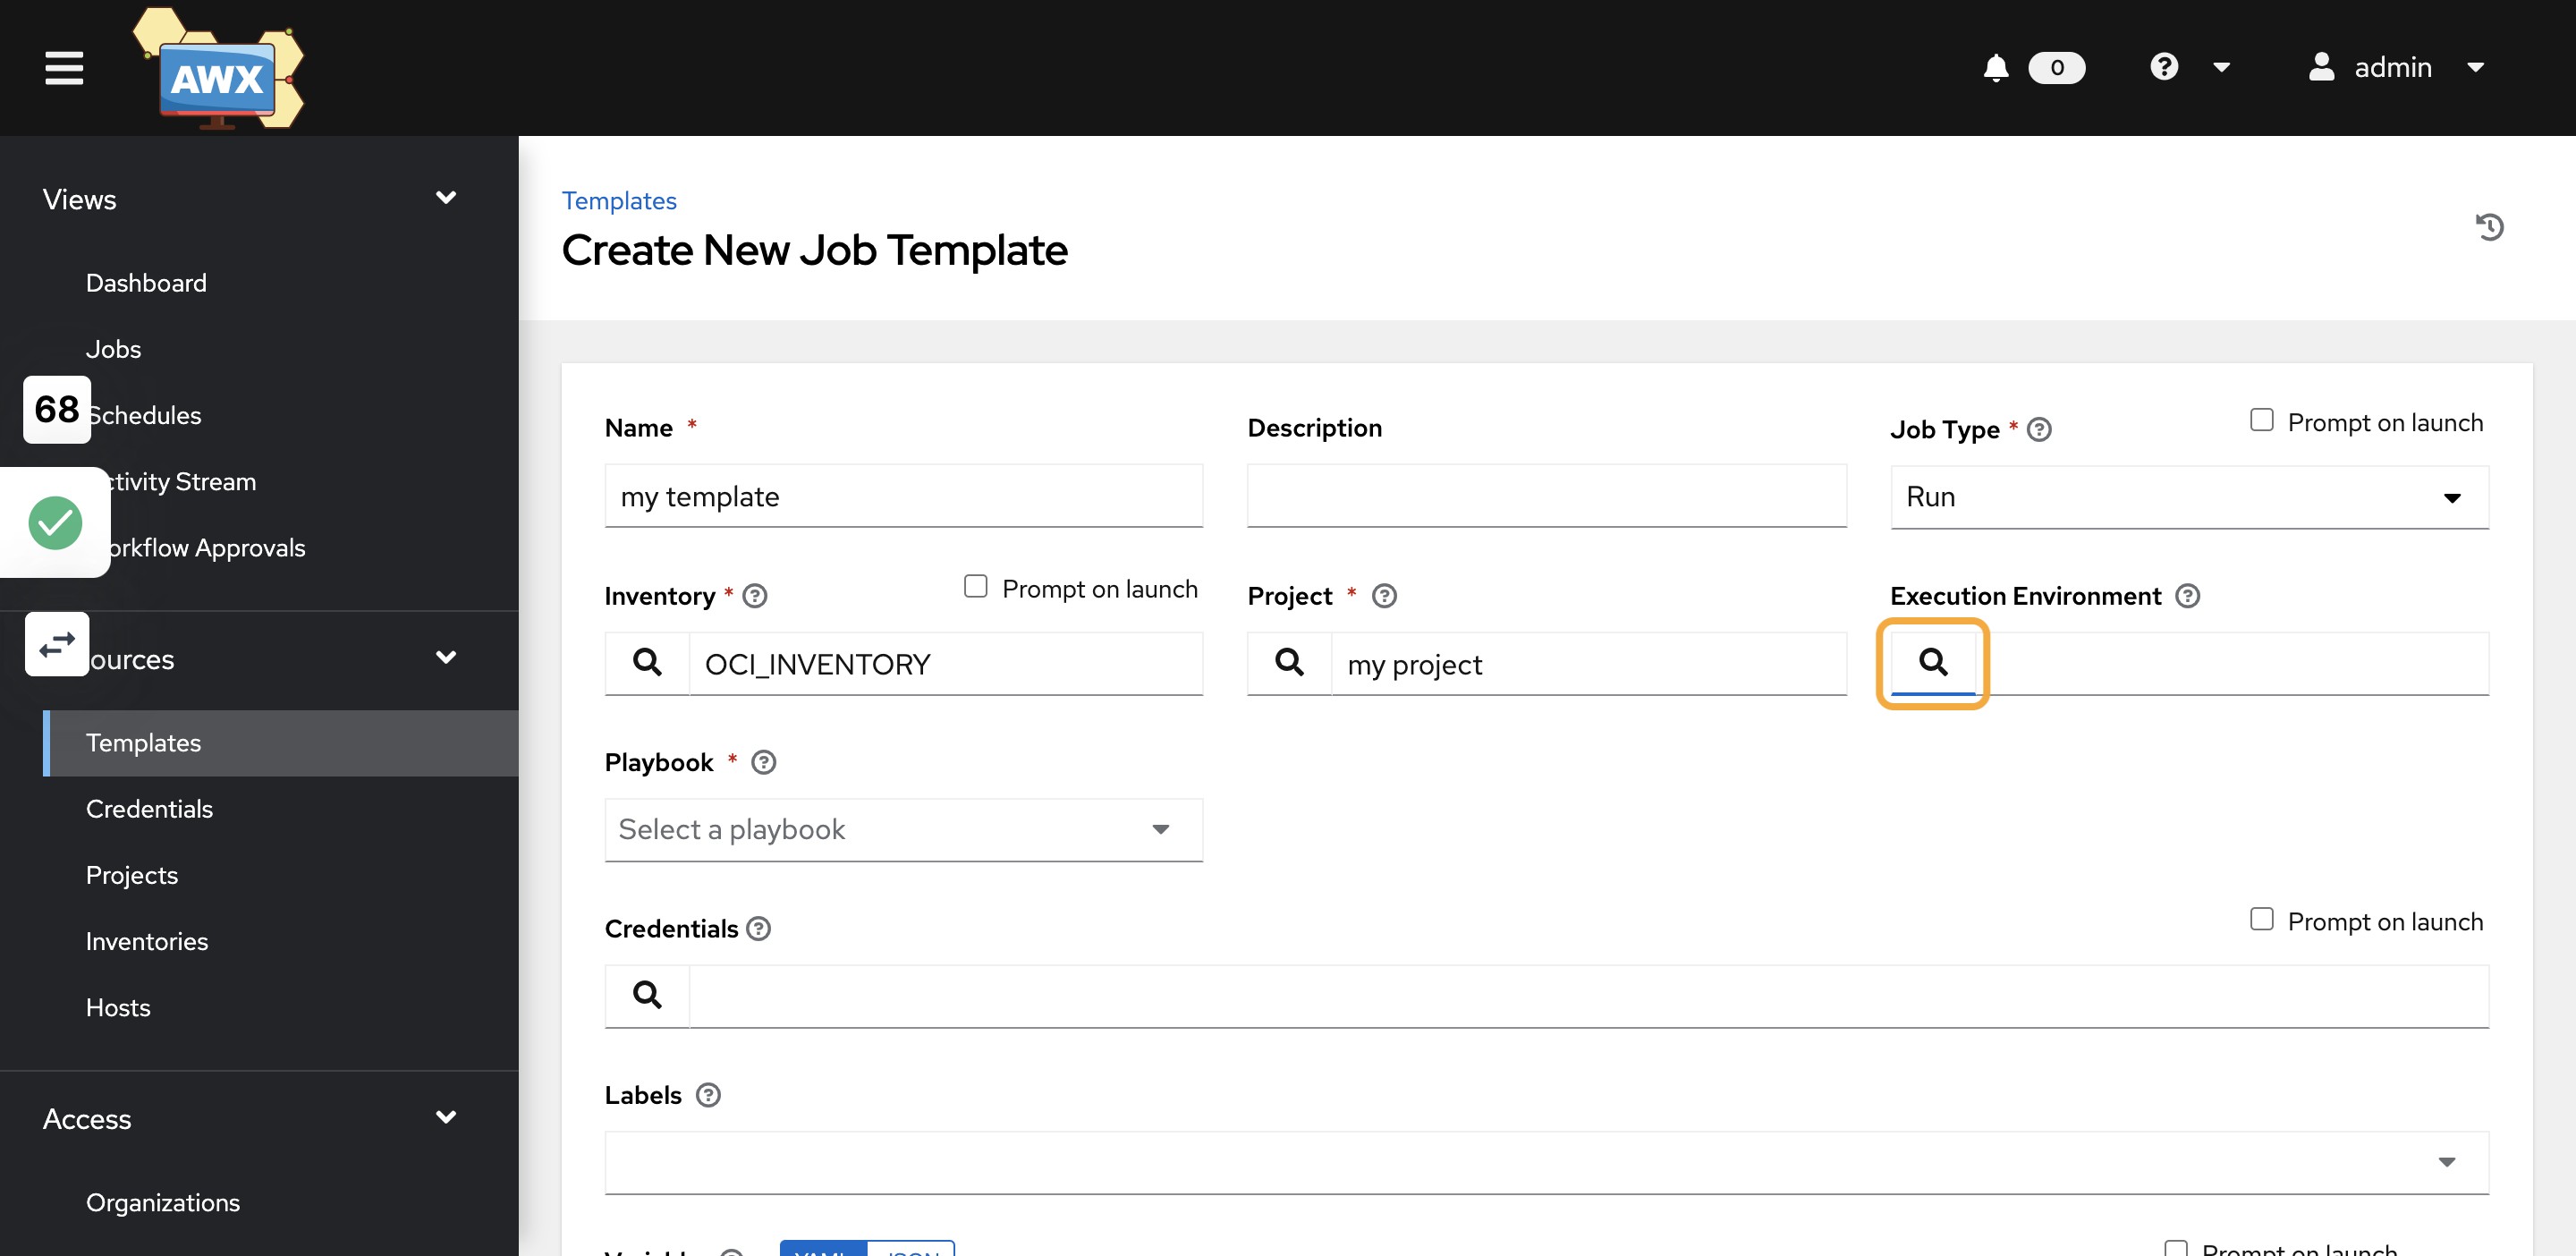
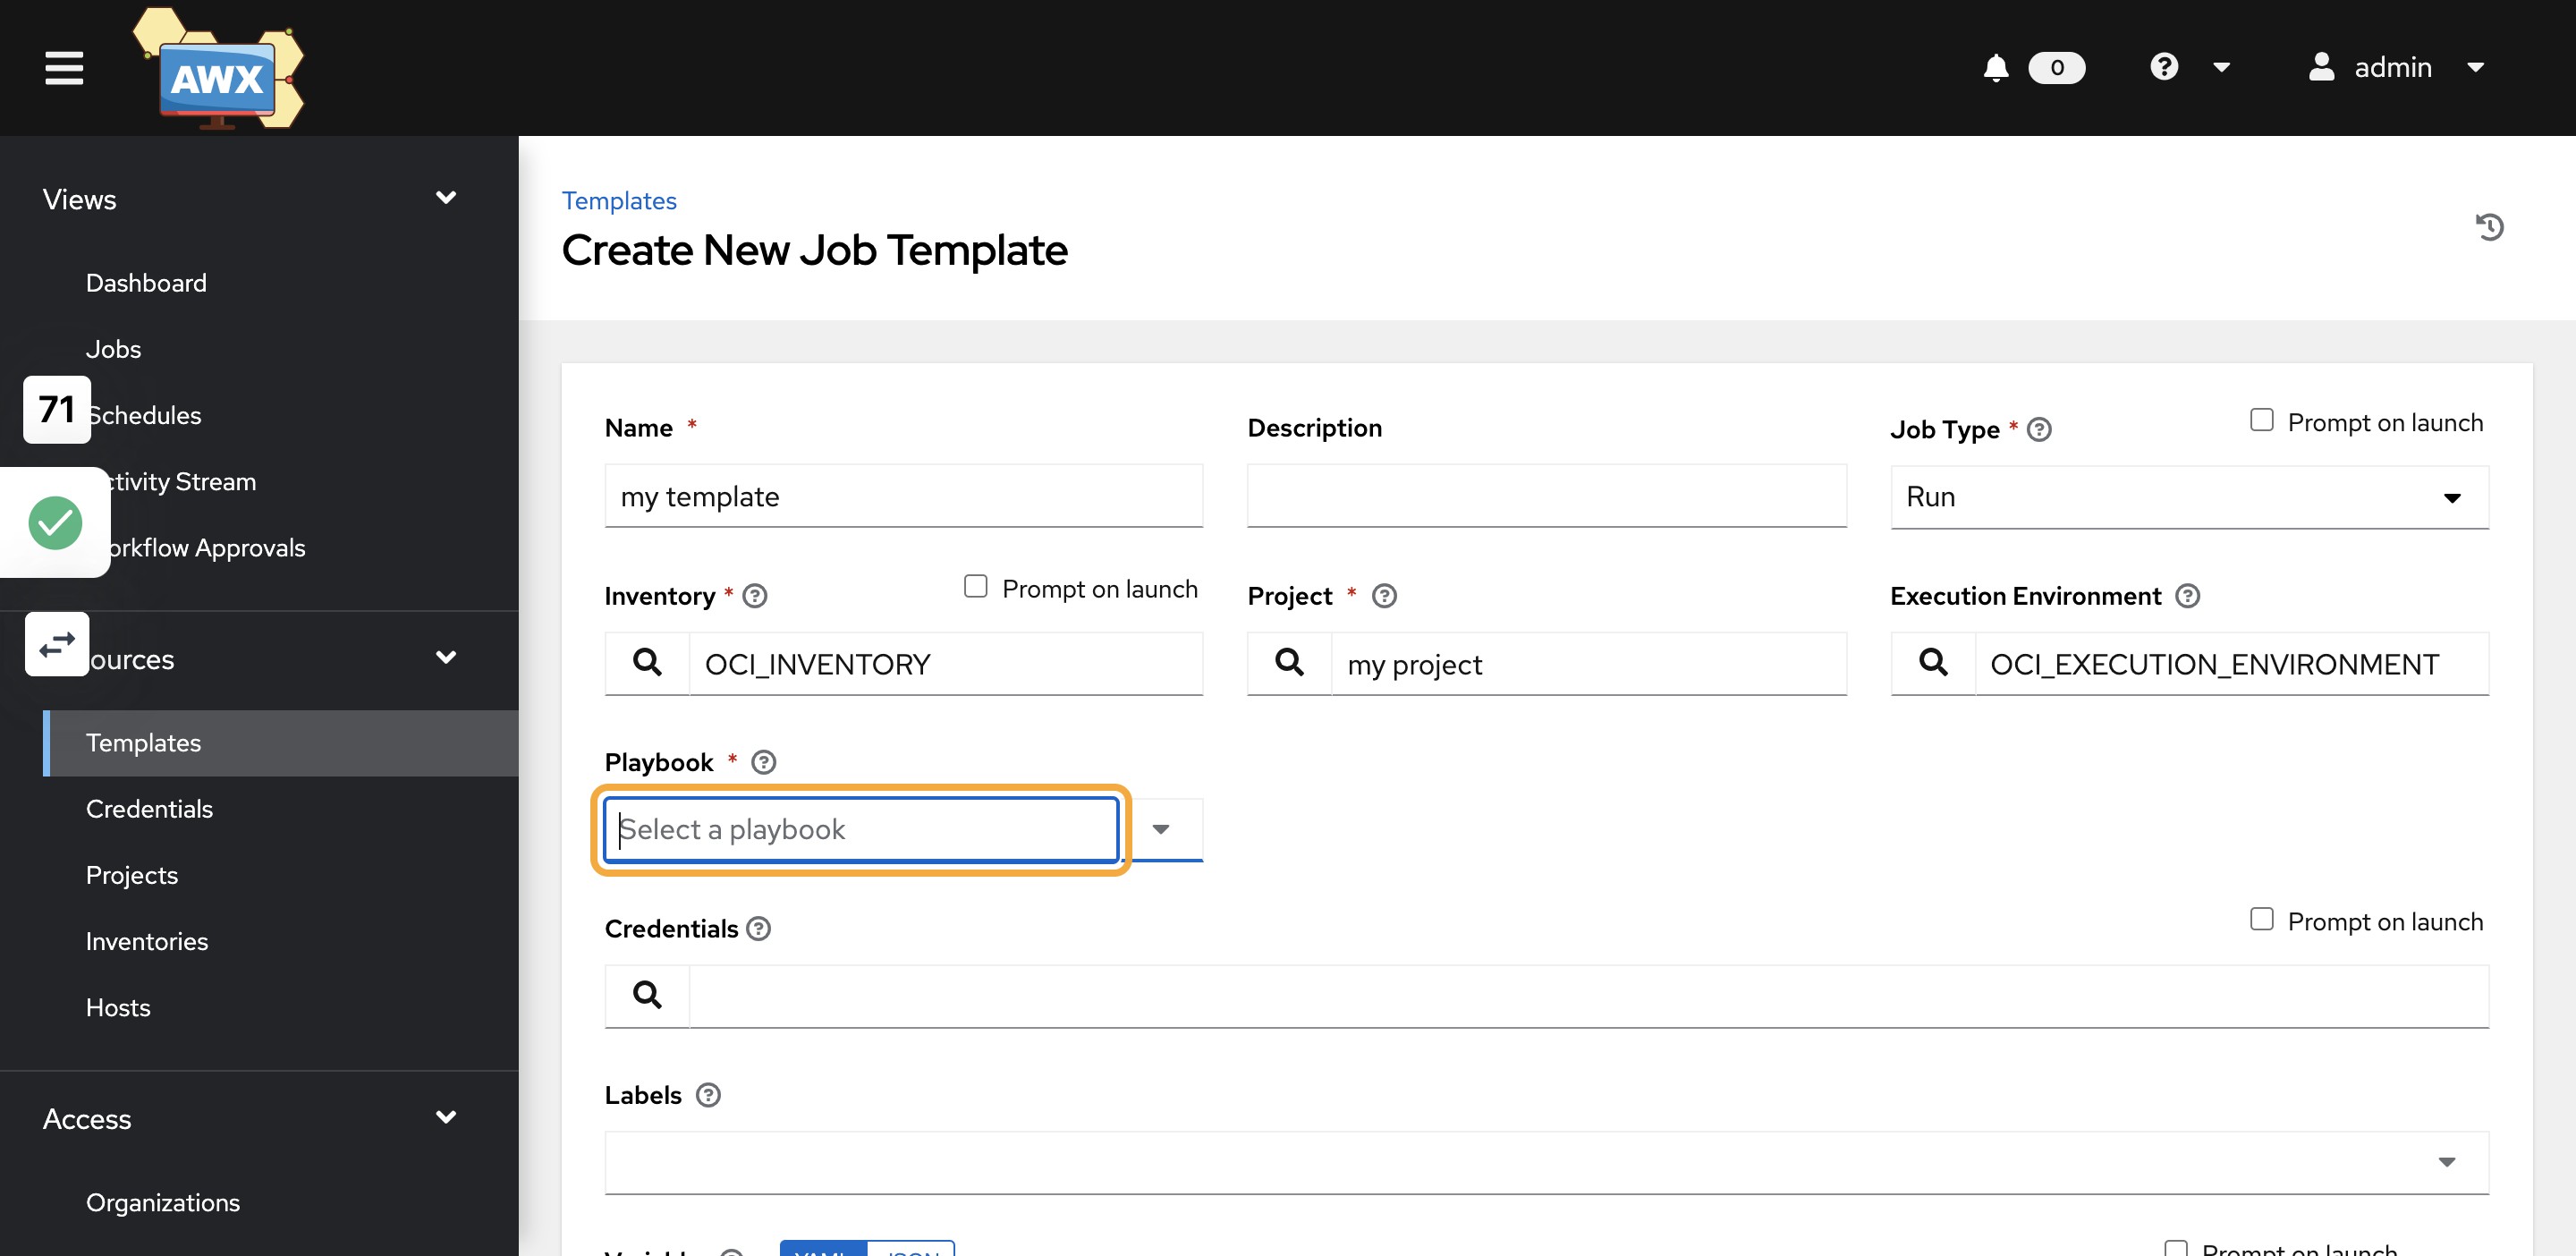
47)Select OCI_EXECUTION_ENVIRONMENT
48)Click on Select a playbook
49)Select a playbook to run
Note: these playbooks should be available in your project git repo
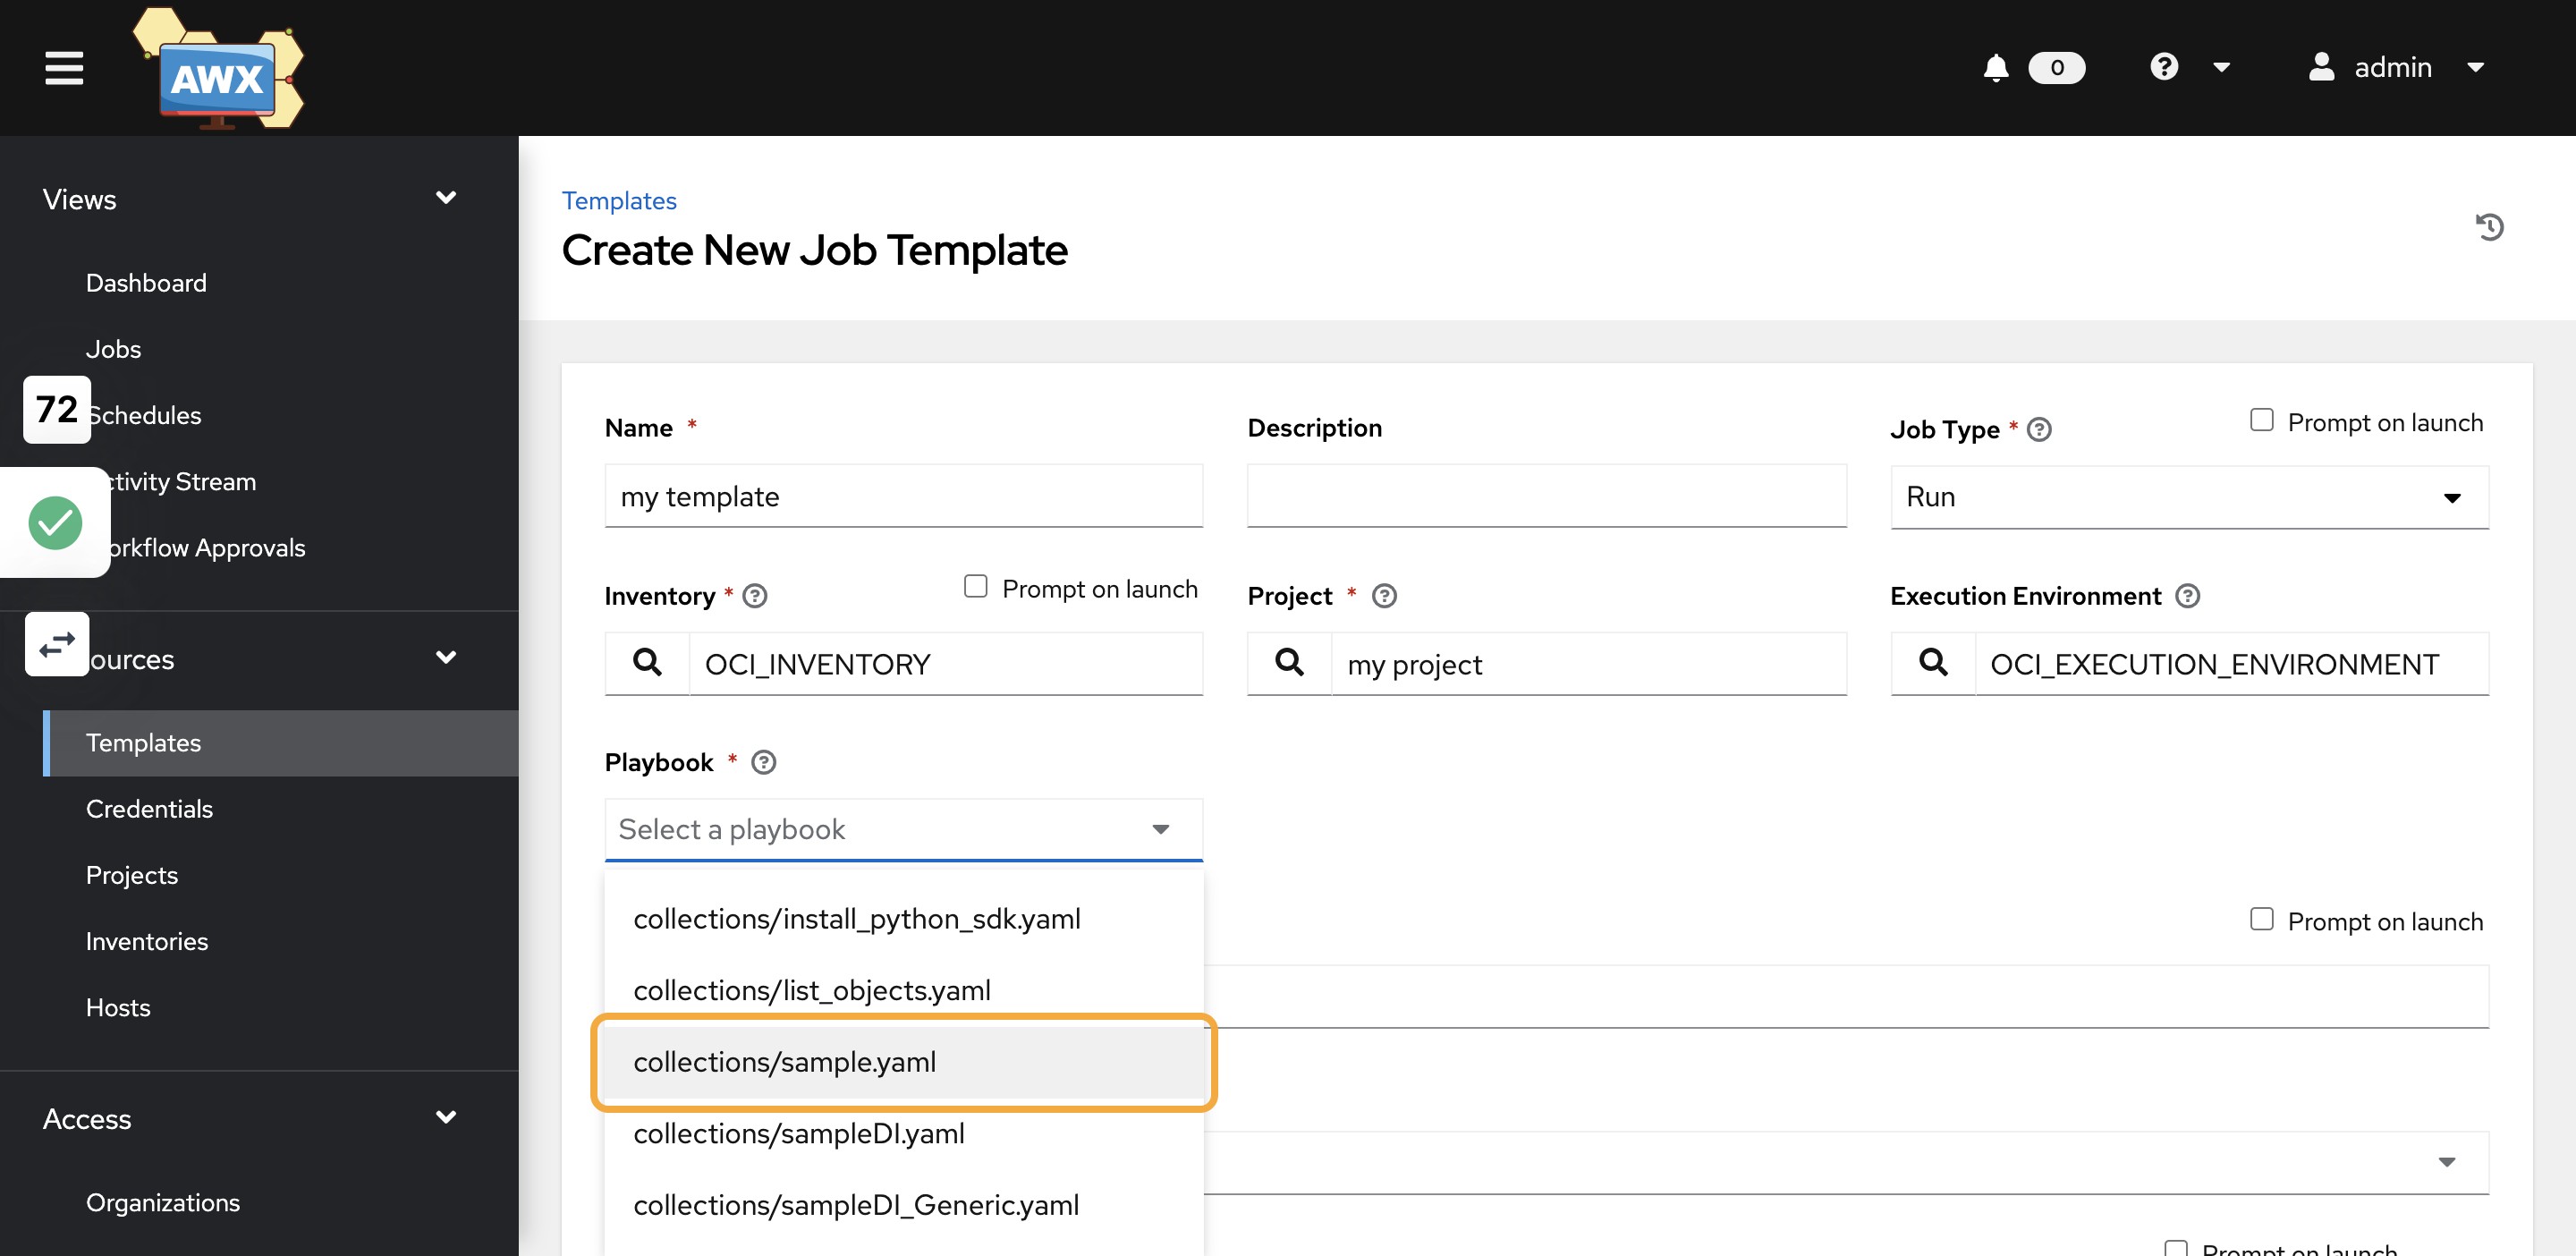
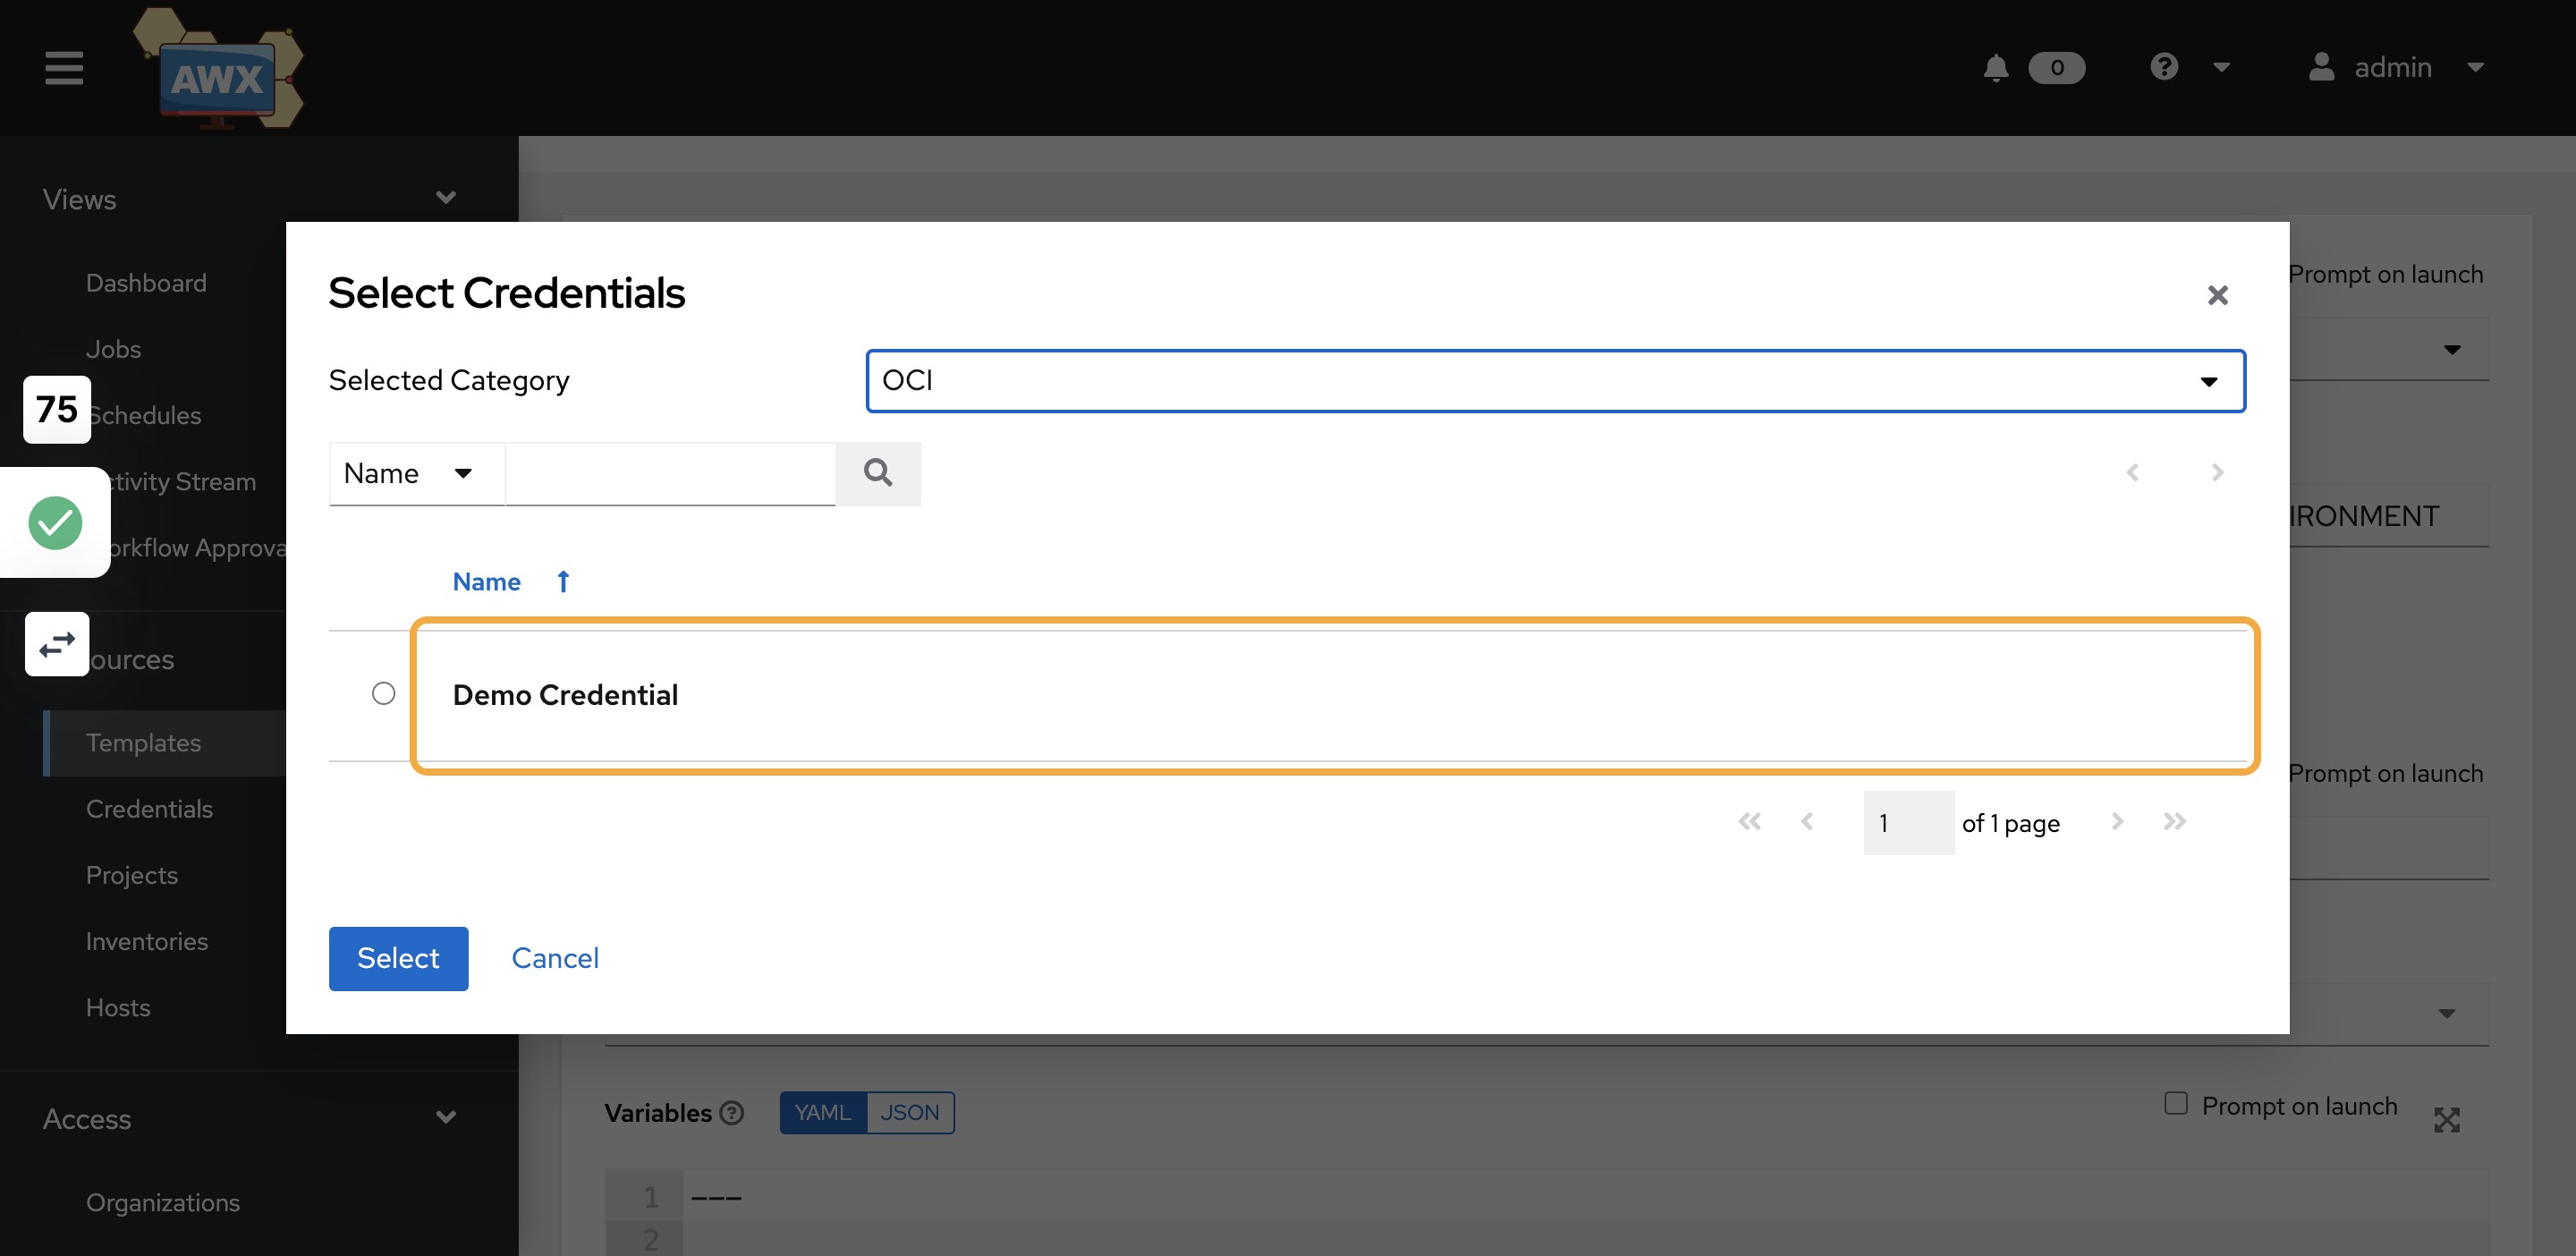
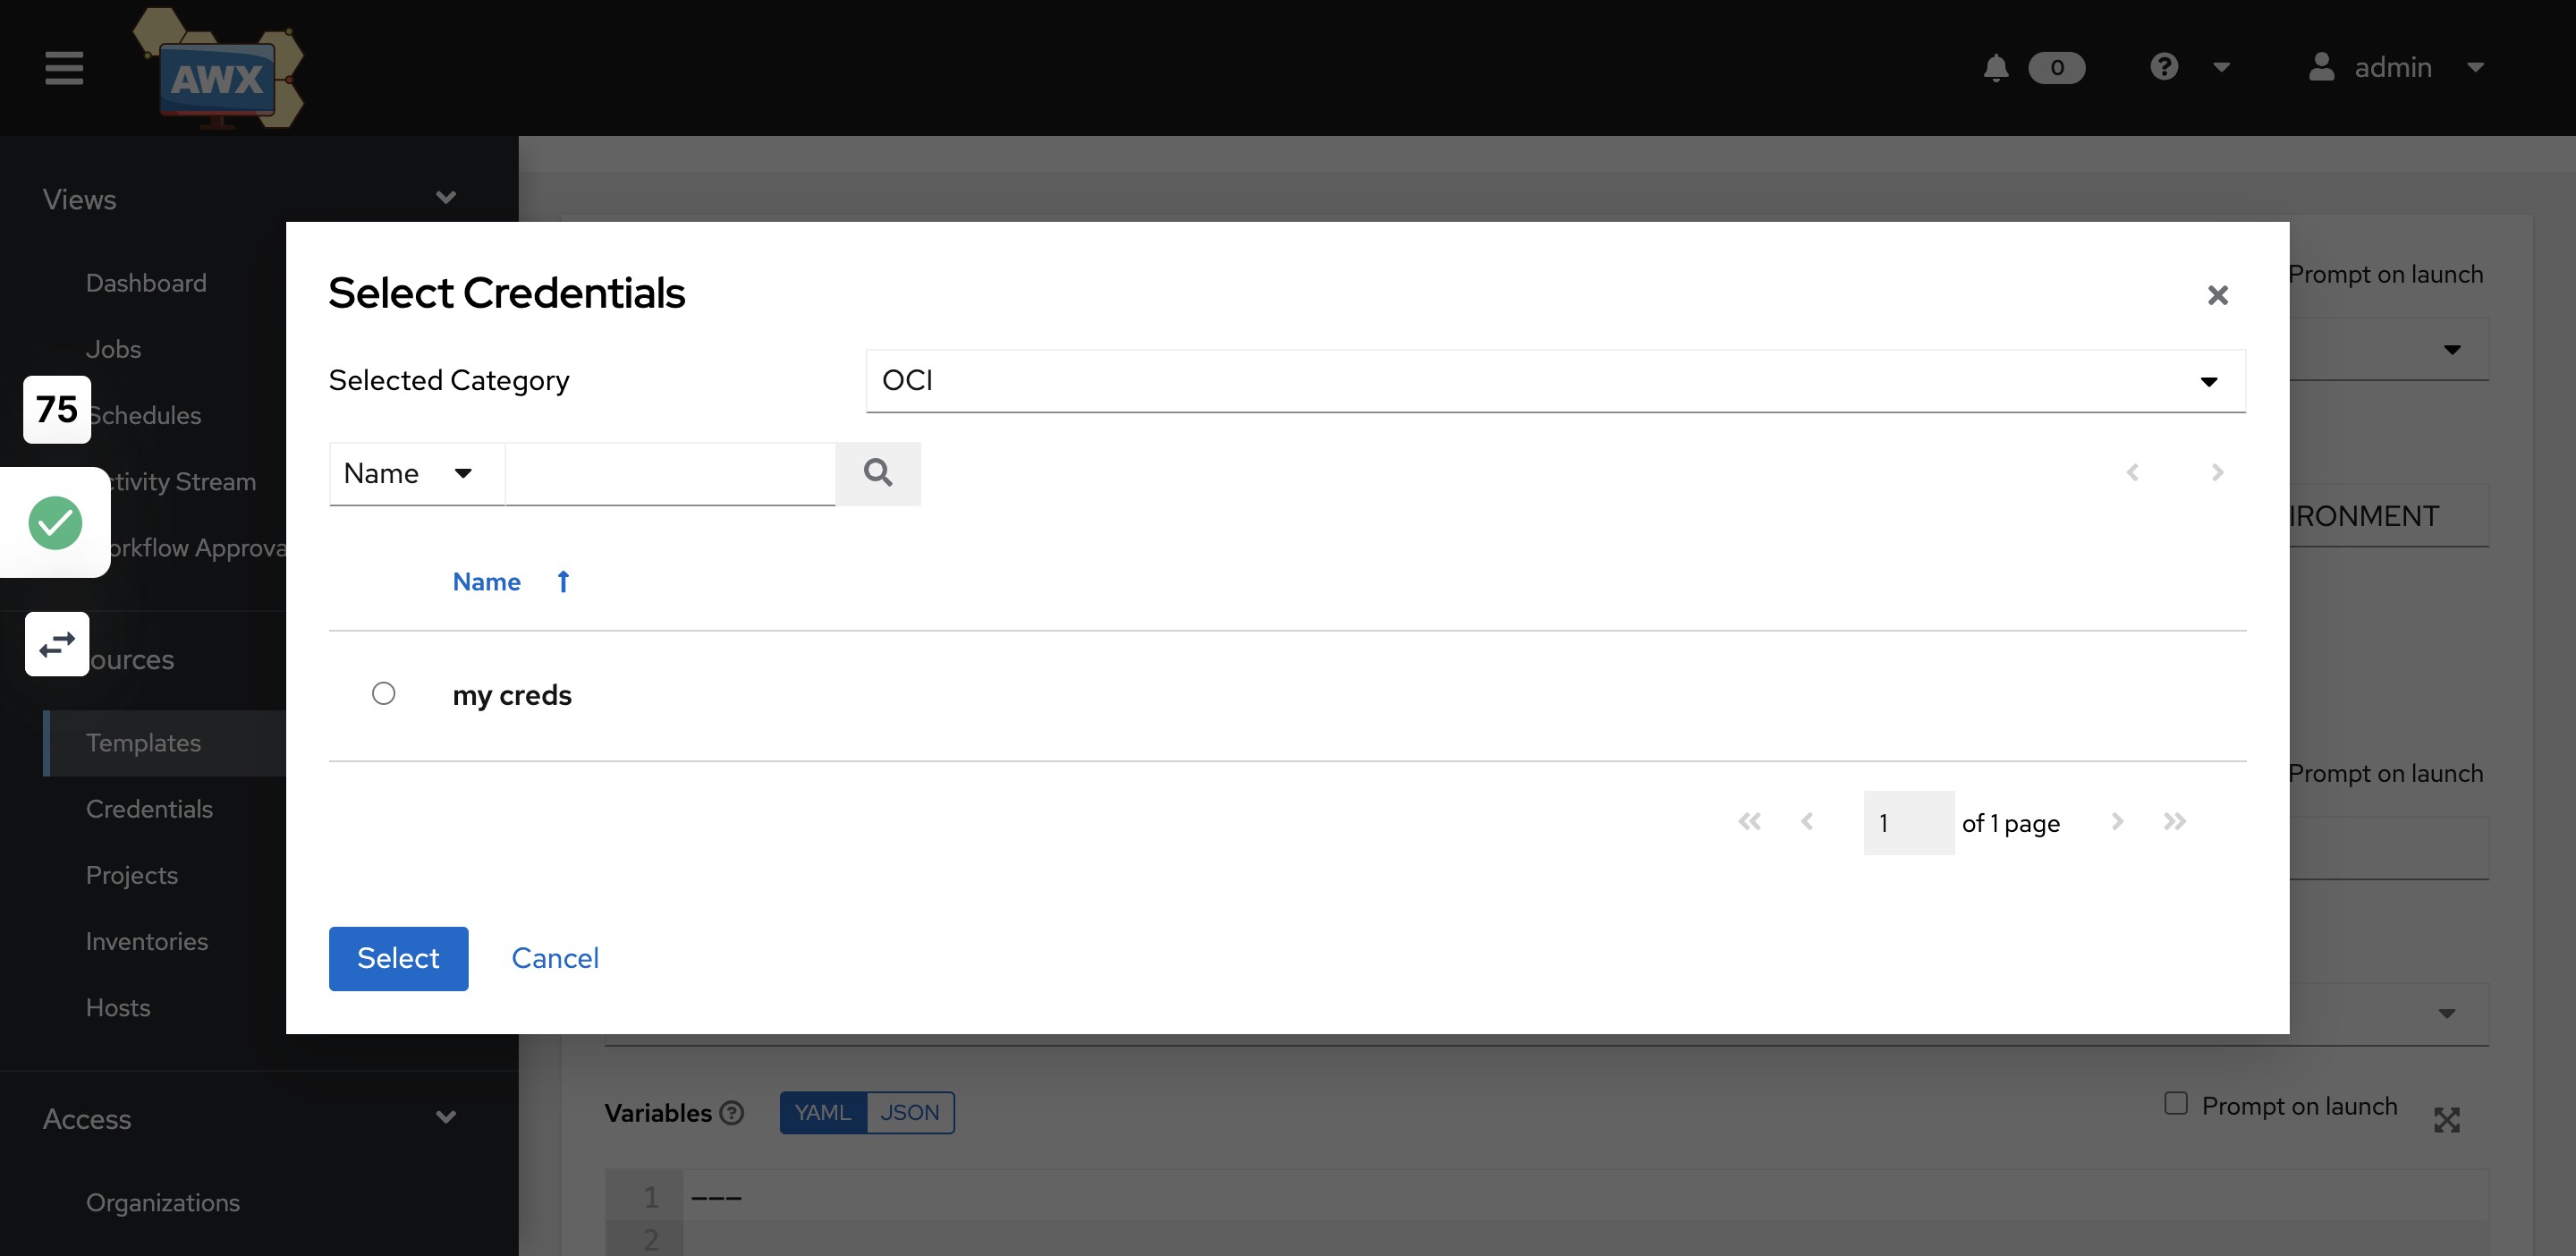
50)Search for credentials
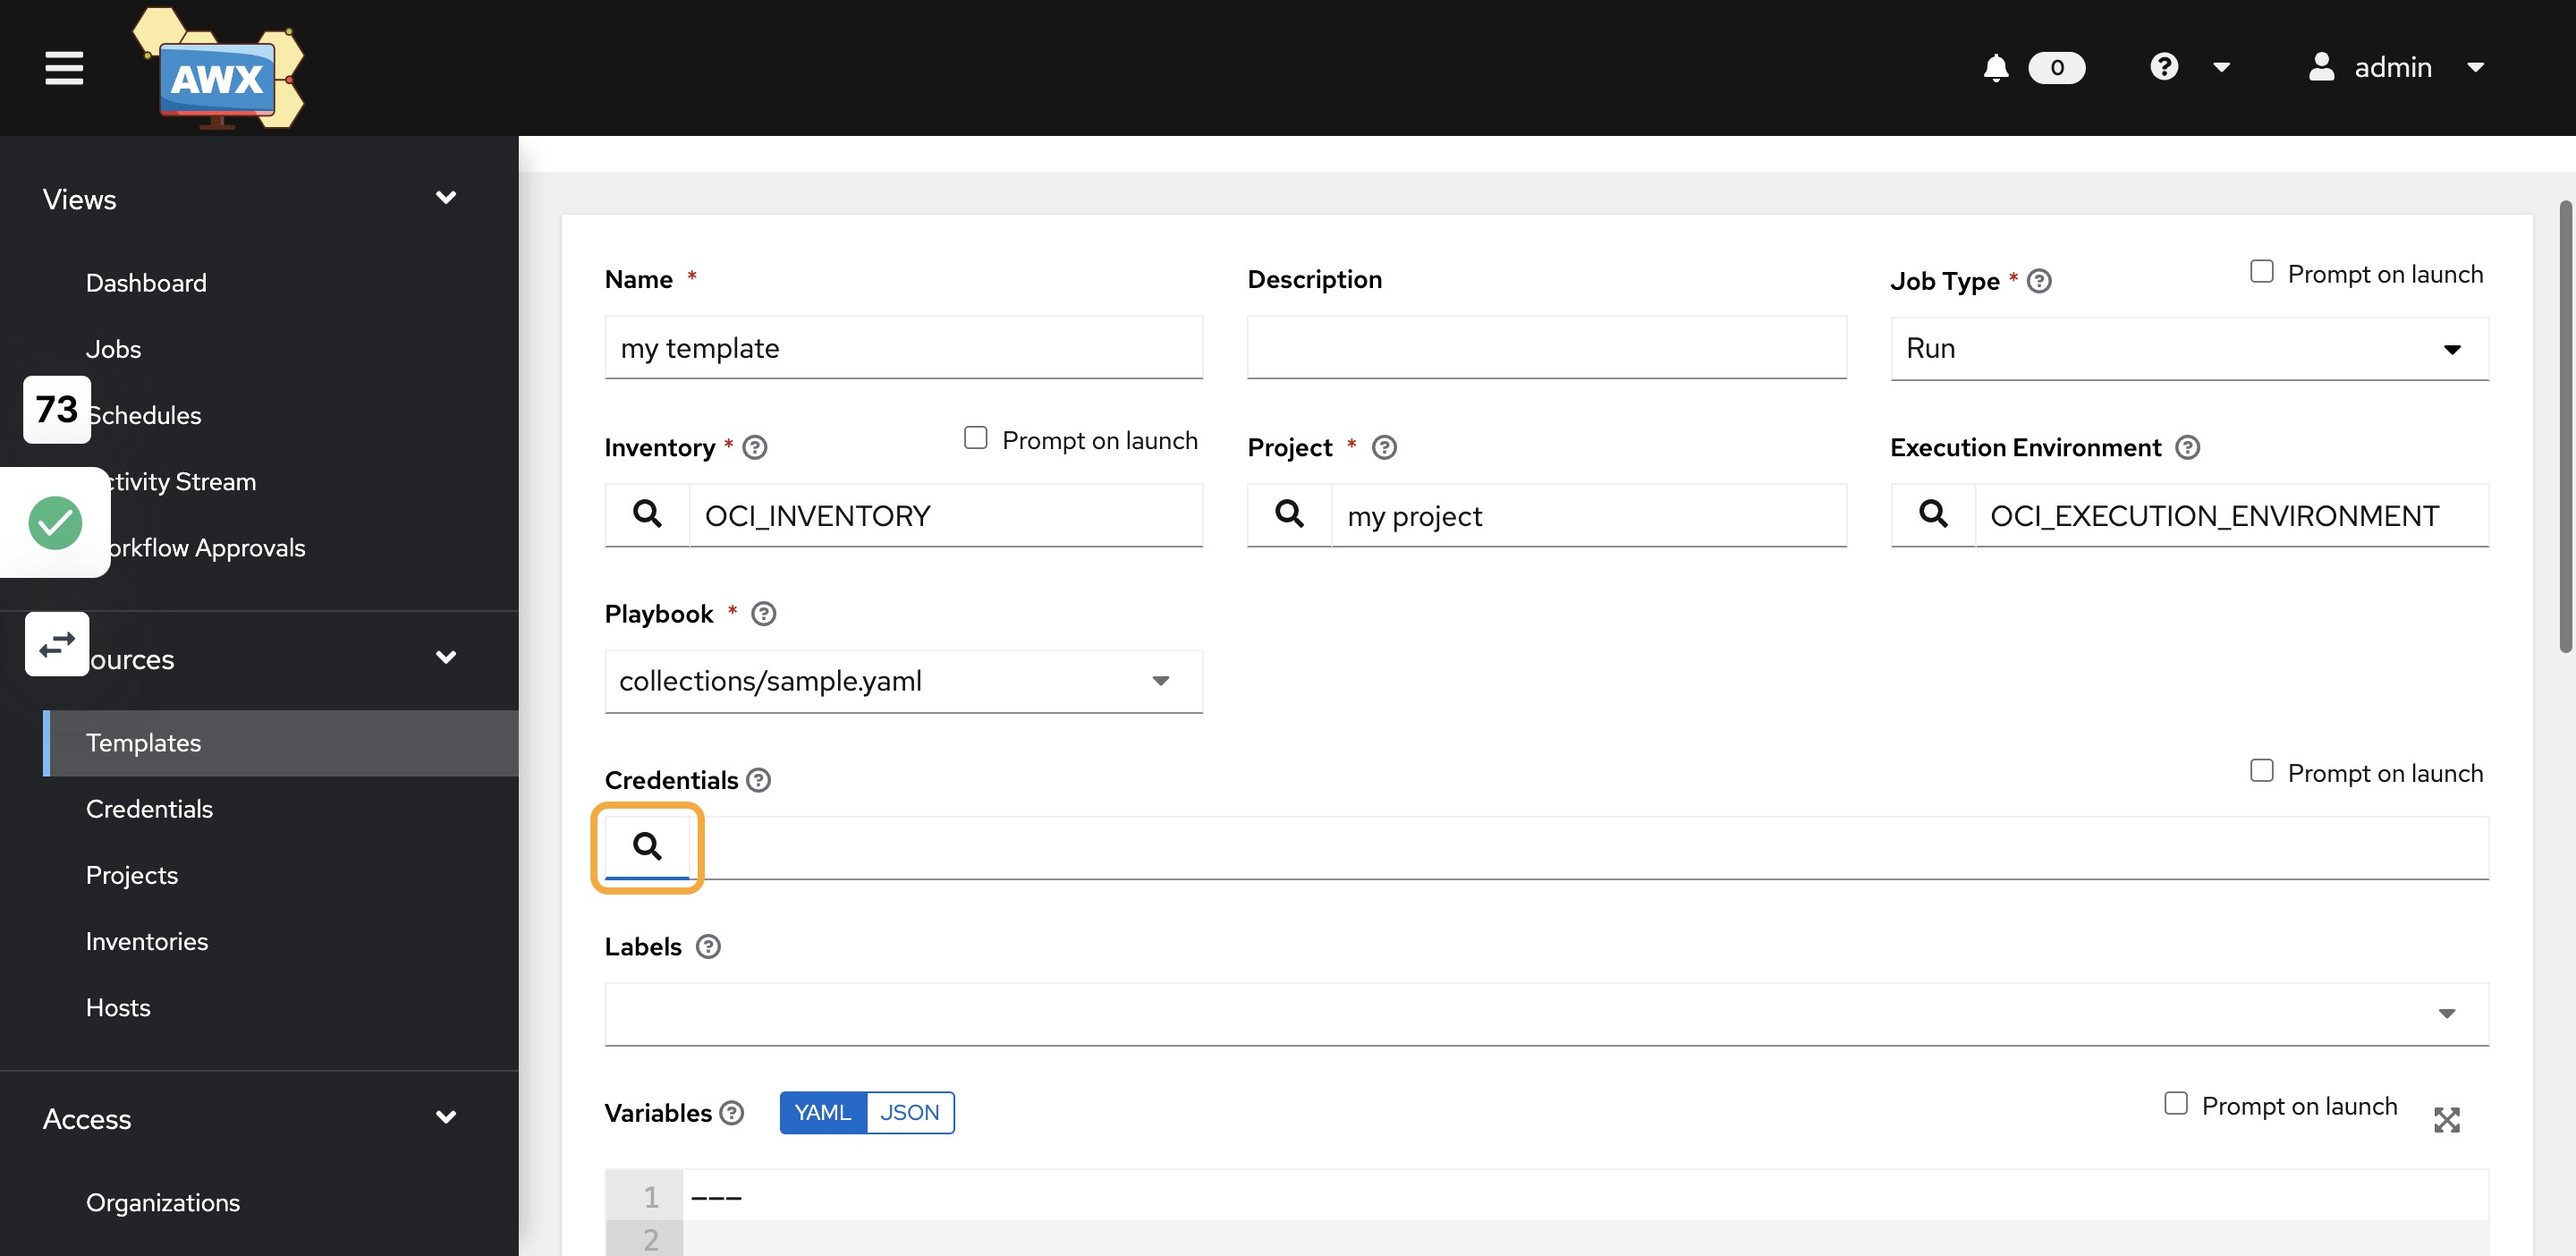
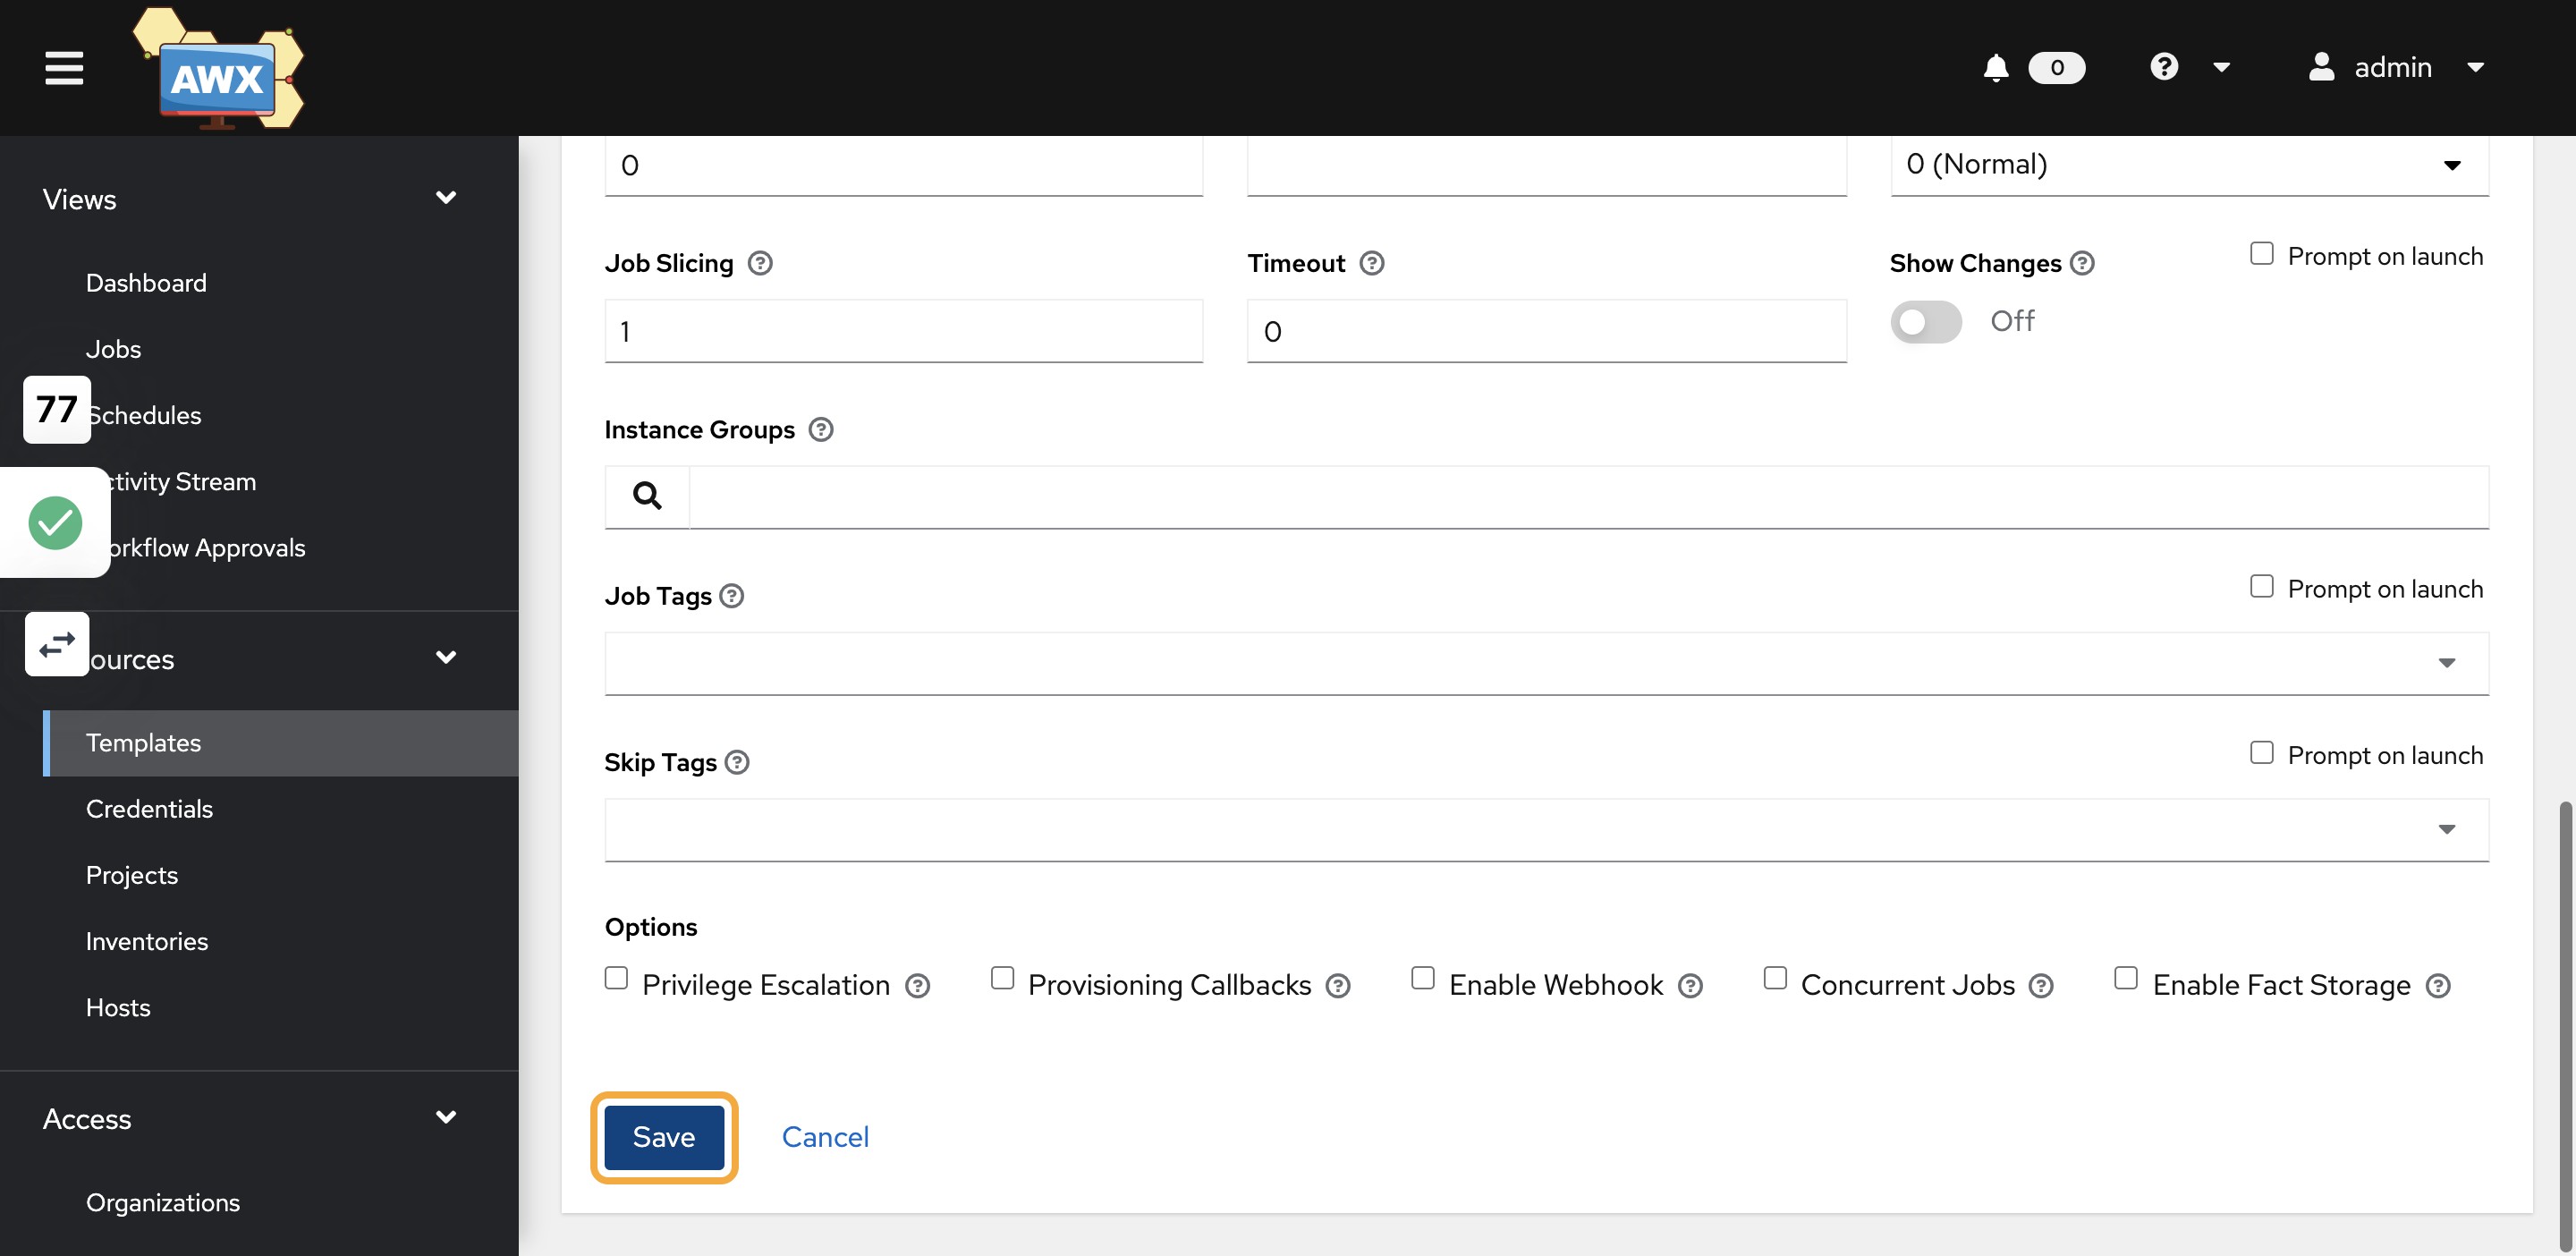
51)Select OCI
52)Select the creds you created
53)Click on Save
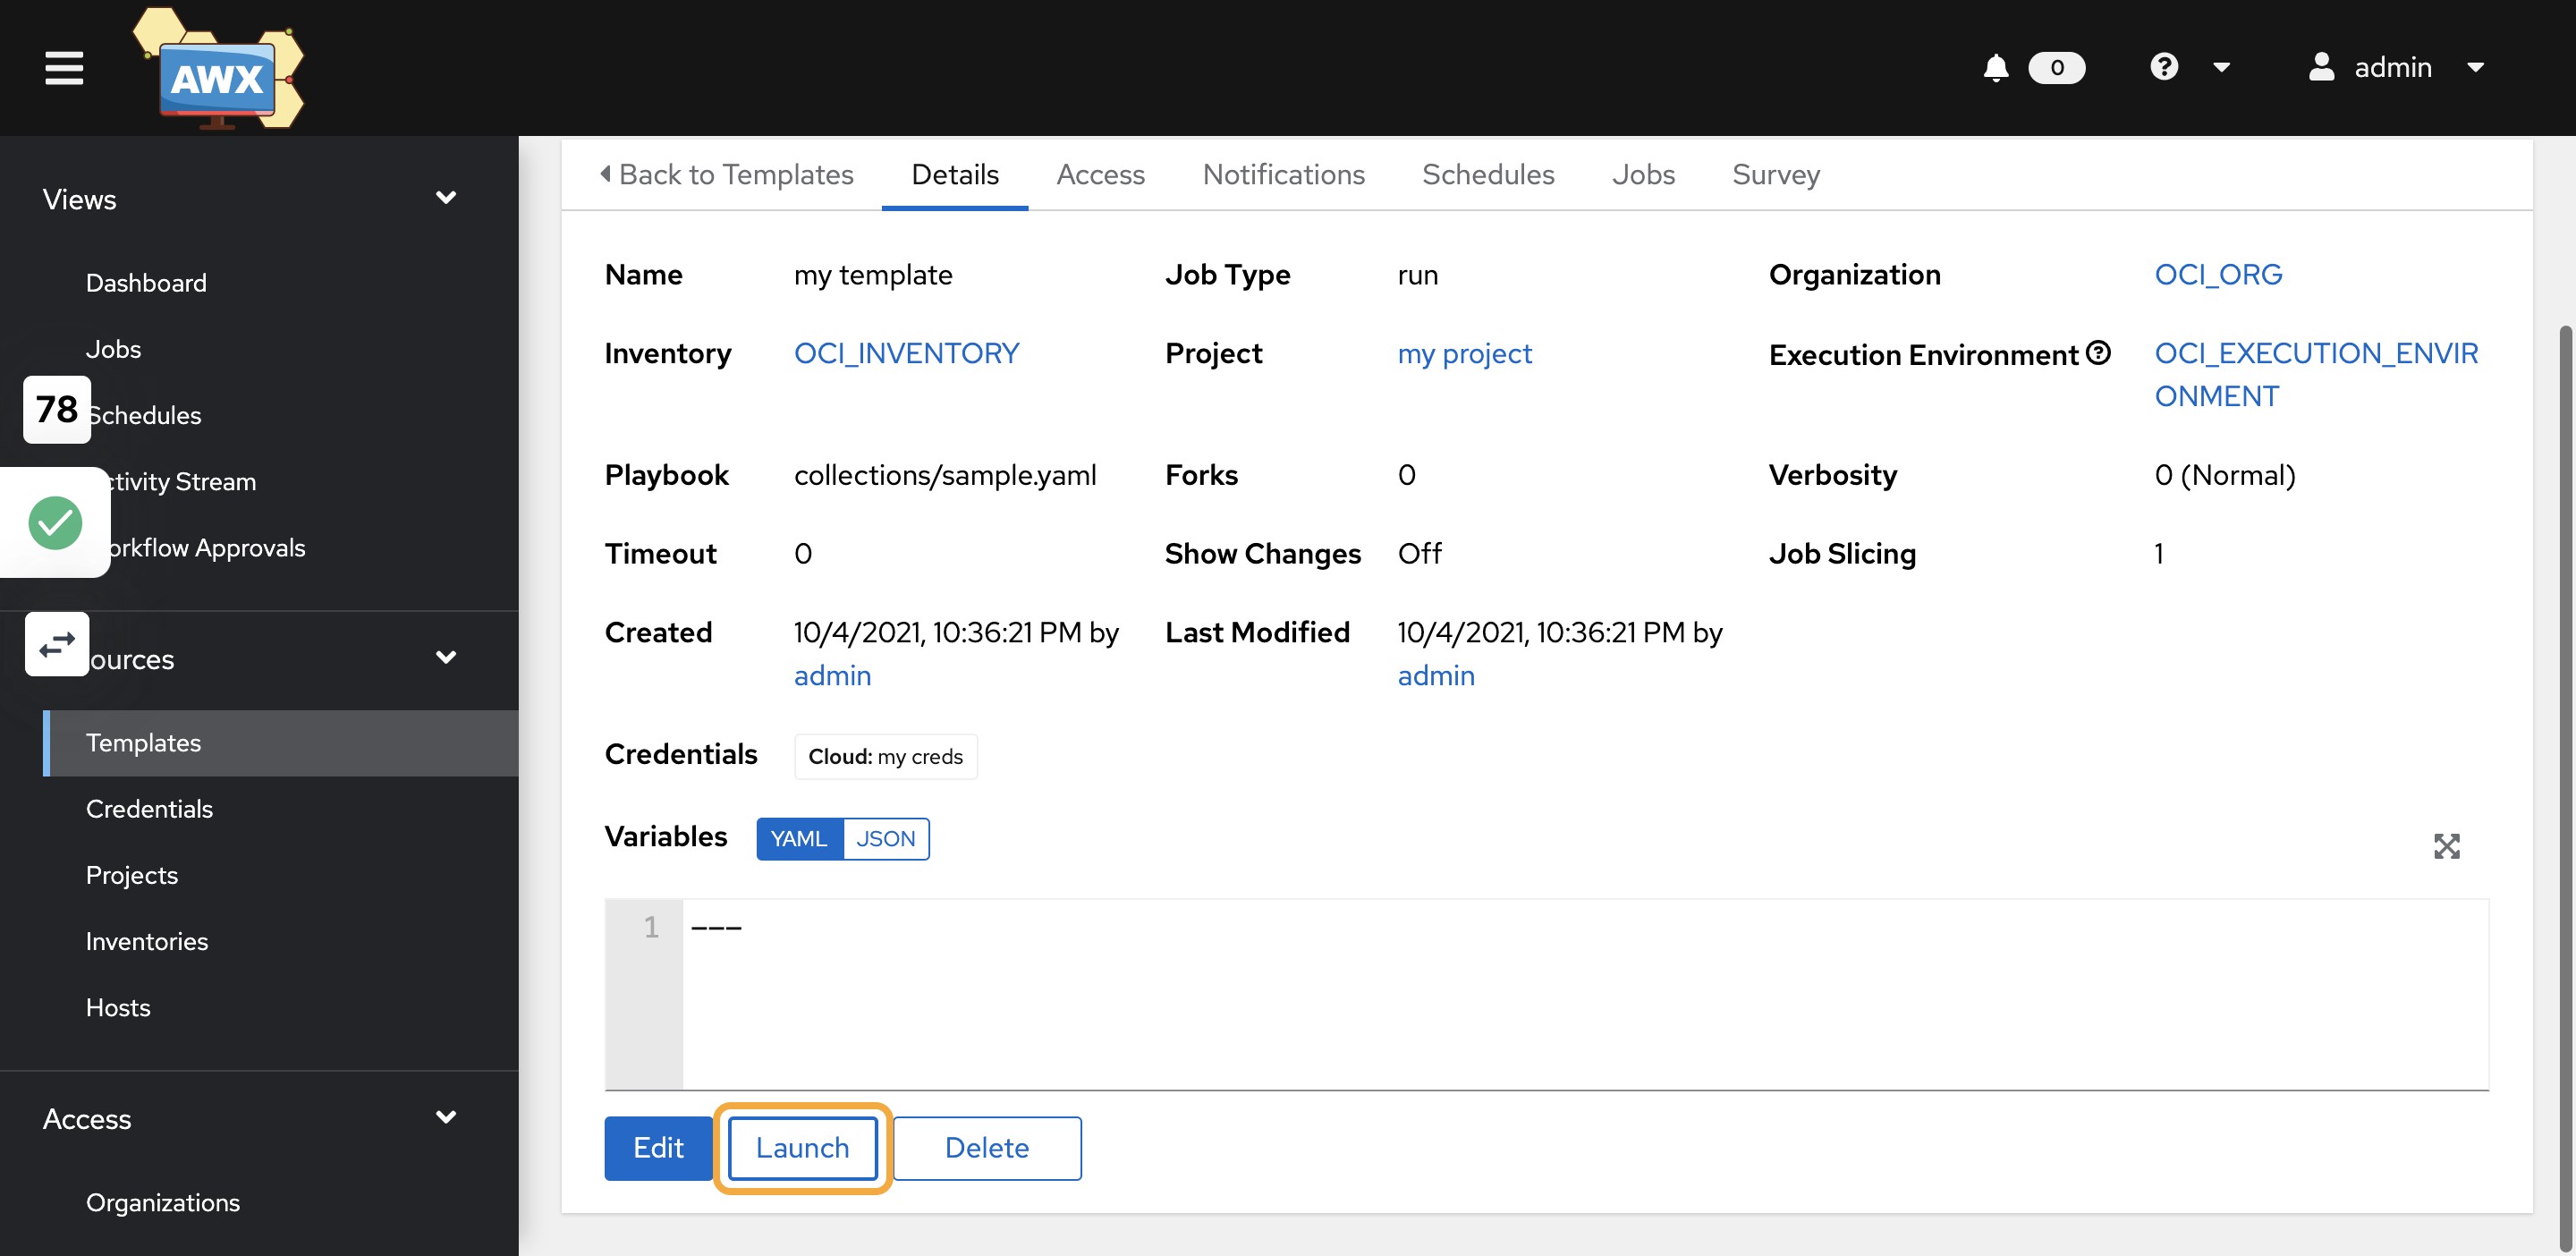
54)Click on Launch
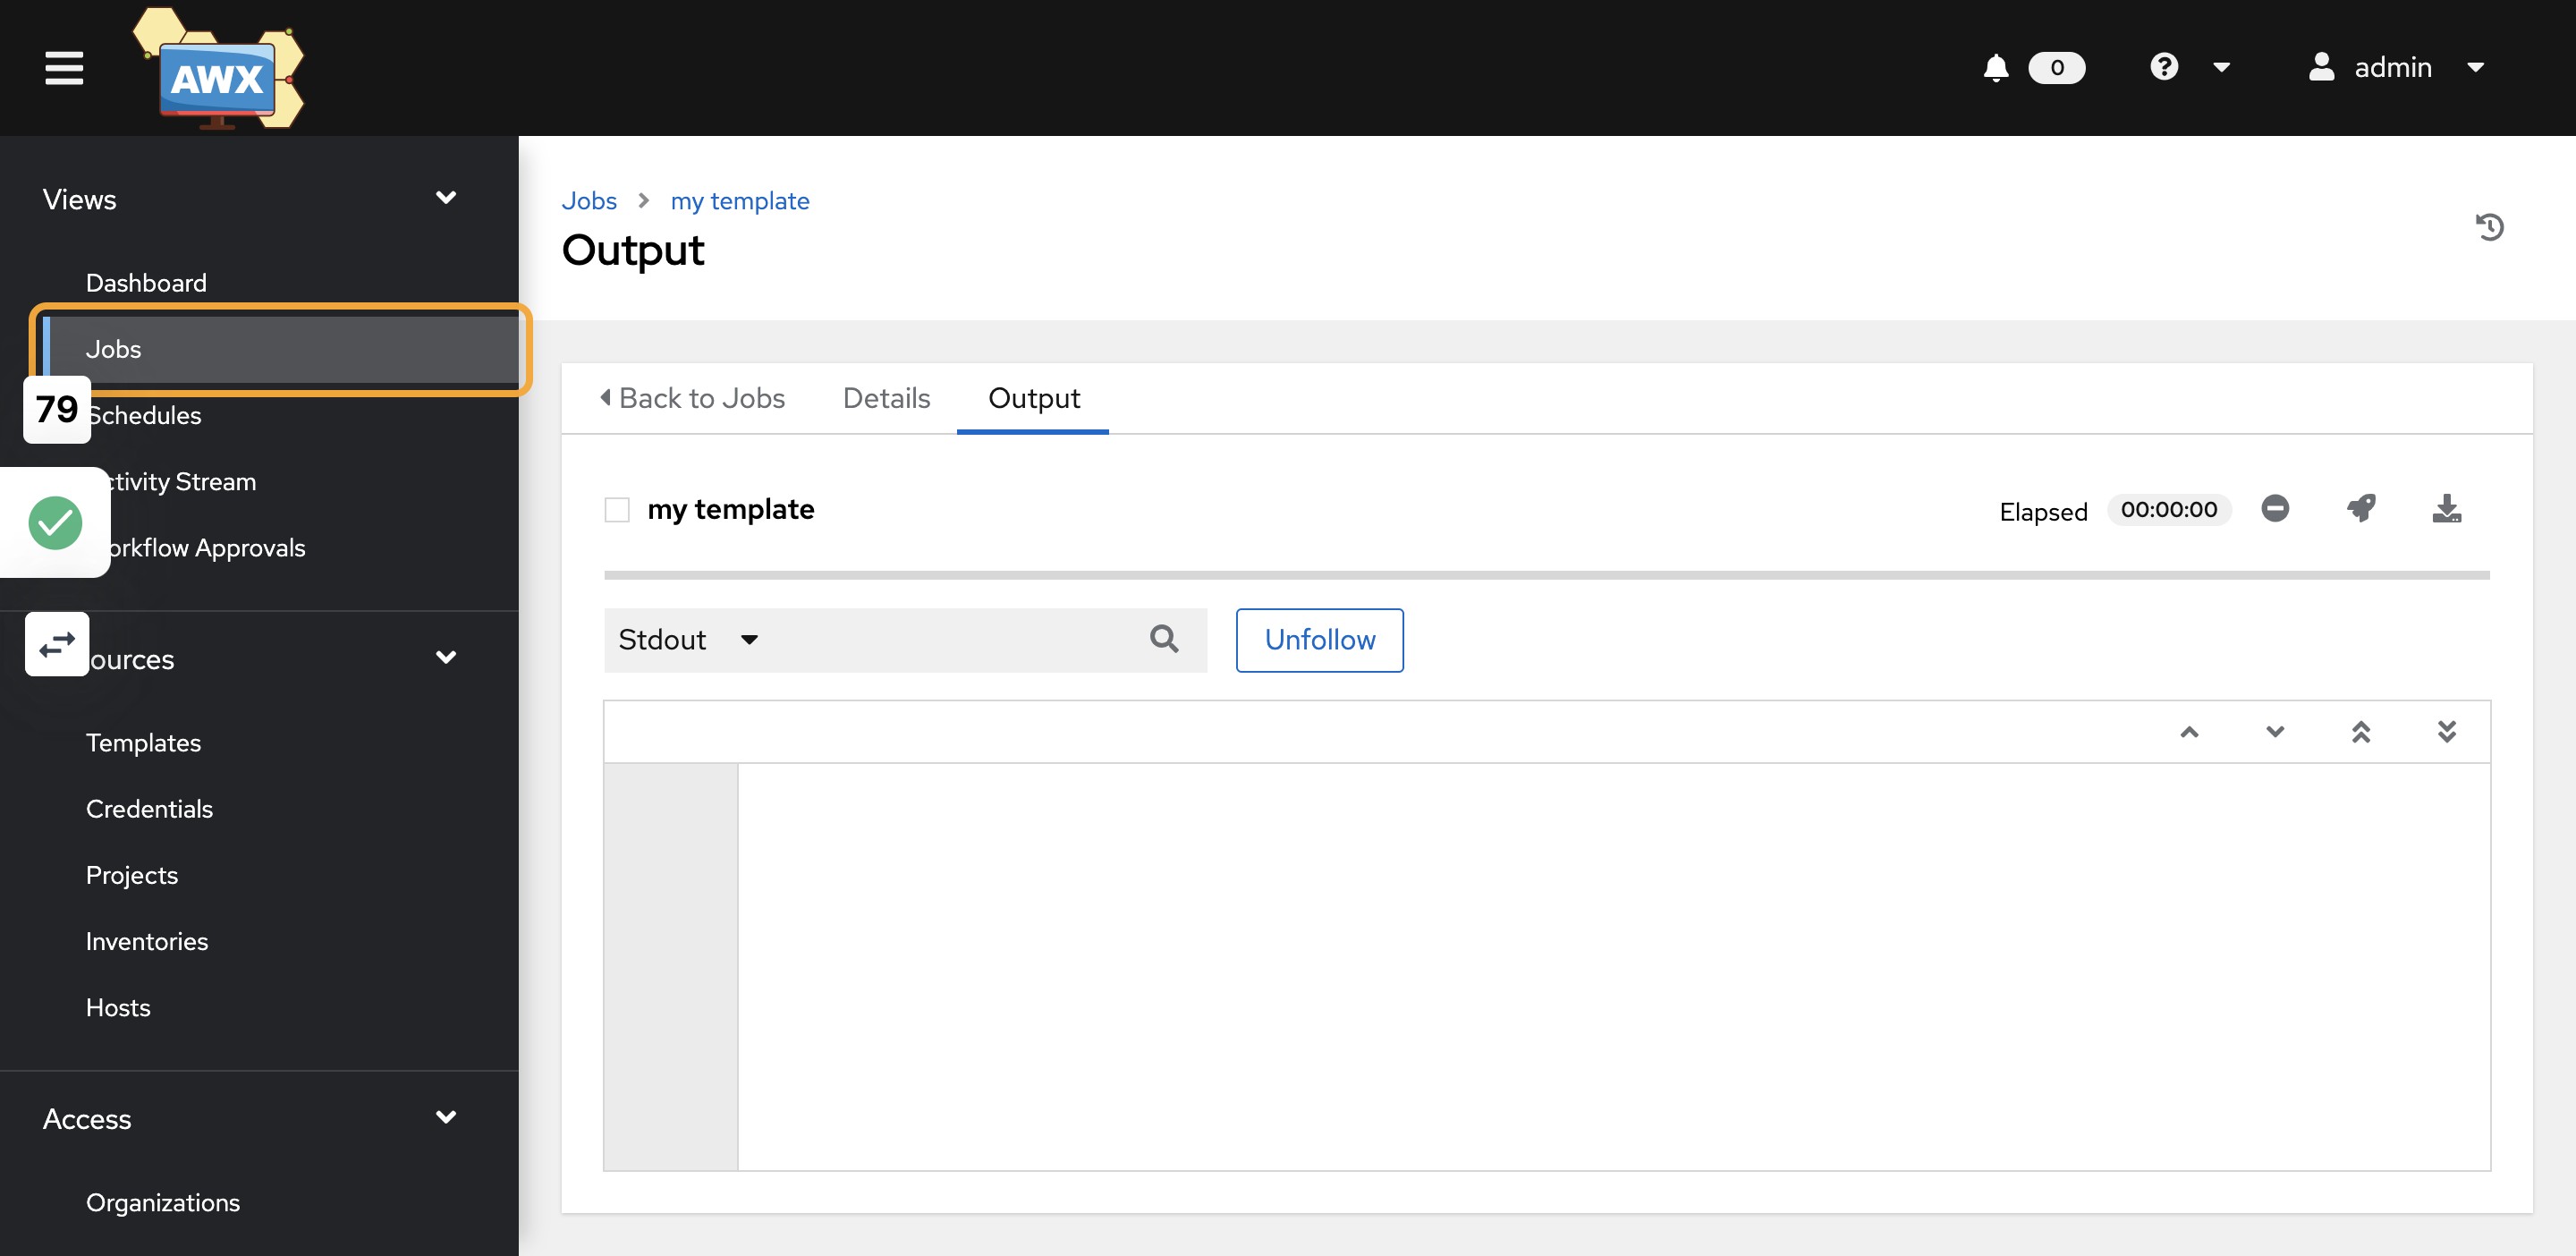
55)Click on Jobs to see template status
56)Click on Hosts to see if the hosts are fetched or not
Note: If hosts are fetched that means dynamic inventory is available